

February 4, 2022
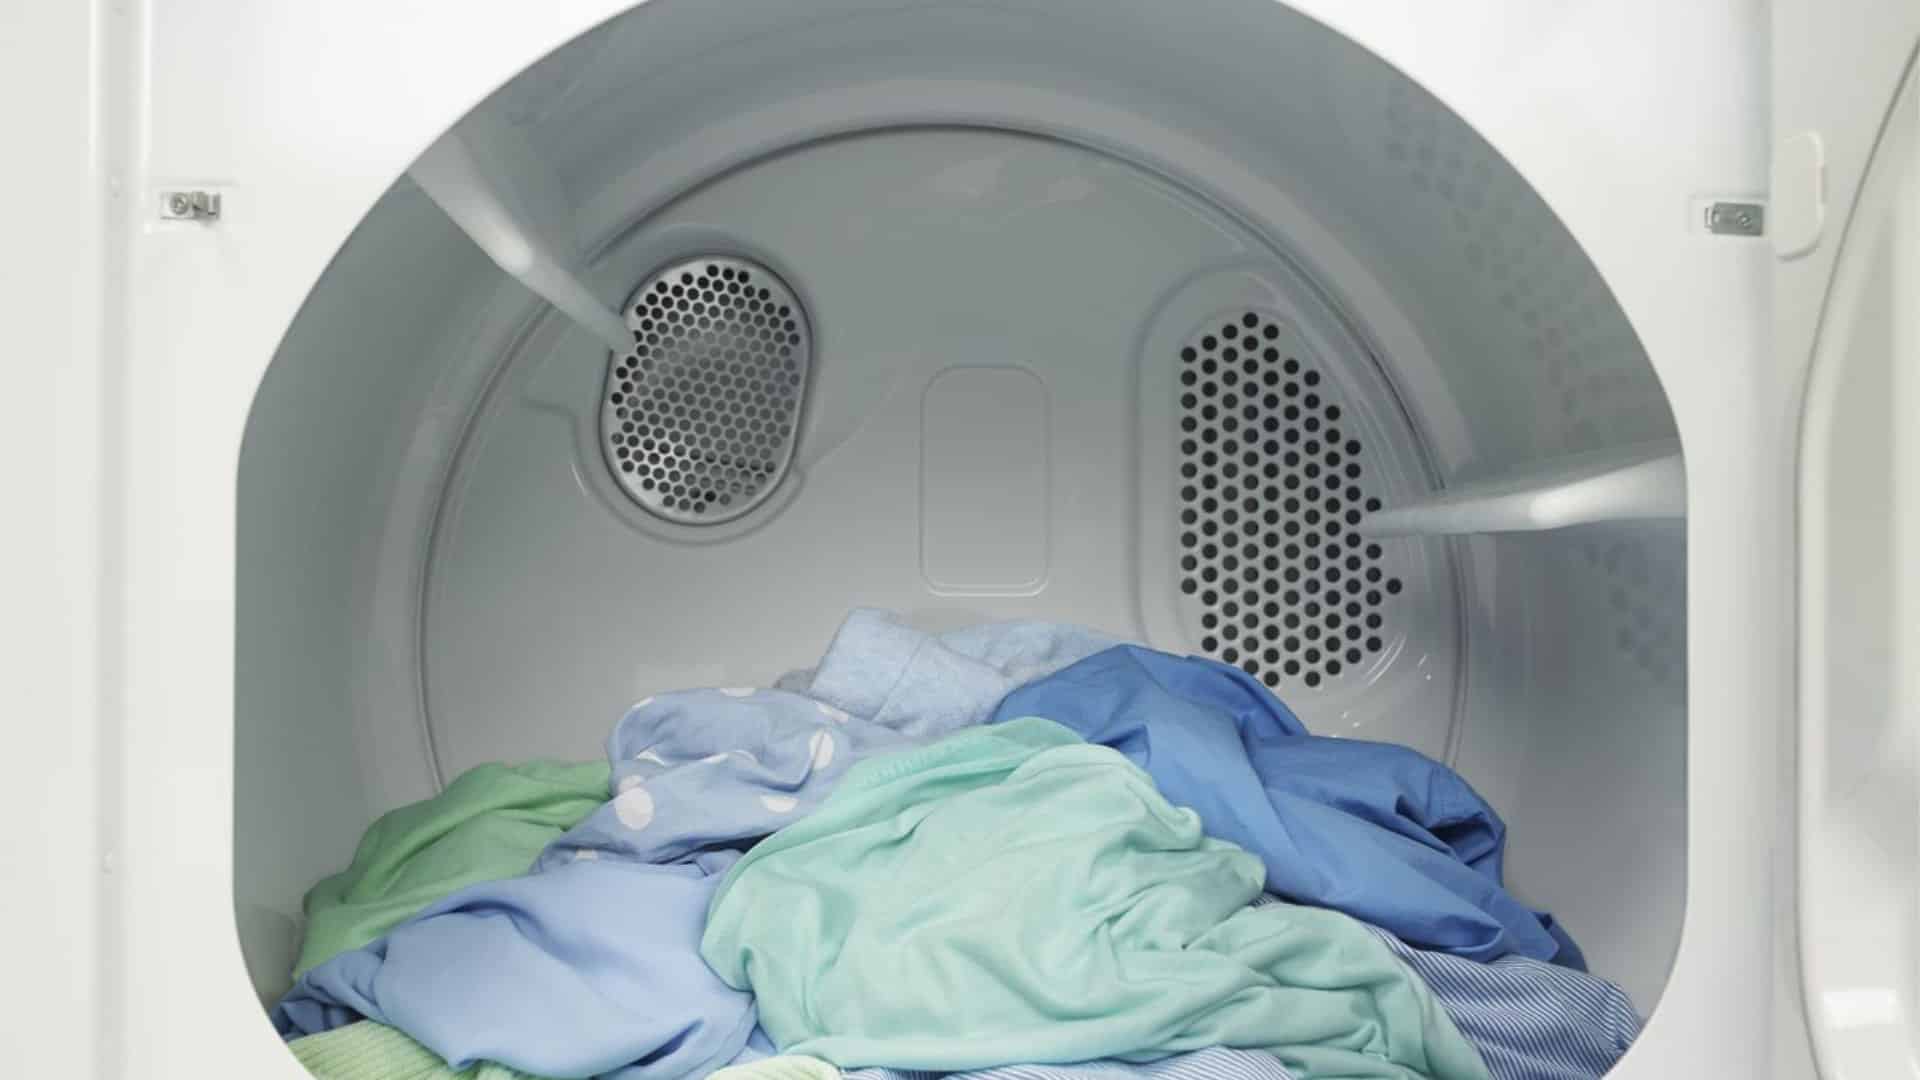
Dryer Repair
If you’re reading this article, you probably want to know how to repair a GE dryer that has stopped heating.
Simply follow our step-by-step instructions below and you should find the cause of the problem and fix it.
This guide covers all major GE dryer models, including:
CADE165RAL
CADG265RAL
CADG265RBL
CADG265RCL
DBLR333ET0AA
DBLR333ET0WW
DBXR300EG3WS
DHDSR46EG8WW
GHDX100EM0WW
GTDP180ED2WW
GTDP180ED3WW
GTDP200EM0WW
GTDP200EM1WW
GTDP200EM2WW
GTDP220EF0WW
GTDP220EF1WW
GTDP220EF2WW
GTDX200EM0WW
GTDX200EM1WW
GTDX200EM2WW
GTDX205EM1CC
Step 1 – Check the thermal fuse
When fixing a GE dryer that isn’t heating, the best place to start is to check the thermal fuse. The thermal fuse turns your dryer off when it overheats. However, sometimes it can do this for no reason, which stops your dryer from heating at all.
This is how you check the thermal fuse:
- Unplug your dryer and pull it away from the wall.
- Remove the panels so you can access the internal components. If you’re not sure how to do this, consult your user manual.
- Locate the thermal fuse. It’s usually attached to the blower housing.
- Test the thermal fuse with a multimeter to ensure it has continuity.
- If the fuse passes the test, proceed to the next step. If it fails the test, replace it.
- If you replace the fuse, plug your dryer in and turn it on to check that it now heats properly. If it doesn’t, proceed to the next step. Note: To stop the new fuse from blowing in the future make sure you clean out the exhaust vent regularly.
Step 2 – Check the power sources
The next step is to check the incoming power sources. Your GE dryer requires two legs of 120 volts AC (a total of 240 volts) to work. If the circuit breaker or fuses that provide power to your dryer trip, the incoming power source to your dryer can become infringed or cut off completely, which prevents the dryer from heating.
Here’s how to check the incoming power sources to ensure they’re working correctly:
- Inspect your circuit breakers to ensure the one responsible for sending power to the dryer hasn’t tripped. If it has, turn it back on.
- Use a multimeter to test the voltage coming from the circuit breaker and fuses. If it’s not high enough the power source that isn’t working properly will need to be repaired or replaced. If you determine that the power sources are fine, proceed to the next step.
- Once the circuit breaker and fuses are working properly, run your dryer to check if the problem has been solved. If it hasn’t, proceed to the next step.
Step 3 – Check the gas valve solenoid
The next step is to check the gas valve solenoid. If your dryer is electric, proceed directly to step 6. Your gas-powered dryer has two or more solenoid coils that open to supply gas to the burner. When they don’t correctly open, your GE dryer won’t heat up.
To check that the gas valve solenoid is working, you need to:
- Remove the panels so you can access the internal components. Find the gas valve solenoid.
- You shouldn’t turn the power to your dryer off because you’ll need power for the test. But you do need to pull it away from the wall.
- Attempt to ignite the gas and observe the igniter. Check if it glows and ignites the gas or if it glows and doesn’t ignite the gas. If it doesn’t ignite the gas, the solenoid is faulty and will need to be replaced. If the gas does ignite, the solenoid is working and you can proceed to the next step.
- If you replace the solenoid, run your dryer to check if the problem has been solved. If it hasn’t, proceed to the next step.
Step 4 – Make sure the igniter works
The next step is to check the igniter. The igniter is responsible for igniting the gas when you turn your dryer on. If the igniter fails, your dryer won’t heat up.
Here’s how to make sure the igniter is working:
- Unplug your dryer and turn off the gas.Then pull the dryer away from the wall.
- Remove the panels so you can access the internal components.
- Locate the igniter and use a multimeter to test whether it has continuity.
- If the igniter passes the test, proceed to the next step. If it fails the test, replace it.
- If you replace the igniter, run your dryer to check that it now heats properly. If it doesn’t, proceed to the next step.
Step 5 – Make sure the flame sensor works
The purpose of the flame sensor is to monitor the heat coming from the flame to ensure your dryer is at the correct temperature. If it stops working your dryer won’t heat up.
Here’s how to make sure the flame sensor is working:
- Unplug your dryer and turn off the gas.Then pull the dryer away from the wall.
- Remove the panels so you can access the internal components.
- Locate the flame sensor and use a multimeter to test whether it has continuity.
- If the sensor passes the test, proceed to the next step. If it fails the test, replace it.
- If you replace the flame sensor, run your dryer to check that it now heats properly. If it doesn’t, proceed to the next step.
Step 6 – Make sure the heating element works
The next step is to test the heating element. The heating element is how your dryer heats the air that is then distributed throughout the dryer. If the heating element stops working your dryer will too.
Here’s how to make sure the heating element is working:
- Unplug your dryer and pull it away from the wall.
- Remove the panels so you can access the internal components.
- Locate the heating element and use a multimeter to test whether it has continuity.
- If the heating element passes the test, proceed to the next step. If it fails the test, replace it.
- If you replace the heating element, run your dryer to check that it now heats properly. If it doesn’t, proceed to the next step.
Step 7 – Make sure the high-limit thermostat is working
The purpose of the high-limit thermostat is to monitor the temperature in your dryer and send a signal to the control board to turn the dryer off if it overheats. If the thermostat stops recording accurate temperatures or stops working completely, your dryer won’t be able to heat up.
Here’s how to make sure the high limit thermostat is working:
- Unplug your dryer and pull it away from the wall.
- Remove the panels so you can access the internal components.
- Locate the high-limit thermostat and use a multimeter to test whether it has continuity.
- If the high-limit thermostat passes the test, proceed to the next step. If it fails the test, replace it.
- If you replace the high-limit thermostat, run your dryer to check that it now heats properly. If it doesn’t, proceed to the next step.
Step 8 – Make sure the cycling thermostat is working
The other thermostat in your dryer is called a cycling thermostat. This thermostat monitors the temperature in your dryer during each cycle and tells the main control board to turn the heat on or off. This regulates the air temperature during each cycle. When the cycling thermostat stops working, your dryer will either not heat to the right temperature or not heat at all.
Here’s how to make sure the cycling thermostat is working:
- Unplug your dryer and pull it away from the wall.
- Remove the panels so you can access the internal components.
- Locate the cycling thermostat and use a multimeter to test whether it has continuity.
- If the thermostat passes the test, proceed to the next step. If it fails the test, replace it.
- If you replace the cycling thermostat, run your dryer to check that it now heats properly. If it doesn’t, proceed to the next step.
Step 9 – Make sure the timer is working
The next step is to check that your dryer’s timer is working. The timer doesn’t become defective very often, but if all of the other components covered in this guide work properly, you should now test the timer.
Here’s how to make sure the timer is working:
- Unplug your dryer and pull it away from the wall.
- Remove the panels so you can access the internal components.
- Locate the timer and use a multimeter to test whether it has continuity.
- If the timer passes the test, proceed to the next step. If it fails the test, replace it.
- If you replace the timer, run your dryer to check that it now heats properly. If it doesn’t, proceed to the next step.
Step 10 – Replace the main control board
The final option is to consider replacing the main control board. They don’t become faulty very often but if you’ve ruled out every other possible cause, replacing it is your last option to get your dryer heating properly again. Alternatively, you might decide to just purchase a new dryer instead.
Apr. 09, 2024
Why Is My Microwave Sparking?
Mar. 06, 2024
Understanding Frigidaire Dishwasher Error Codes

Feb. 05, 2024
How to Dry Shoes in Dryer Without Damaging Them
Jan. 03, 2024
Why Is My Dishwasher Leaking?

Dec. 11, 2023
How to Solve Electrolux Dryer Error Code E64

Nov. 06, 2023
Microwave Light Won’t Turn Off? Here’s Why
Oct. 02, 2023
GE Oven F9 Error Code: How to Fix It
Sep. 08, 2023
How to Use a Self-Cleaning Oven (In 4 Steps)
Jul. 31, 2023
How To Use a Maytag Top-Load Washing Machine
Jul. 19, 2023
What to Do If Your Samsung Ice Maker Is Not Making Ice
Jun. 13, 2023
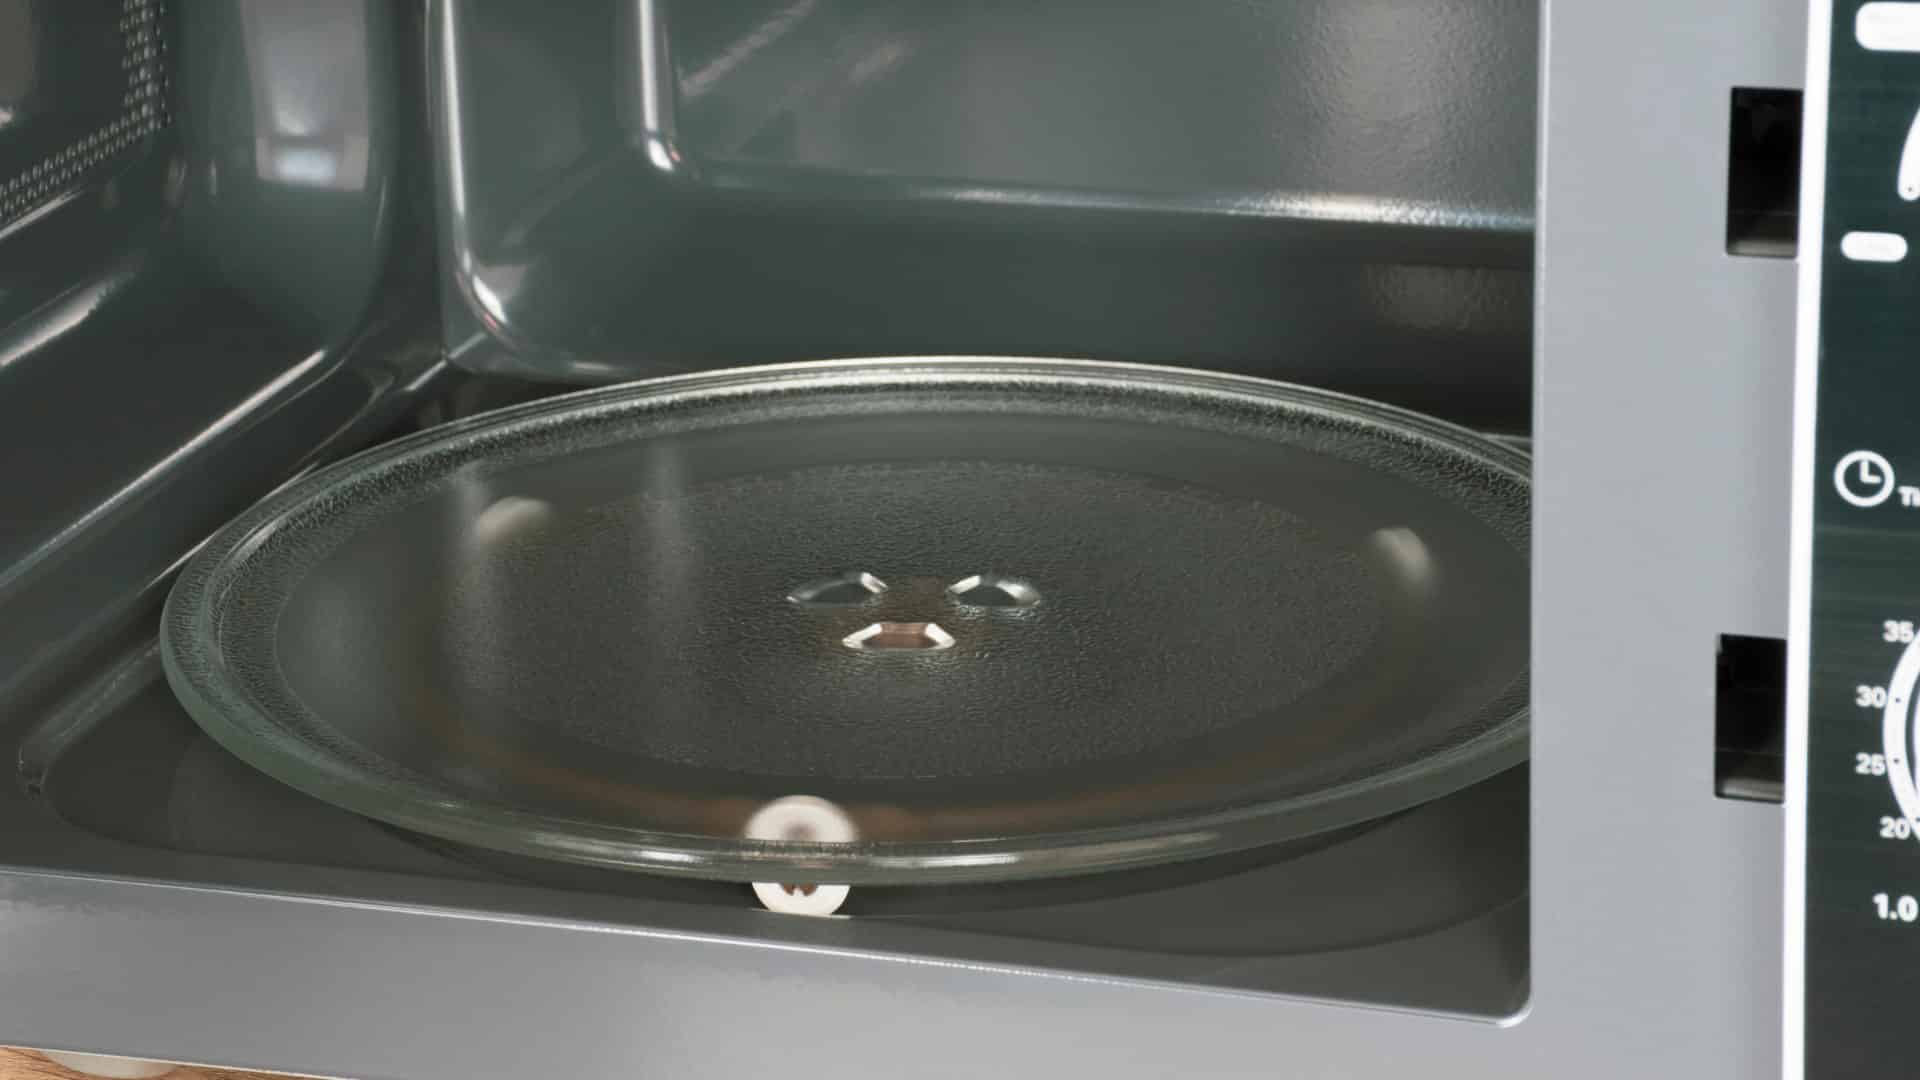
How to Fix a Microwave Turntable That’s Not Turning

May. 08, 2023
How to Wash Pillows in a Washing Machine
Apr. 10, 2023
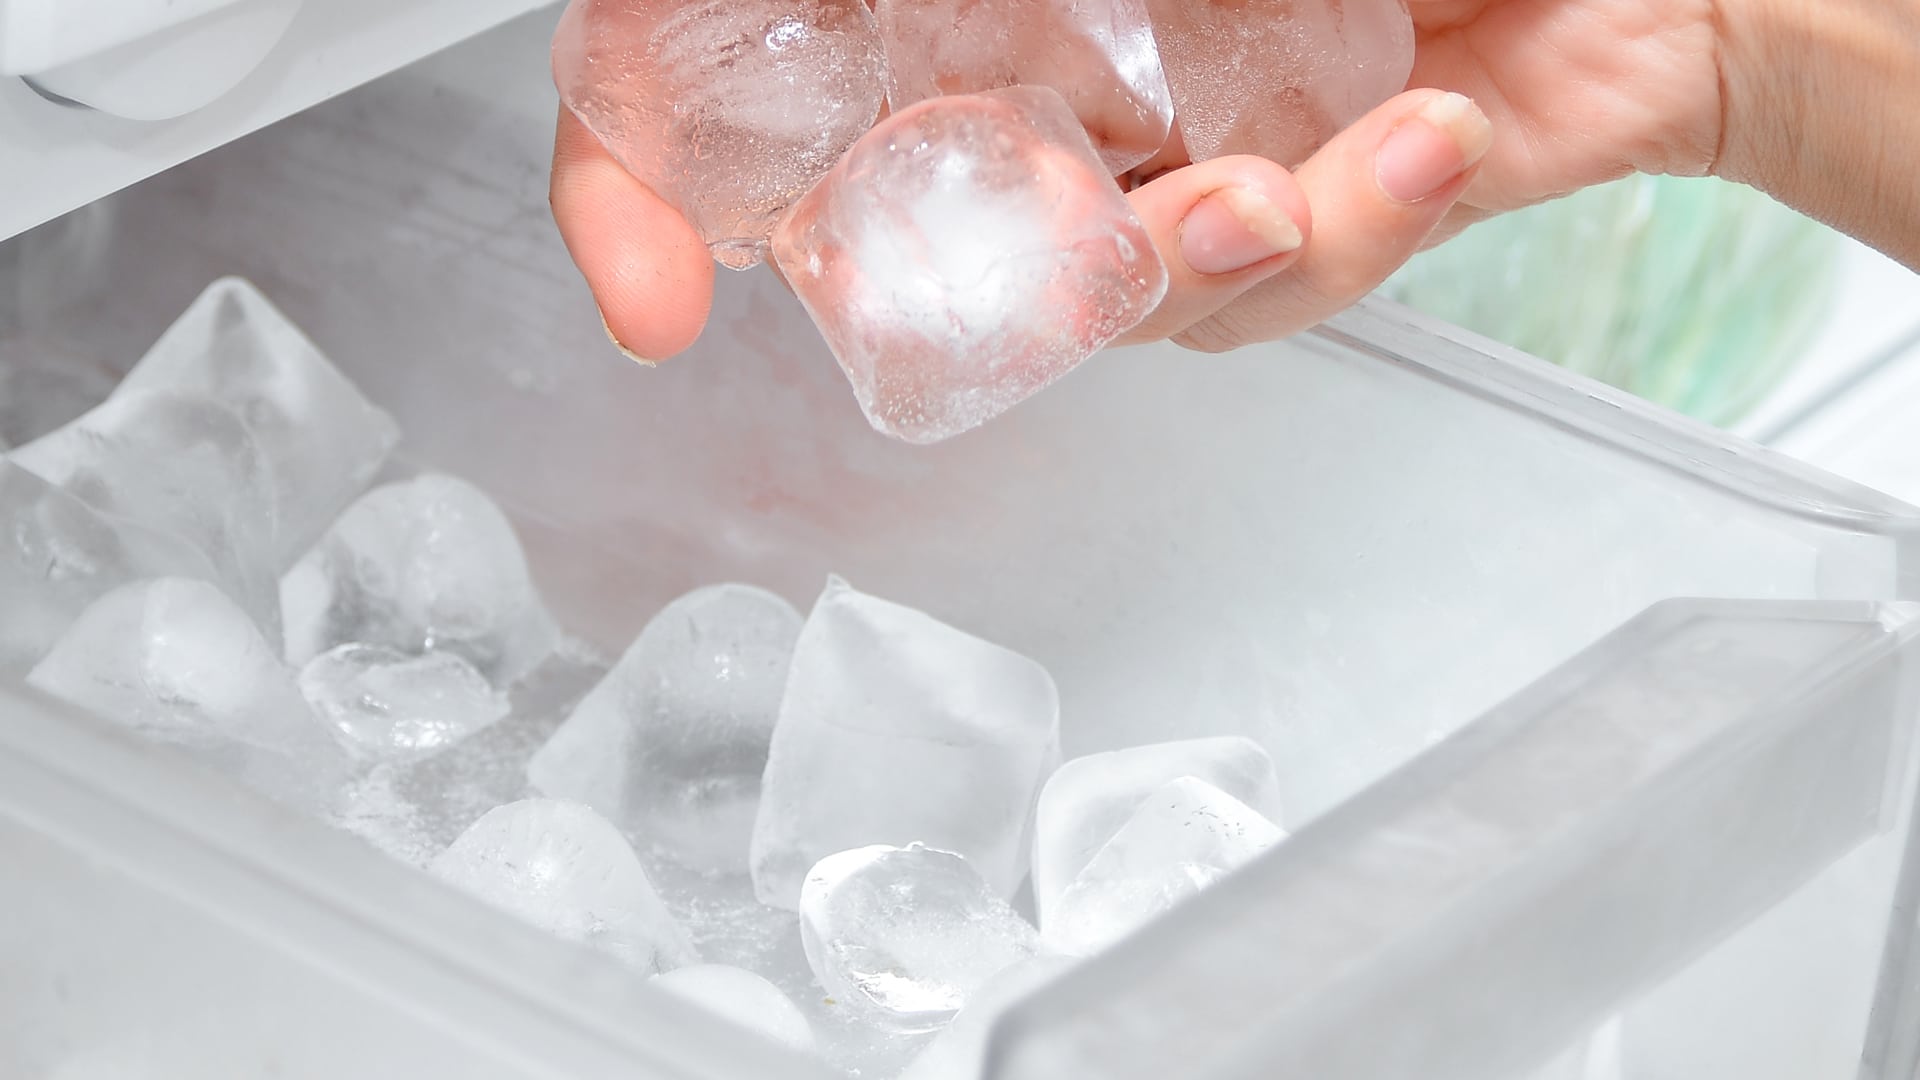
How to Fix an Ice Maker That Isn’t Working
Mar. 14, 2023
Broken Refrigerator Door Seal? How To Fix It
Feb. 01, 2023
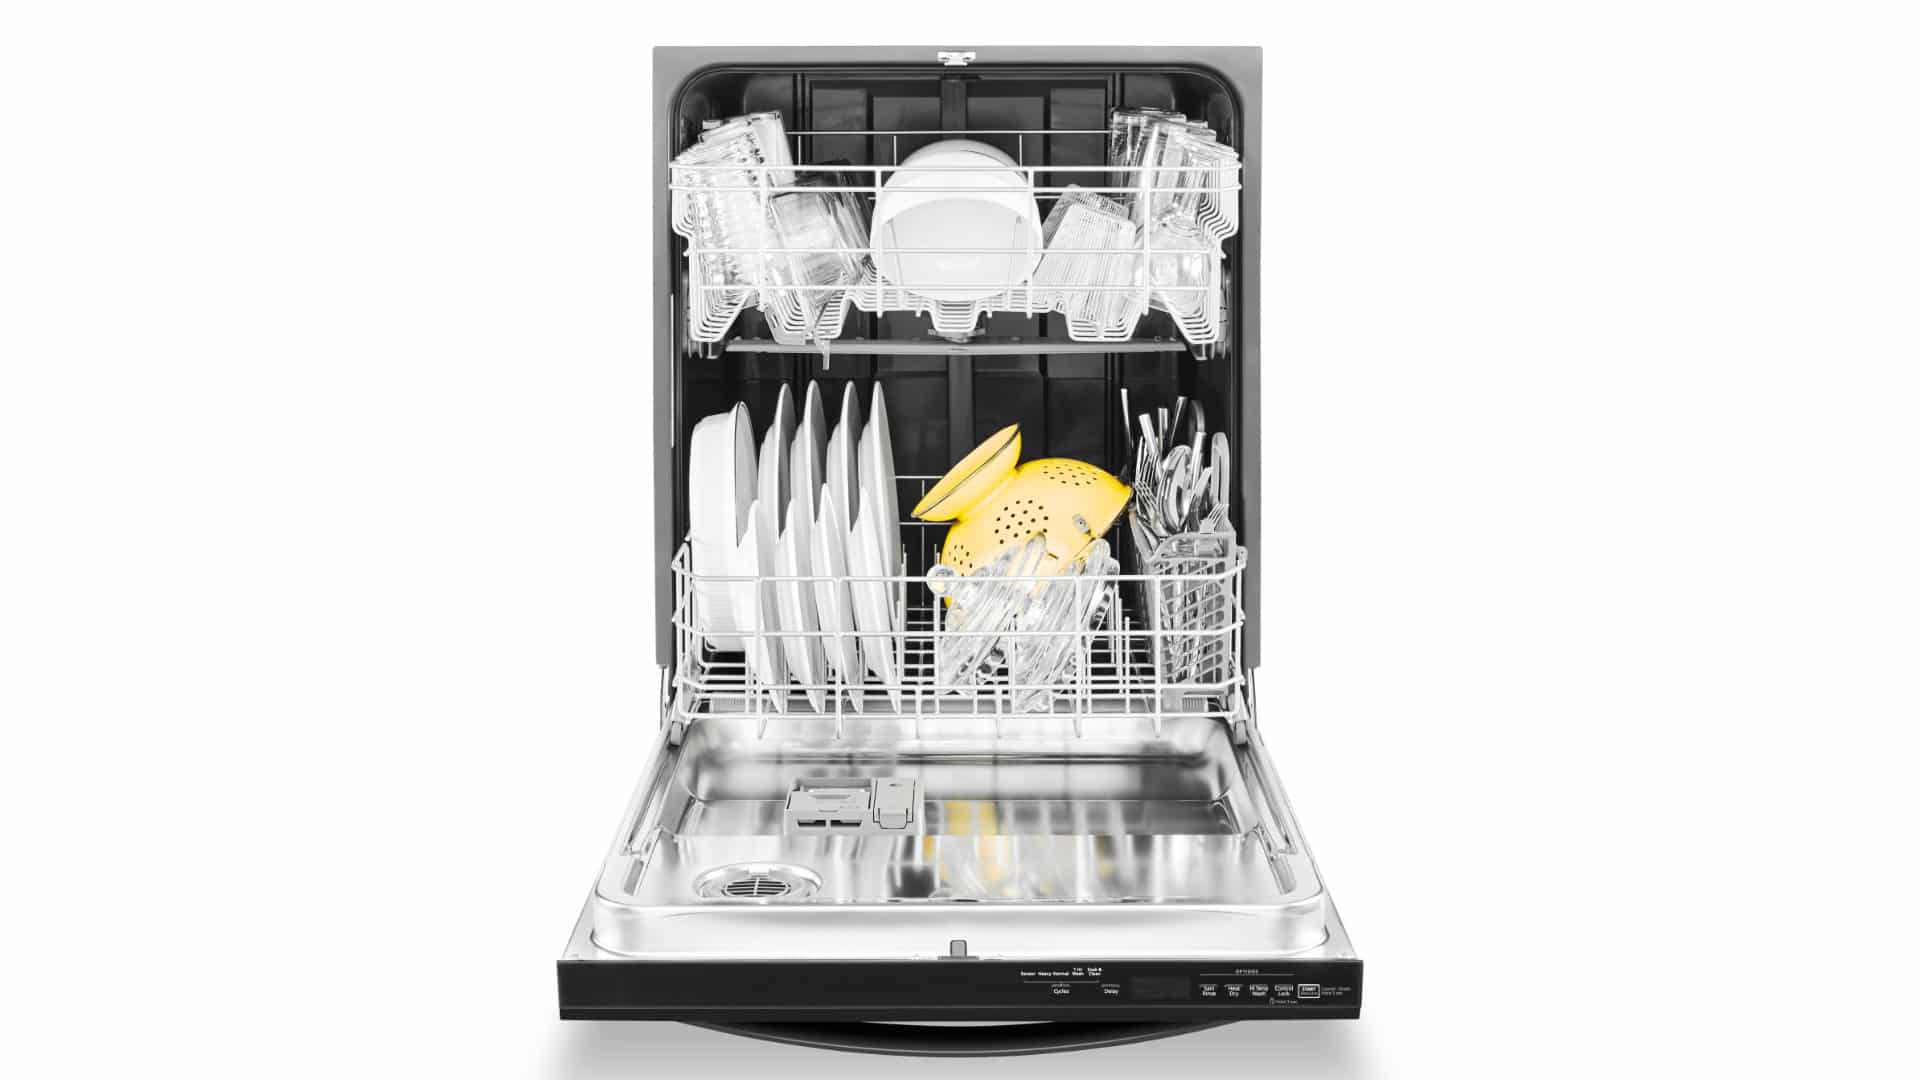
Samsung Dishwasher Not Draining? Here’s What to Do
719 - 574 - 3344Give us a call!