

January 10, 2023
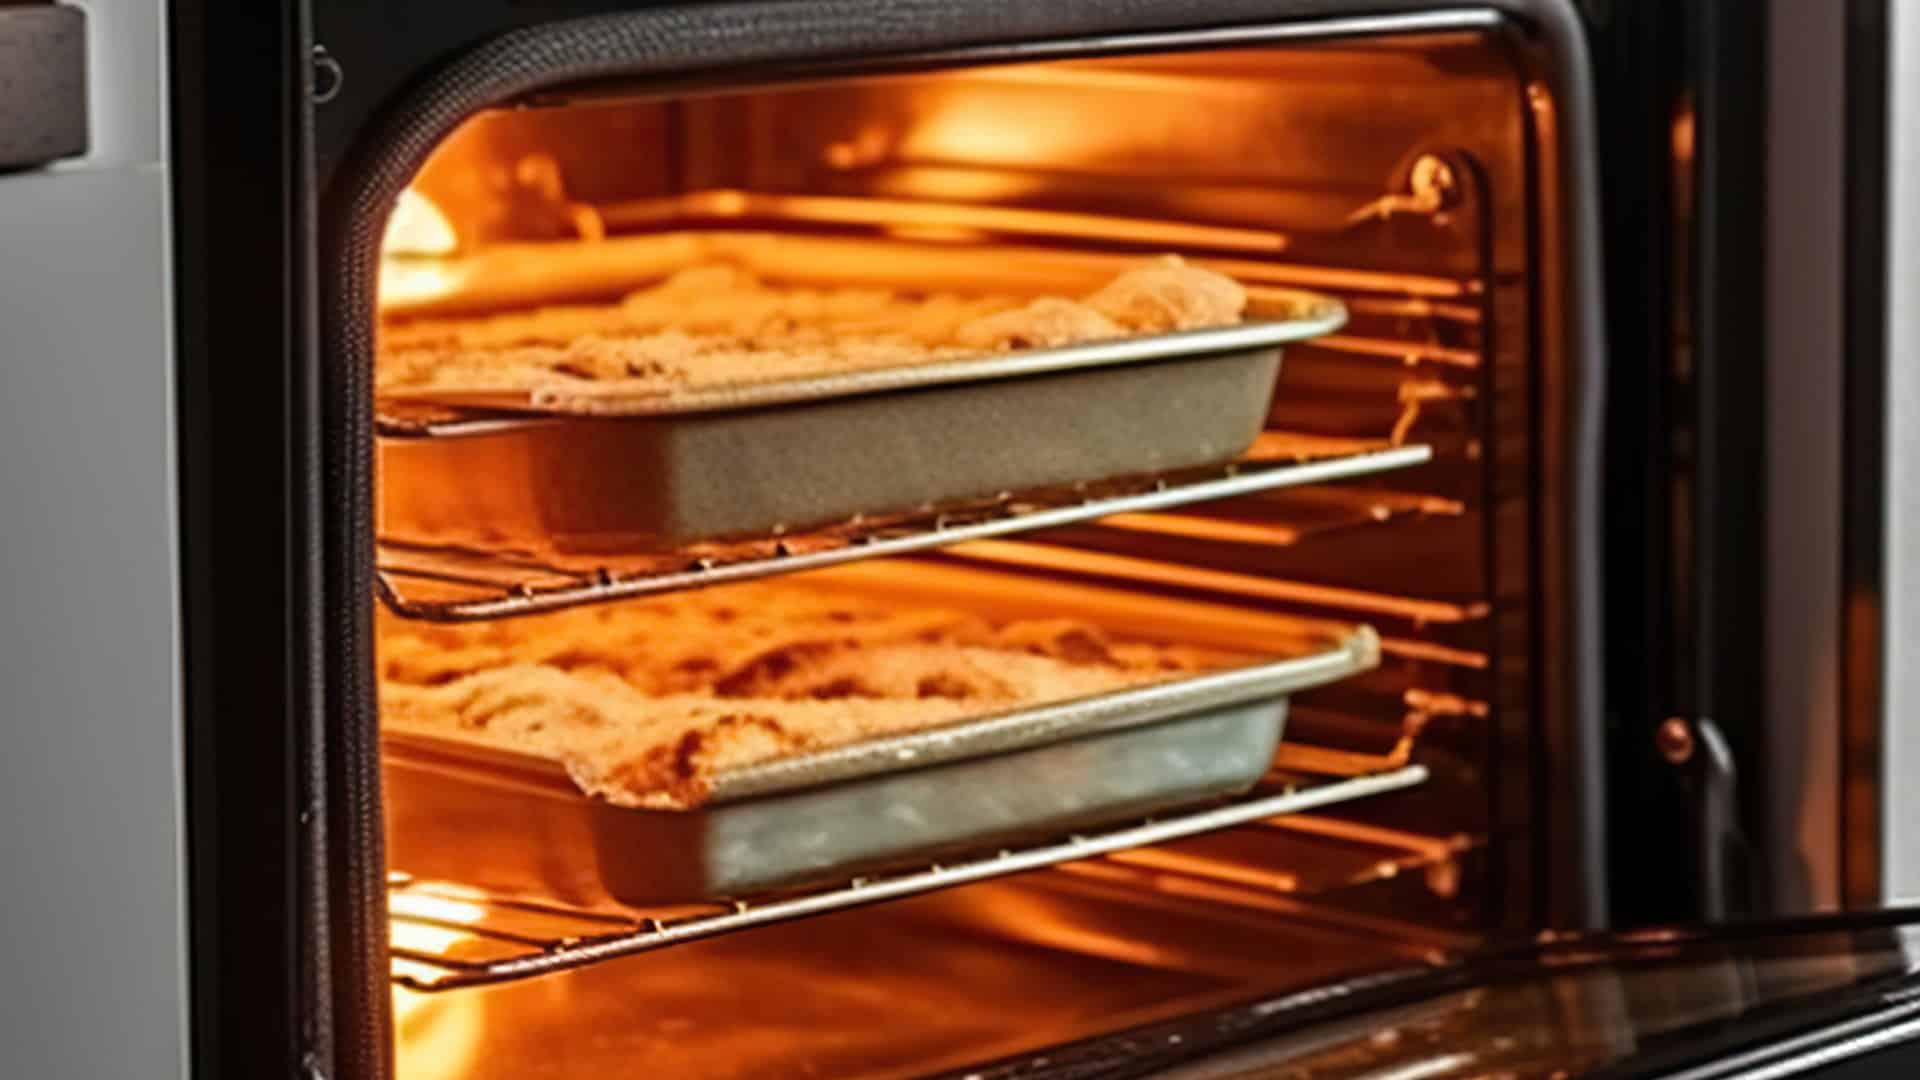
Oven Repair
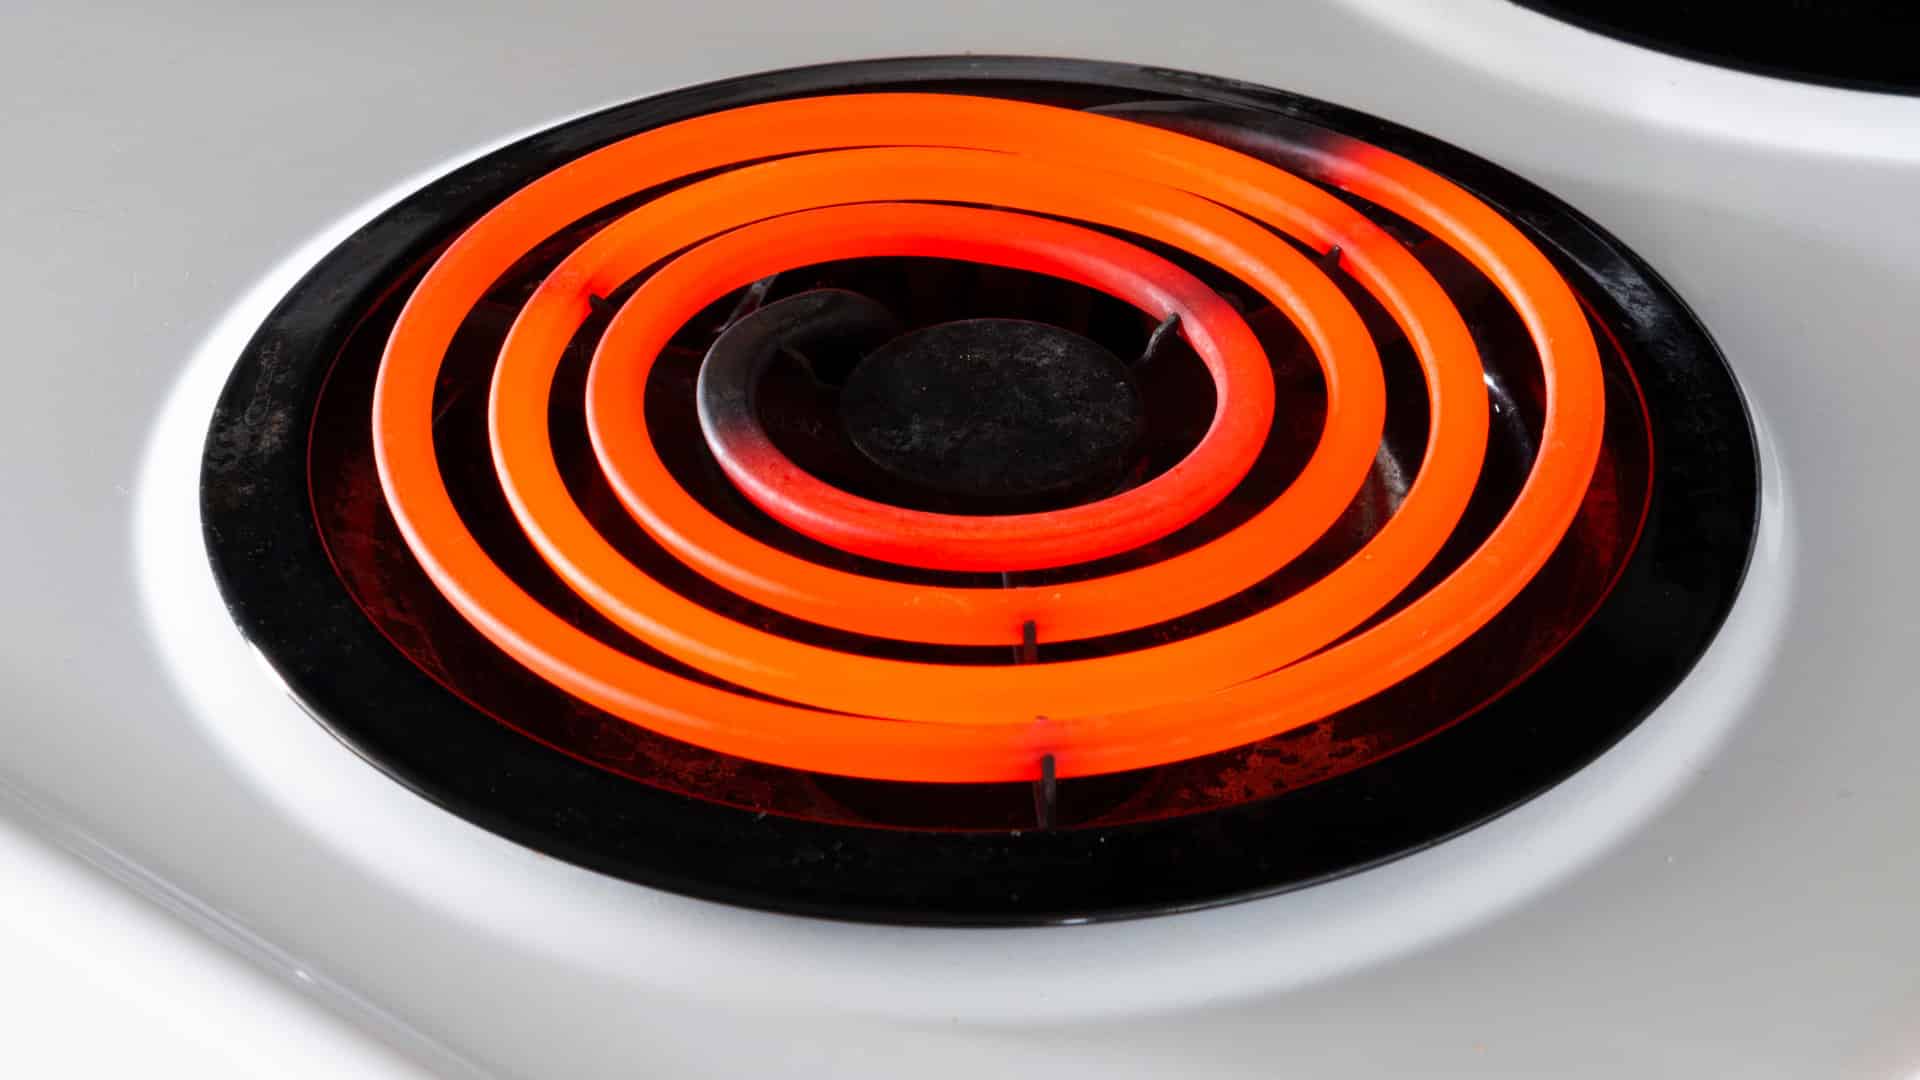
If your electric stove burner isn’t working, one or more of the internal components of your stove burner is, unfortunately, most likely defective. To help you pinpoint the exact cause of the problem, we have put together this comprehensive guide. Hopefully, once you know what the issue is, you can fix it and start using your electric stove again.
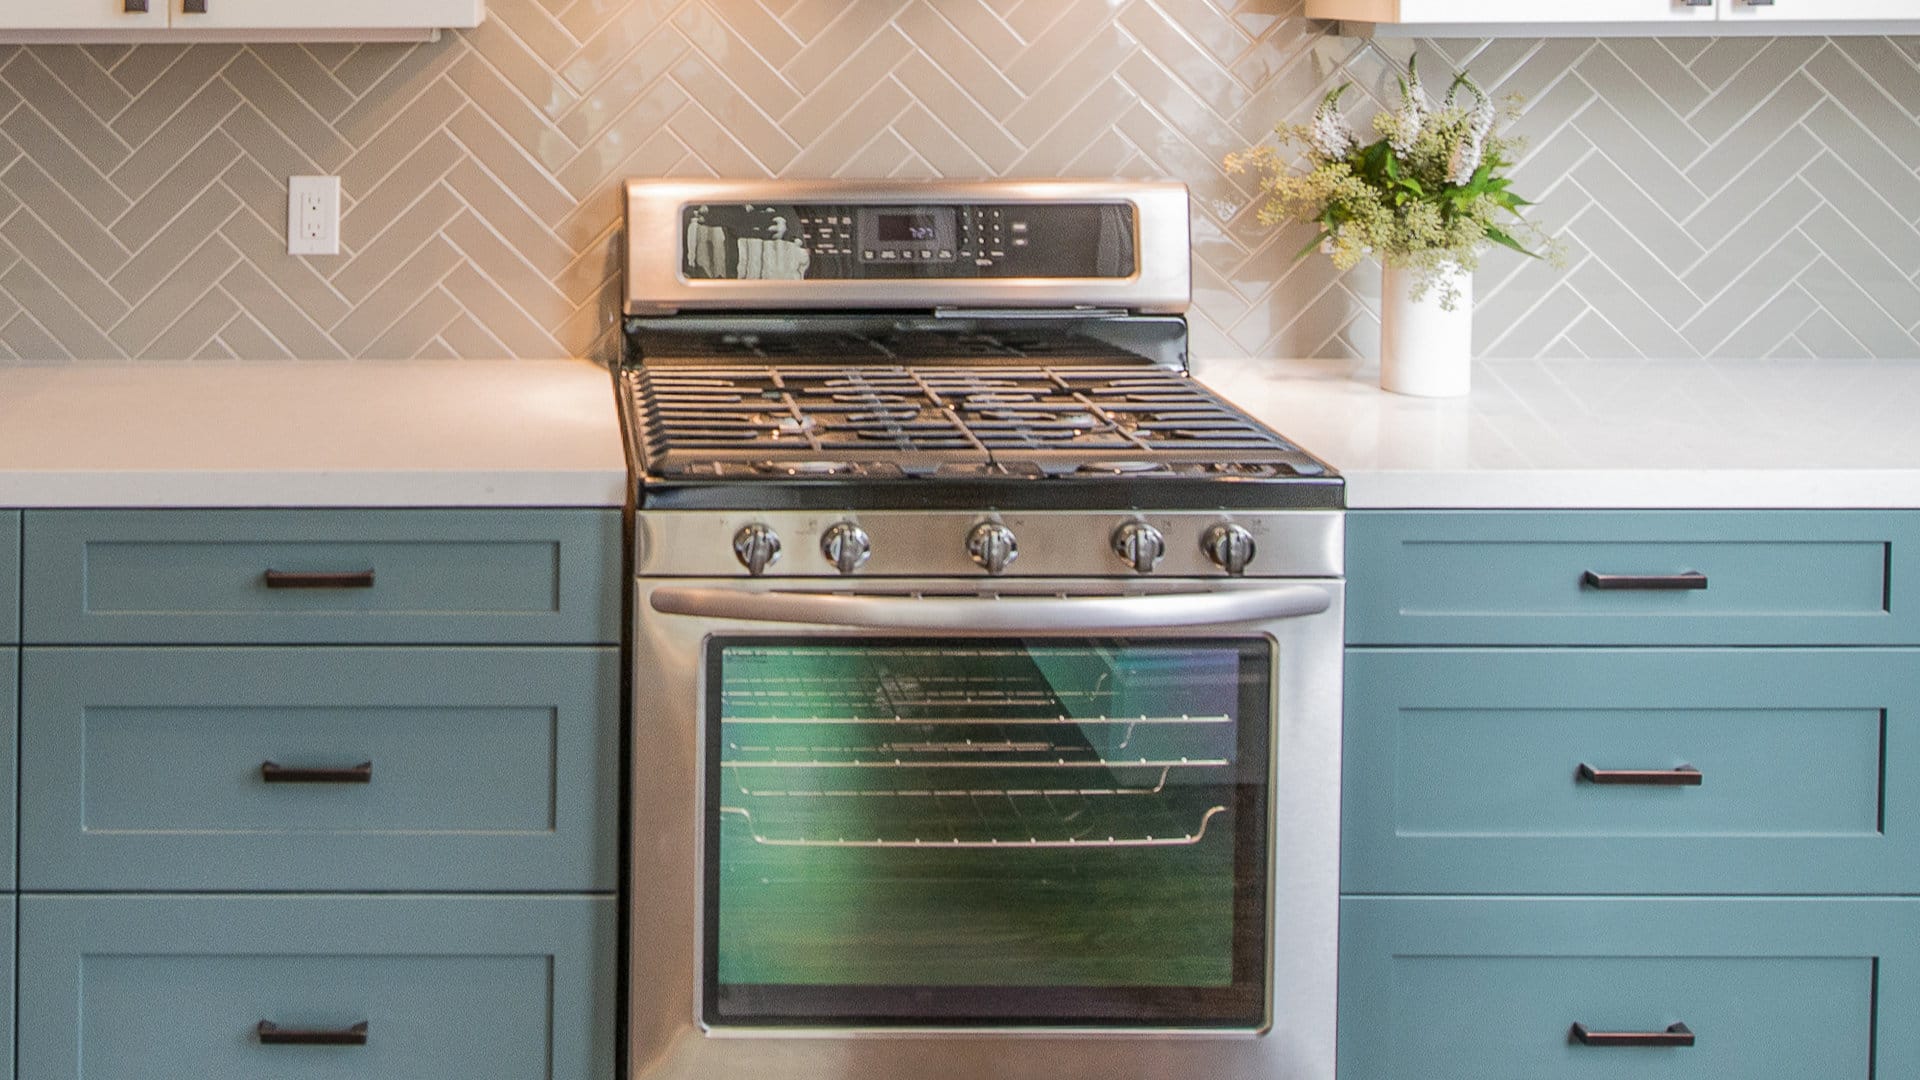
Although different makes and models are built slightly differently, this guide should work with all major electric stove models from top manufacturers like Whirlpool, GE, Haier, Smeg, Fisher and Paykel, Bosch, and Samsung.
Simply start with step one and work your way down the guide until you have fixed your electric stove burner.
Step 1 – Make sure the burner plugs are clean
The best place to start is to make sure the burner plugs are clean. Some stove burners plug into the stove. The area that plugs in can sometimes get loose debris stuck in or around it, which can stop them from being able to work properly. If your specific stove doesn’t have this type of burner, you can skip this step.
Follow these instructions to make sure the burner plugs are clean:
- Turn the power off to your electric stove.
- Disconnect and remove the burners that aren’t working.
- Clean the tips of the burner plugs with a small brush and a dry cloth.
- Clean the inside of the receptacle.
- Make sure the burners are completely dry before reconnecting them to the stove.
- Check if your electric stove burner can now work. If not, move on to step 2.
Step 2 – Make sure the circuit breaker is on
Sometimes the circuit breaker that supplies power to your stove can switch off. This happens a lot when there are power surges or too many appliances are plugged into the same circuit. To avoid this happening, it’s a good idea to use a dedicated circuit for your main appliances like your oven, fridge, and dishwasher.
Follow these instructions to make sure the circuit breaker is on:
- Go to your household fuse box.
- Locate the circuit breaker that supplies power to your stove.
- Make sure the circuit breaker is turned on and hasn’t tripped.
- If the circuit breaker is turned off, switch it back on. Check if your stove is now working. If not, move on to step 3.
- If the circuit breaker is on, attempt to plug your stove into a separate power socket that you’re 100% sure is working. if it works in a different socket, the original socket will need to be repaired or replaced. If it still doesn’t work, move on to step 3.
- If you repair or replace the circuit breaker or power socket, turn your stove on to make sure it’s now working. If not, move on to step 3.
Step 3 – Make sure the stove knobs are correctly attached
The next step is to make sure the stove knobs are correctly attached. If you have recently taken them off, you might have put them on incorrectly. This will generally only apply to older stoves that have manual knobs, so if you have a digital control pad for the burners, you can move straight to step 4.
Follow these instructions to make sure the stove knobs are correctly attached:
- Take all the knobs off the stove.
- Check your stove’s user manual to double-check where each of the knobs should go.
- Put the knobs into the right slots.
- Check if your stove can now heat. If not, move on to step 4.
Step 4 – Make sure the wiring isn’t defective
Sometimes the wiring that provides power to your burners can burn out or become damaged. When this occurs, it will prevent your electric burner from working.
Follow these instructions to make sure the wiring isn’t defective:
- Turn the power off to your stove.
- Carefully check each connection point and wire harness (or individual wires) for any signs of damage. You also need to ensure they are all securely connected.
- If any wires or connections are damaged, they will need to be replaced. If you don’t find any damage, you can move on to step 5.
- Once the new wires and/or connection points have been installed, turn your stove back on and check if it is now working correctly. If not, move on to step 5.
Step 5 – Make sure the surface element switch isn’t defective
Your electric stove has a surface element switch that turns the voltage off when your element reaches the right temperature. If the switch is defective, your electric stove burner will not work.
Follow these instructions to make sure the surface element switch isn’t defective:
- Turn the power off to your stove.
- Disconnect one faulty element and one element that does work.
- Plug the element that doesn’t work into the connection point for the element that does work. If all elements don’t work, you will need to buy a new element that does work to attempt this test. Alternatively, you can skip to step 6 and replace the entire stovetop.
- If the element works in a different connection point, this means the original connection point is faulty and will need to be replaced. If it doesn’t work, move on to step 6.
- Once replaced, check if your burner now works. If not, move on to step 6.
Step 6 – Install a new stove burner
The final step you can take is to install brand-new electric heating elements or if this is not possible, a brand-new stove top that has multiple elements. Alternatively, you can get a technician to come and inspect your electric stove burner to see if they can diagnose and fix the problem.
Apr. 09, 2024
Why Is My Microwave Sparking?
Mar. 06, 2024
Understanding Frigidaire Dishwasher Error Codes

Feb. 05, 2024
How to Dry Shoes in Dryer Without Damaging Them
Jan. 03, 2024
Why Is My Dishwasher Leaking?

Dec. 11, 2023
How to Solve Electrolux Dryer Error Code E64

Nov. 06, 2023
Microwave Light Won’t Turn Off? Here’s Why
Oct. 02, 2023
GE Oven F9 Error Code: How to Fix It
Sep. 08, 2023
How to Use a Self-Cleaning Oven (In 4 Steps)
Jul. 31, 2023
How To Use a Maytag Top-Load Washing Machine
Jul. 19, 2023
What to Do If Your Samsung Ice Maker Is Not Making Ice
Jun. 13, 2023
How to Fix a Microwave Turntable That’s Not Turning

May. 08, 2023
How to Wash Pillows in a Washing Machine
Apr. 10, 2023
How to Fix an Ice Maker That Isn’t Working
Mar. 14, 2023
Broken Refrigerator Door Seal? How To Fix It
Feb. 01, 2023
Samsung Dishwasher Not Draining? Here’s What to Do
719 - 574 - 3344Give us a call!