

January 6, 2022
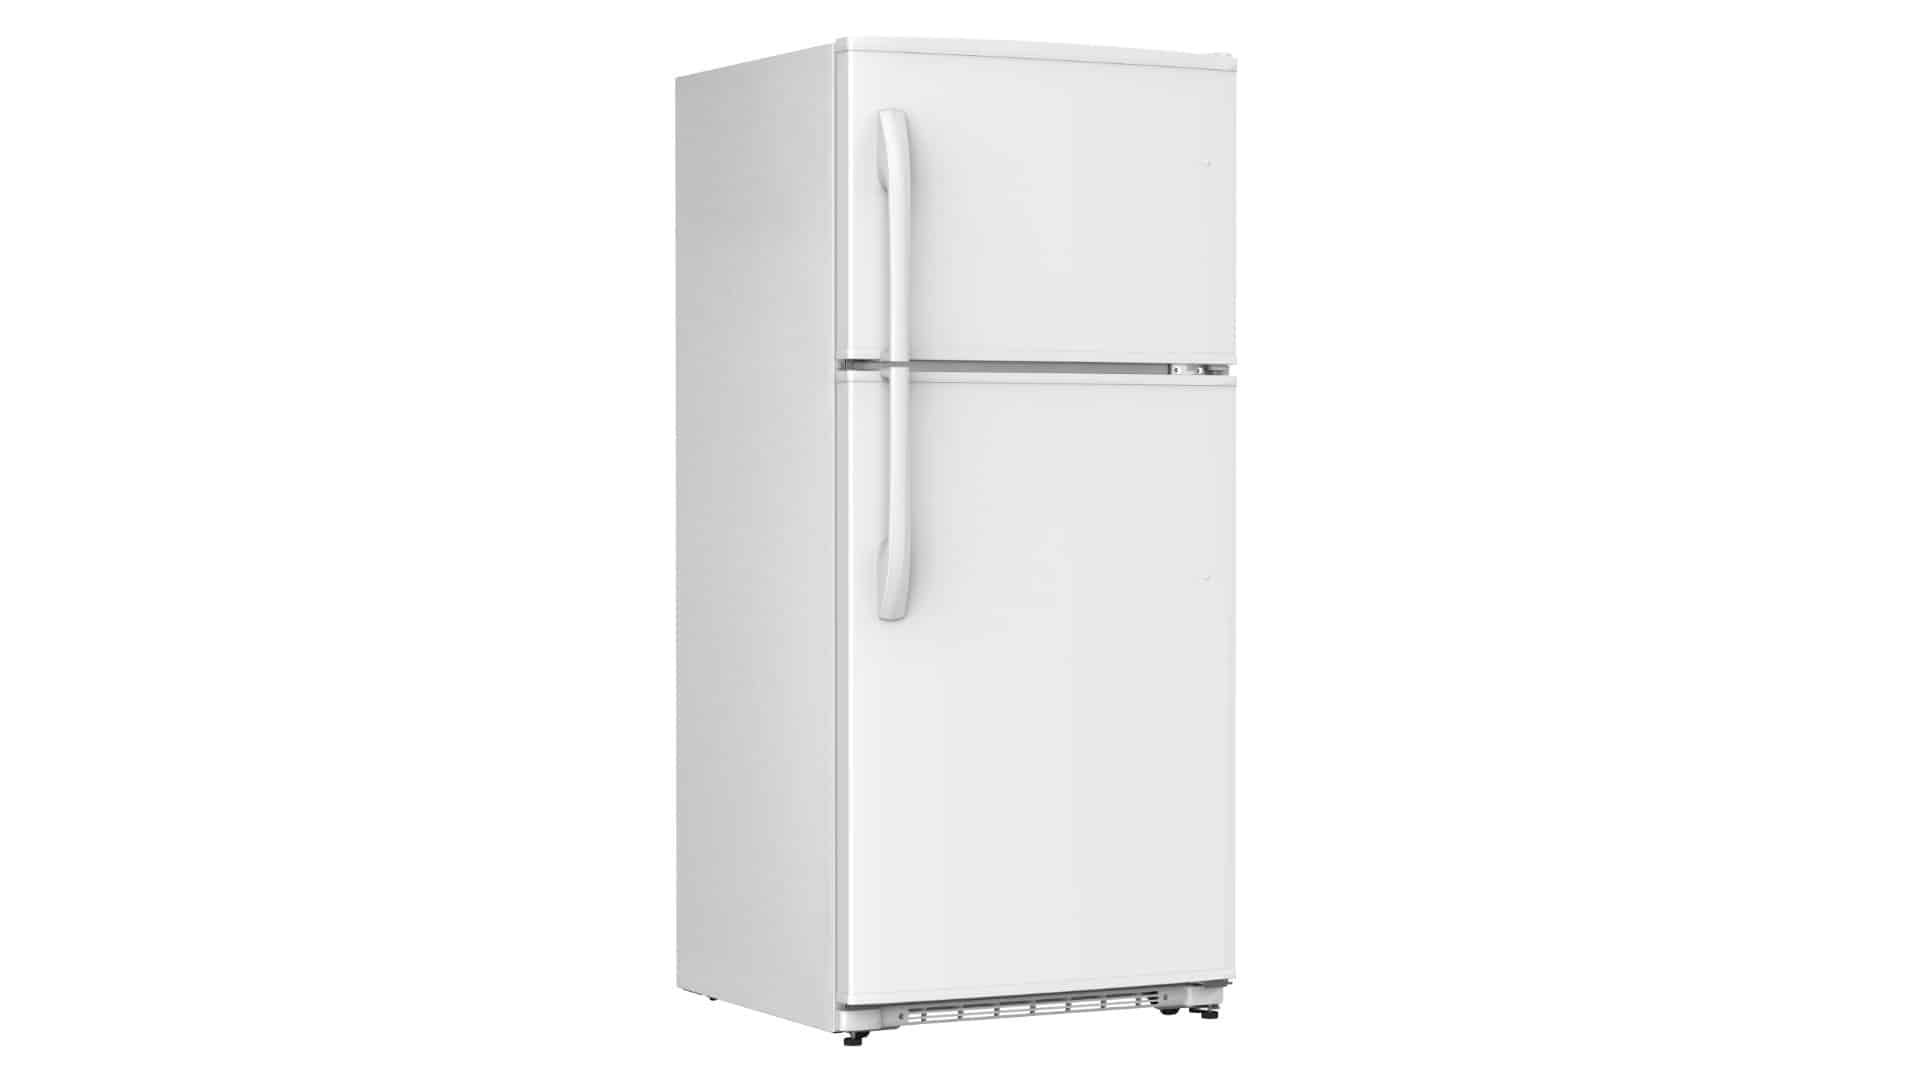
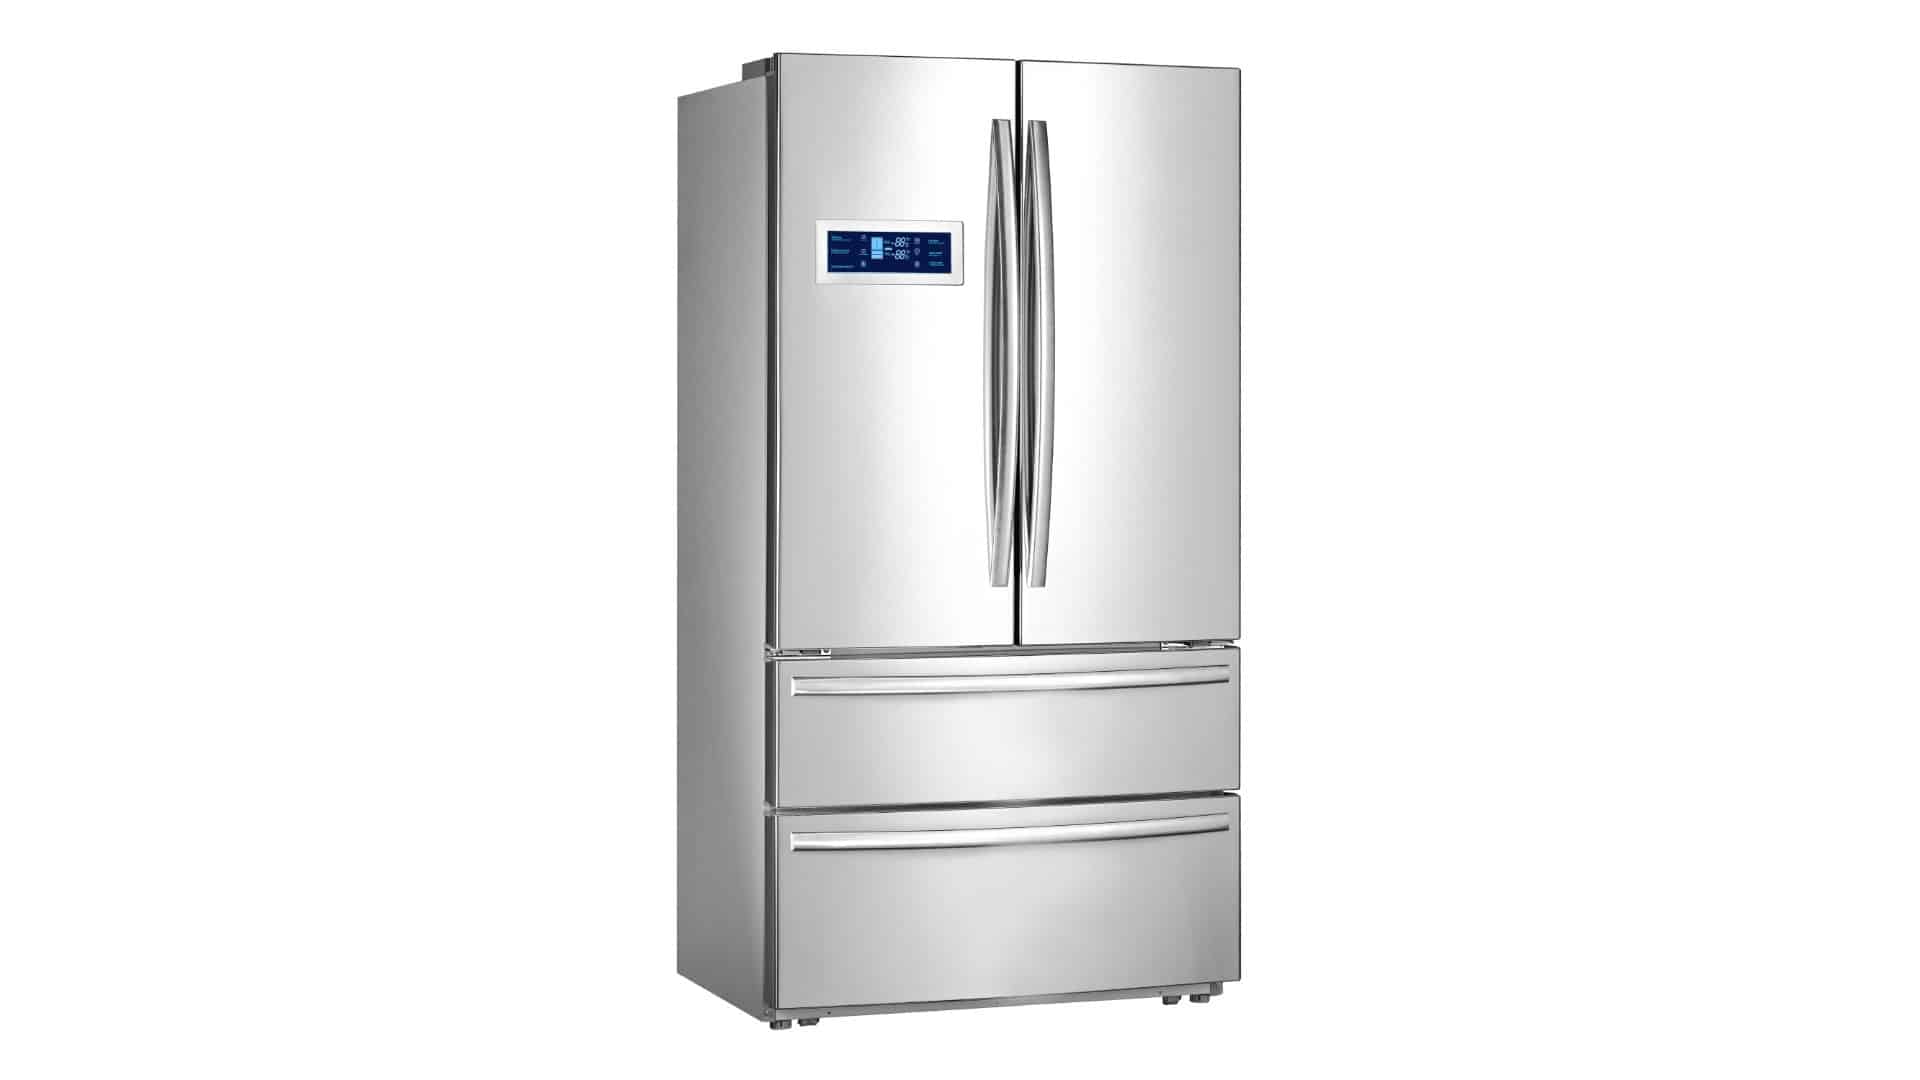
Refrigerator Repair
If your fridge is leaking water, it can damage your kitchen floor and be a hazard, which is why it’s important to fix it ASAP.
Most of the time, it’s something simple causing the leak, like a blocked drain or faulty valve so you don’t need to worry. Simply go through the causes listed in this article and you should stop the leak quickly.
Make sure the defrost drain isn’t blocked
The first thing to check is the defrost drain to ensure it isn’t blocked. If this happens, water won’t be able to drain out of your fridge correctly and will instead leak onto your kitchen floor.
Checking the defrost drain is simple, you just need to:
- Remove the food from the bottom of your fridge so you can access the drain.
- Once you locate the drain, check that it isn’t blocked by pouring hot soapy water into it. If it’s blocked, use a piece of wire to unblock it. If the drain isn’t blocked, you can skip to the next possible cause in the article.
- Once the drain is flushed out and working again, put your food back inside and monitor your fridge for the next few hours to see if the leak has stopped. If the leak is still occurring, check the next possible cause.
Make sure the water inlet valve is working
The purpose of the water inlet valve is to supply water to the ice maker in your fridge. If the valve stops working or gets a crack in it, your fridge may leak water onto the floor.
To check the water inlet valve, you simply need to:
- Start by unplugging the fridge.
- Next, pull your fridge out from the wall so you can inspect the water inlet valve at the back of the fridge.
- Once you locate the valve (you may need to remove the lower back panel) check the valve for any signs of damage. If damaged, it will need to be replaced.
- Next, turn the water supply off, disconnect the valve and check to see if it opens and closes correctly. If it’s defective in any way, it will need to be replaced. If the valve is working correctly, reconnect it and move on to checking the next possible cause.
- If you see no obvious damage to the valve, check that it’s connected to the water pipe firmly and if not, tighten it.
- If you do replace the valve, after doing so, plug your fridge back in and check if the leak has stopped. If it hasn’t, you’ll need to check the water tank (see below).
Make sure the water tank isn’t cracked
If your fridge has a water tank that supplies water to the ice maker, you’ll need to check if it’s cracked. When water tanks get cracks in them, a leak can occur.
Here’s how to check the water tank to make sure it isn’t causing a leak:
- Unplug the fridge and then find the water tank.
- Give the tank a thorough inspection to ensure it isn’t cracked.
- If cracked, it will need to be replaced. If the tank isn’t damaged, move on to checking the next possible cause below.
- If you do replace the tank, after doing so, turn your fridge back on and check if the leak has stopped. If not, check the water filter head (see below).
Make sure the water filter head isn’t faulty
The water filter head is the part in your fridge that the water filter connects to. If it becomes cracked or in any other way defective, it may cause a leak to occur.
To make sure the water filter head isn’t the cause of the leak you need to:
- Unplug the fridge and pull it out from the wall to access the water filter unit..
- Inspect the head/water filter assembly to see if it is cracked or if the seals are damaged in any way.
- If the water filter head is okay, move on to checking the water filter (see below). If the filter head is defective, replace it.
- If you do replace the water filter head, plug the fridge back in to check if the leak has stopped. If not, you’ll need to check the water filter (see below).
Ensure the water filter isn’t leaking
The water filter filters the water that runs through your fridge and into the ice maker. If the filter gets worn out, leaks will occur. Filters should be changed regularly to avoid this from happening.
Here’s how to make sure the water filter isn’t leaking:
- Unplug the fridge and pull it out from the wall to access the water filter unit.
- Disconnect the water filter from the filter head/housing and then reconnect it to see if it fits back in place nice and tight. If not, it will need to be replaced.
- Even if the filter fits in place correctly you should change the filter to ensure it’s not the cause of the leak.
- Once replaced, plug the fridge back in and monitor it over the next few hours to see if the leak has stopped. If not, check the drain pan (see below).
Make sure the drain pan isn’t faulty
Most fridges are self-draining. When the water drains out, it goes into the drain pan, then the heat from the condenser fan evaporates it slowly without the need for you to empty the pan. However, sometimes the drain pan can freeze over causing the pan to crack.
To make sure the drain pan isn’t the cause of the leak, you need to:
- Unplug your fridge and pull it out from the wall.
- If required, remove the lower panel on the fridge.
- Find the drain pan and inspect it for cracks.
- If the drain pan is cracked, replace it. Plug the fridge back in to check if the leak has stopped.
Apr. 09, 2024
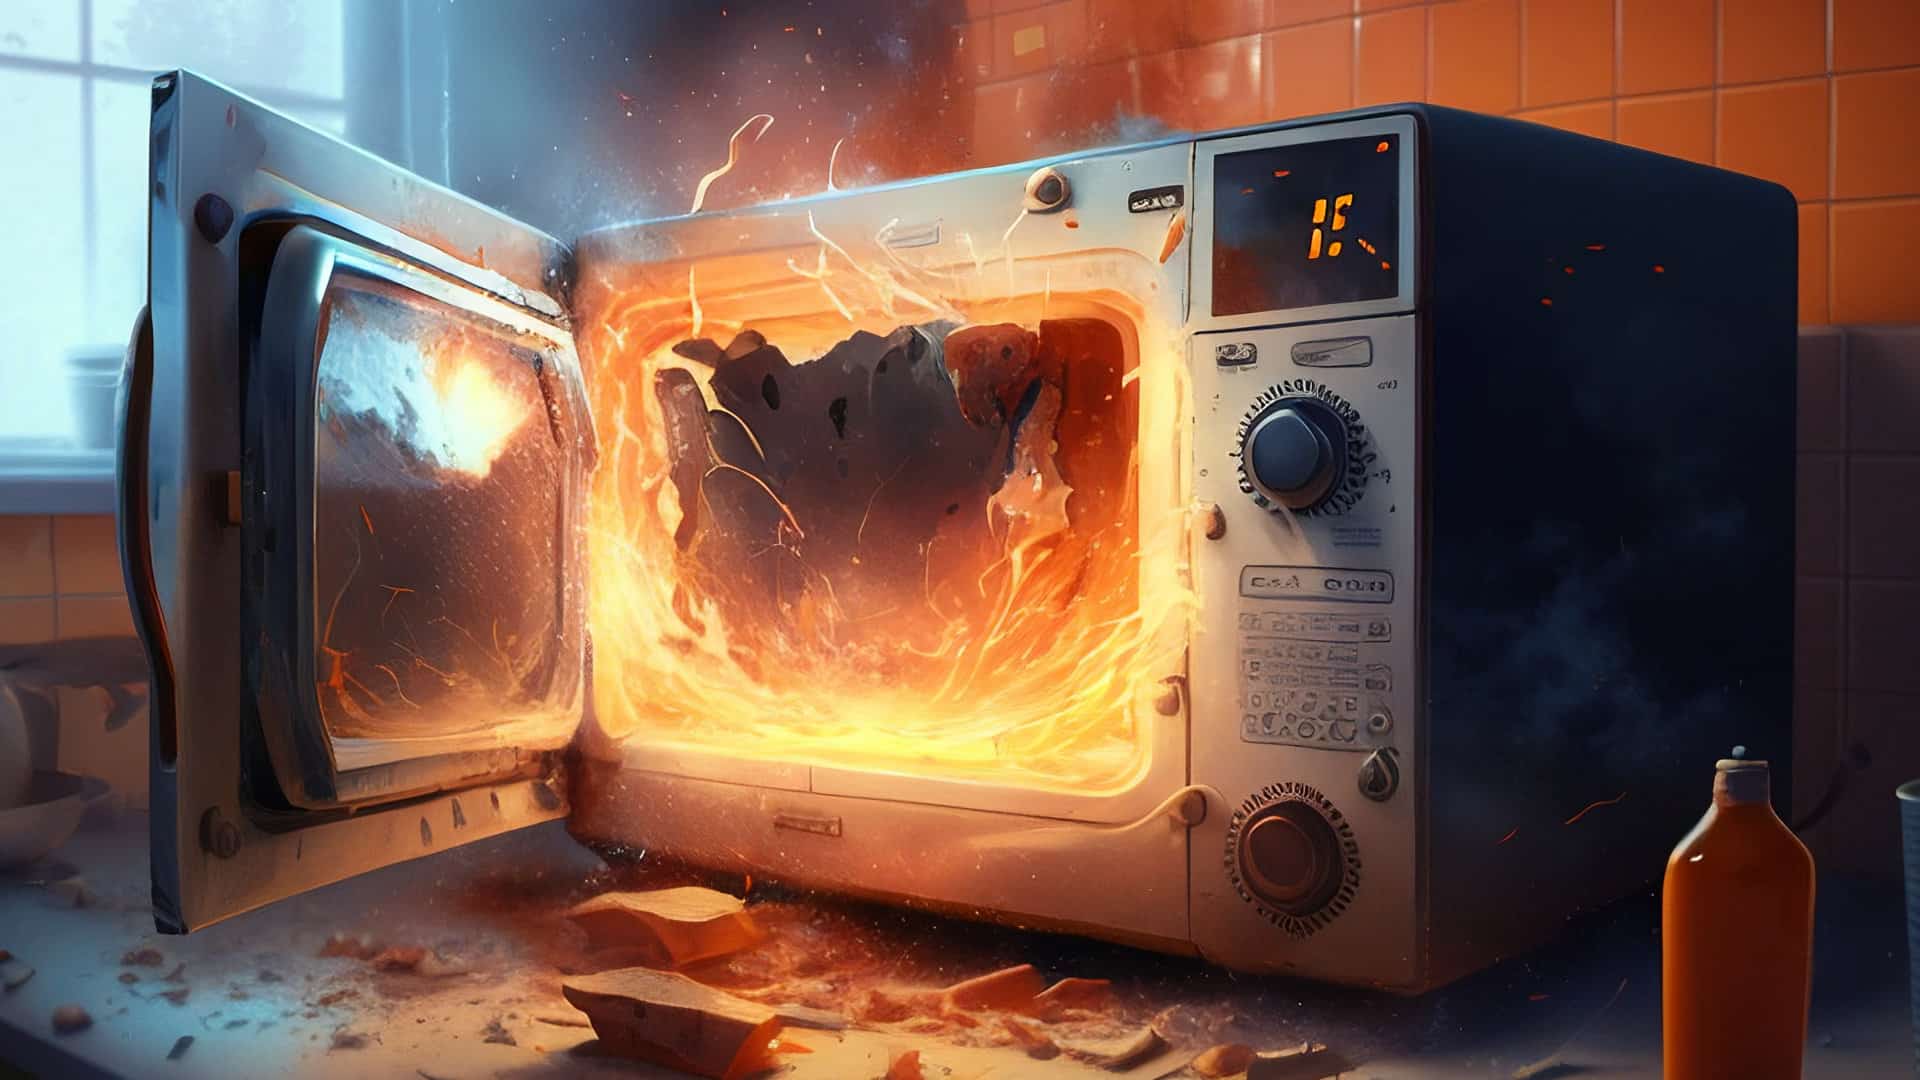
Why Is My Microwave Sparking?
Mar. 06, 2024
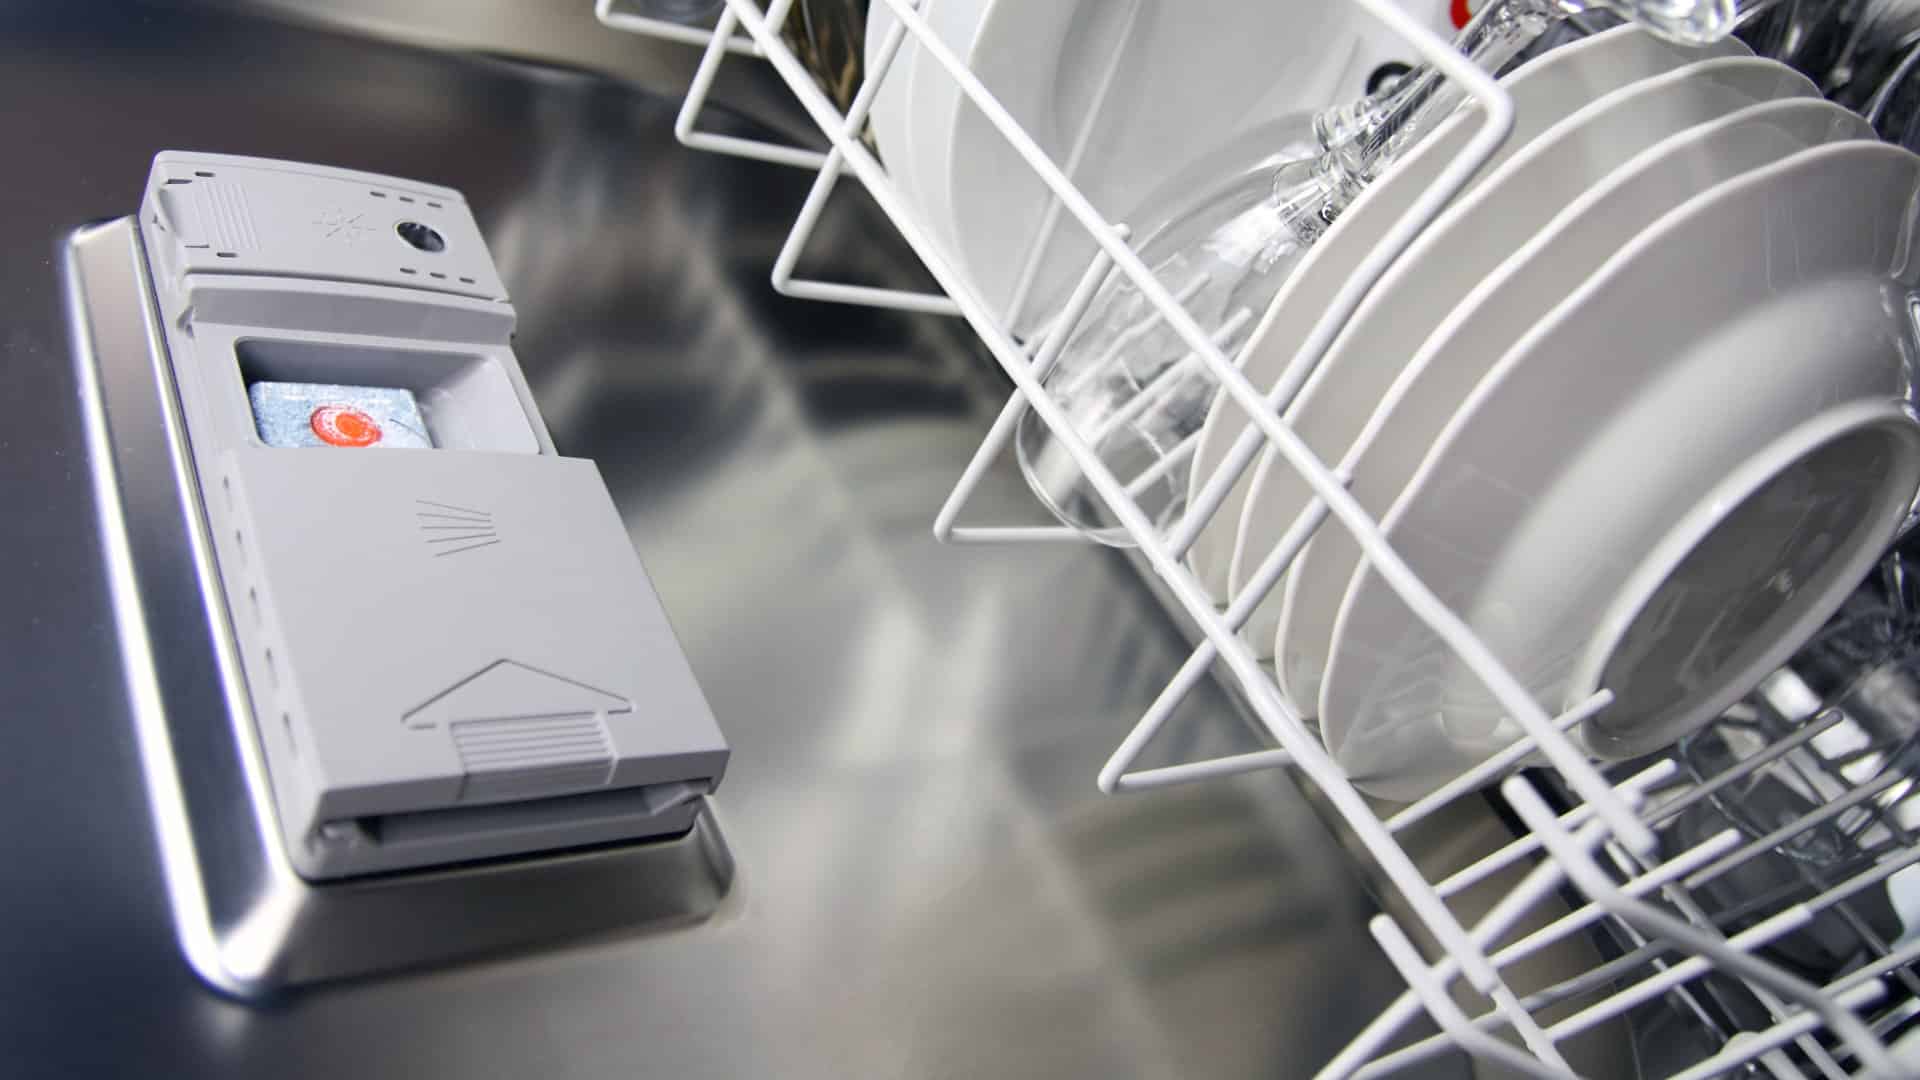
Understanding Frigidaire Dishwasher Error Codes

Feb. 05, 2024
How to Dry Shoes in Dryer Without Damaging Them
Jan. 03, 2024
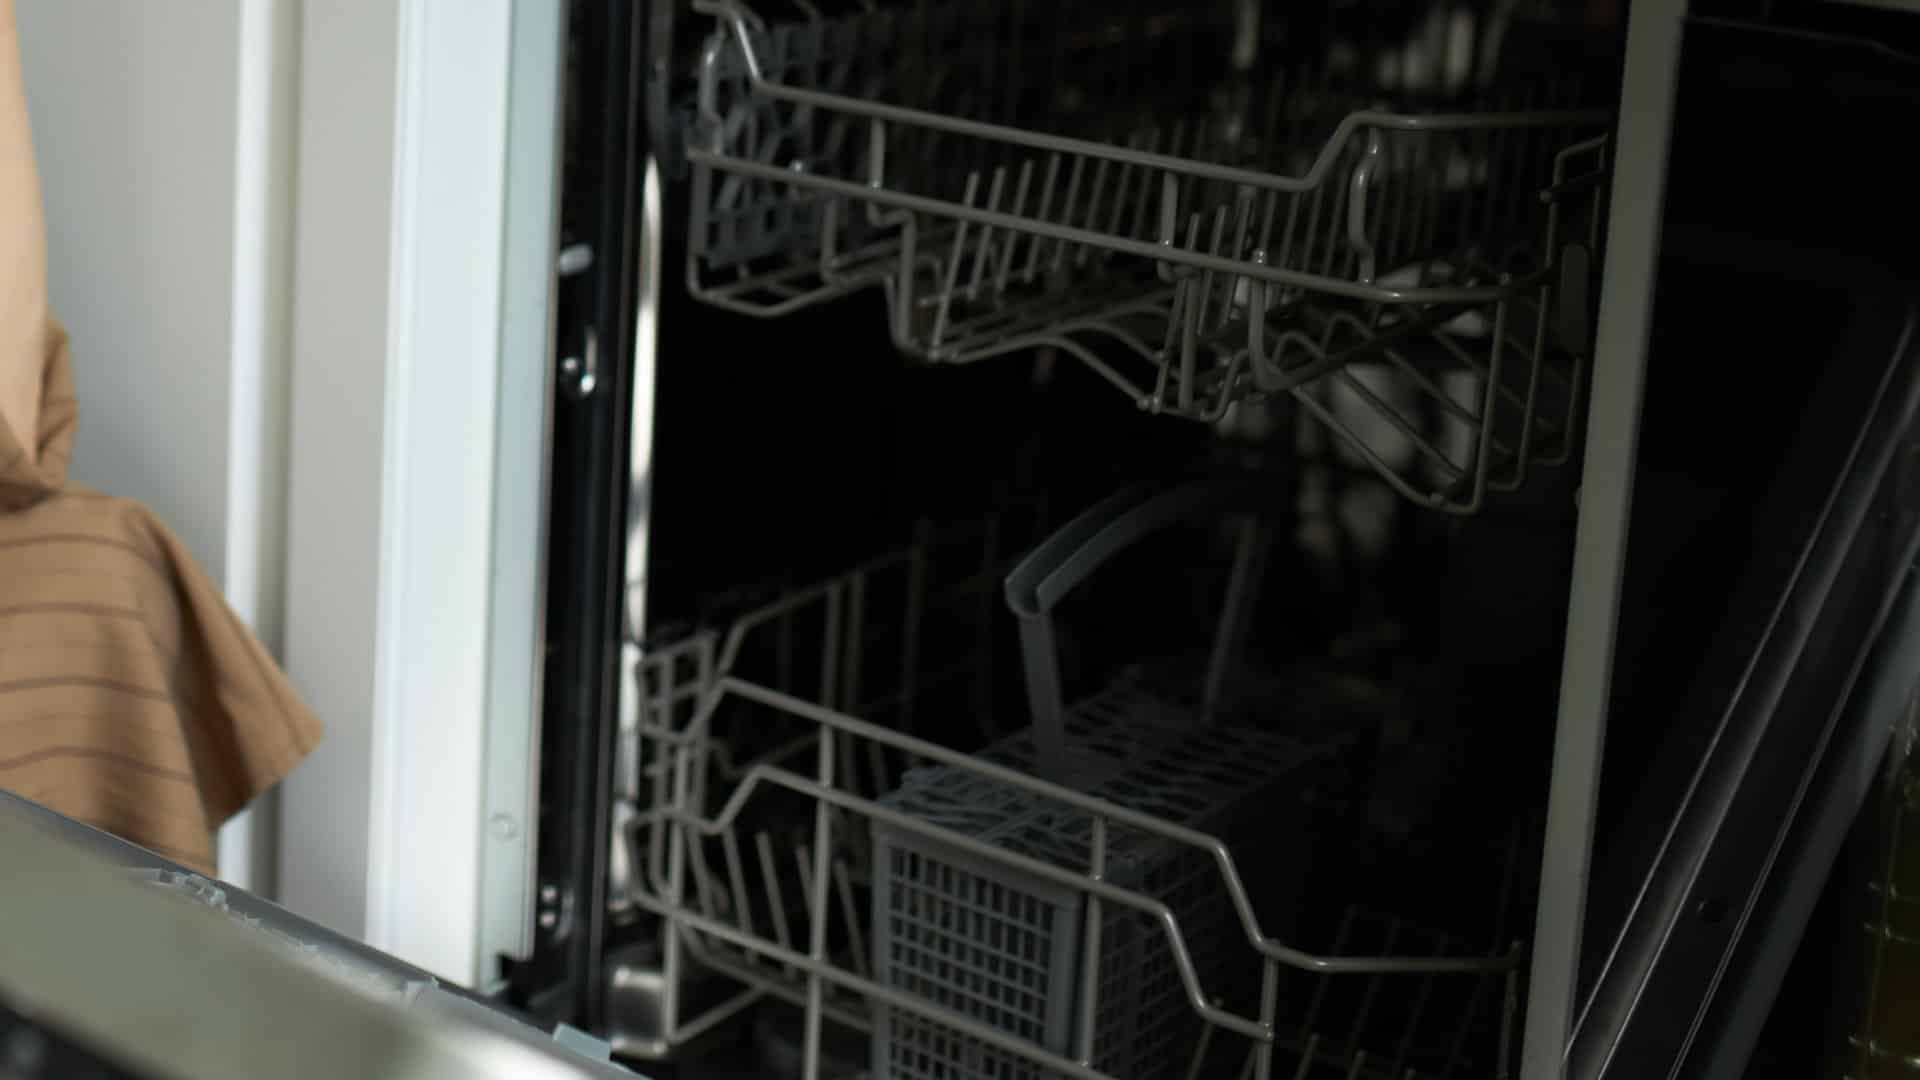
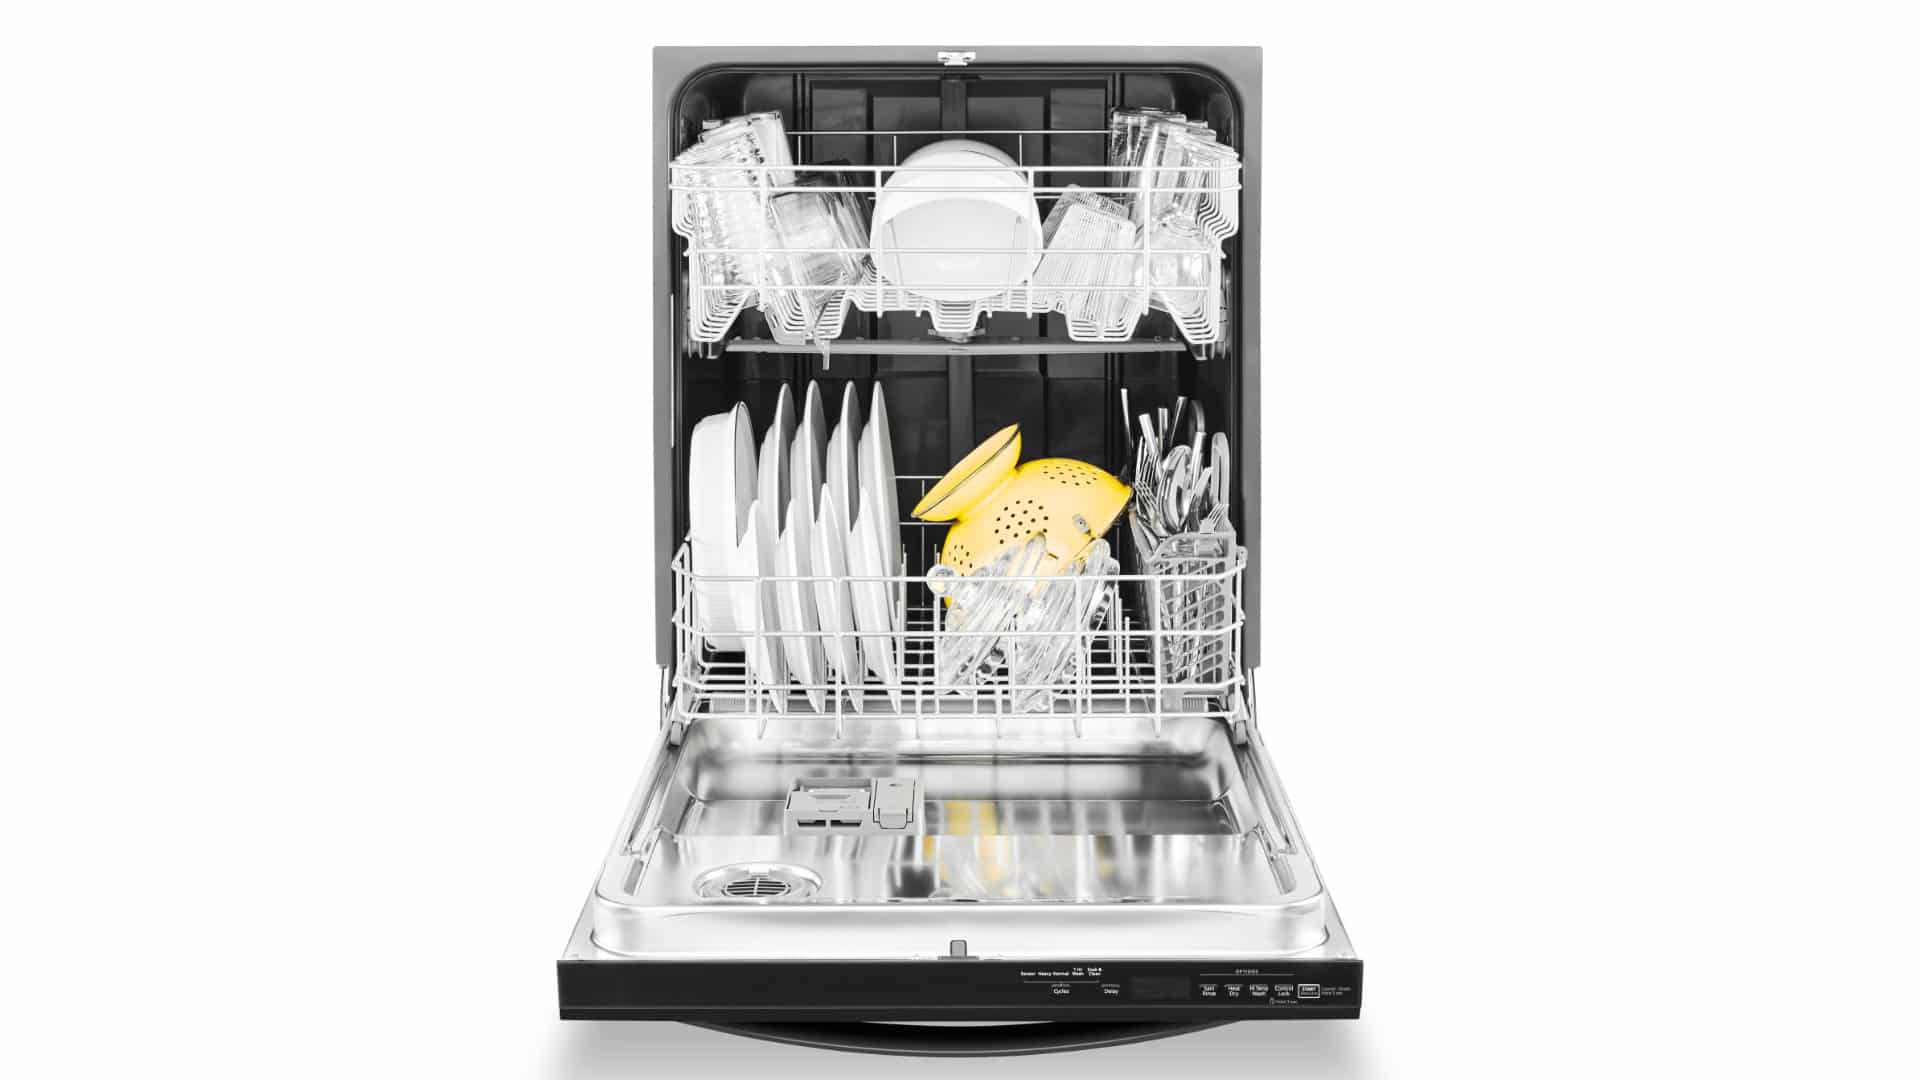
Why Is My Dishwasher Leaking?

Dec. 11, 2023
How to Solve Electrolux Dryer Error Code E64

Nov. 06, 2023
Microwave Light Won’t Turn Off? Here’s Why
Oct. 02, 2023
GE Oven F9 Error Code: How to Fix It
Sep. 08, 2023
How to Use a Self-Cleaning Oven (In 4 Steps)
Jul. 31, 2023
How To Use a Maytag Top-Load Washing Machine
Jul. 19, 2023
What to Do If Your Samsung Ice Maker Is Not Making Ice
Jun. 13, 2023
How to Fix a Microwave Turntable That’s Not Turning

May. 08, 2023
How to Wash Pillows in a Washing Machine
Apr. 10, 2023
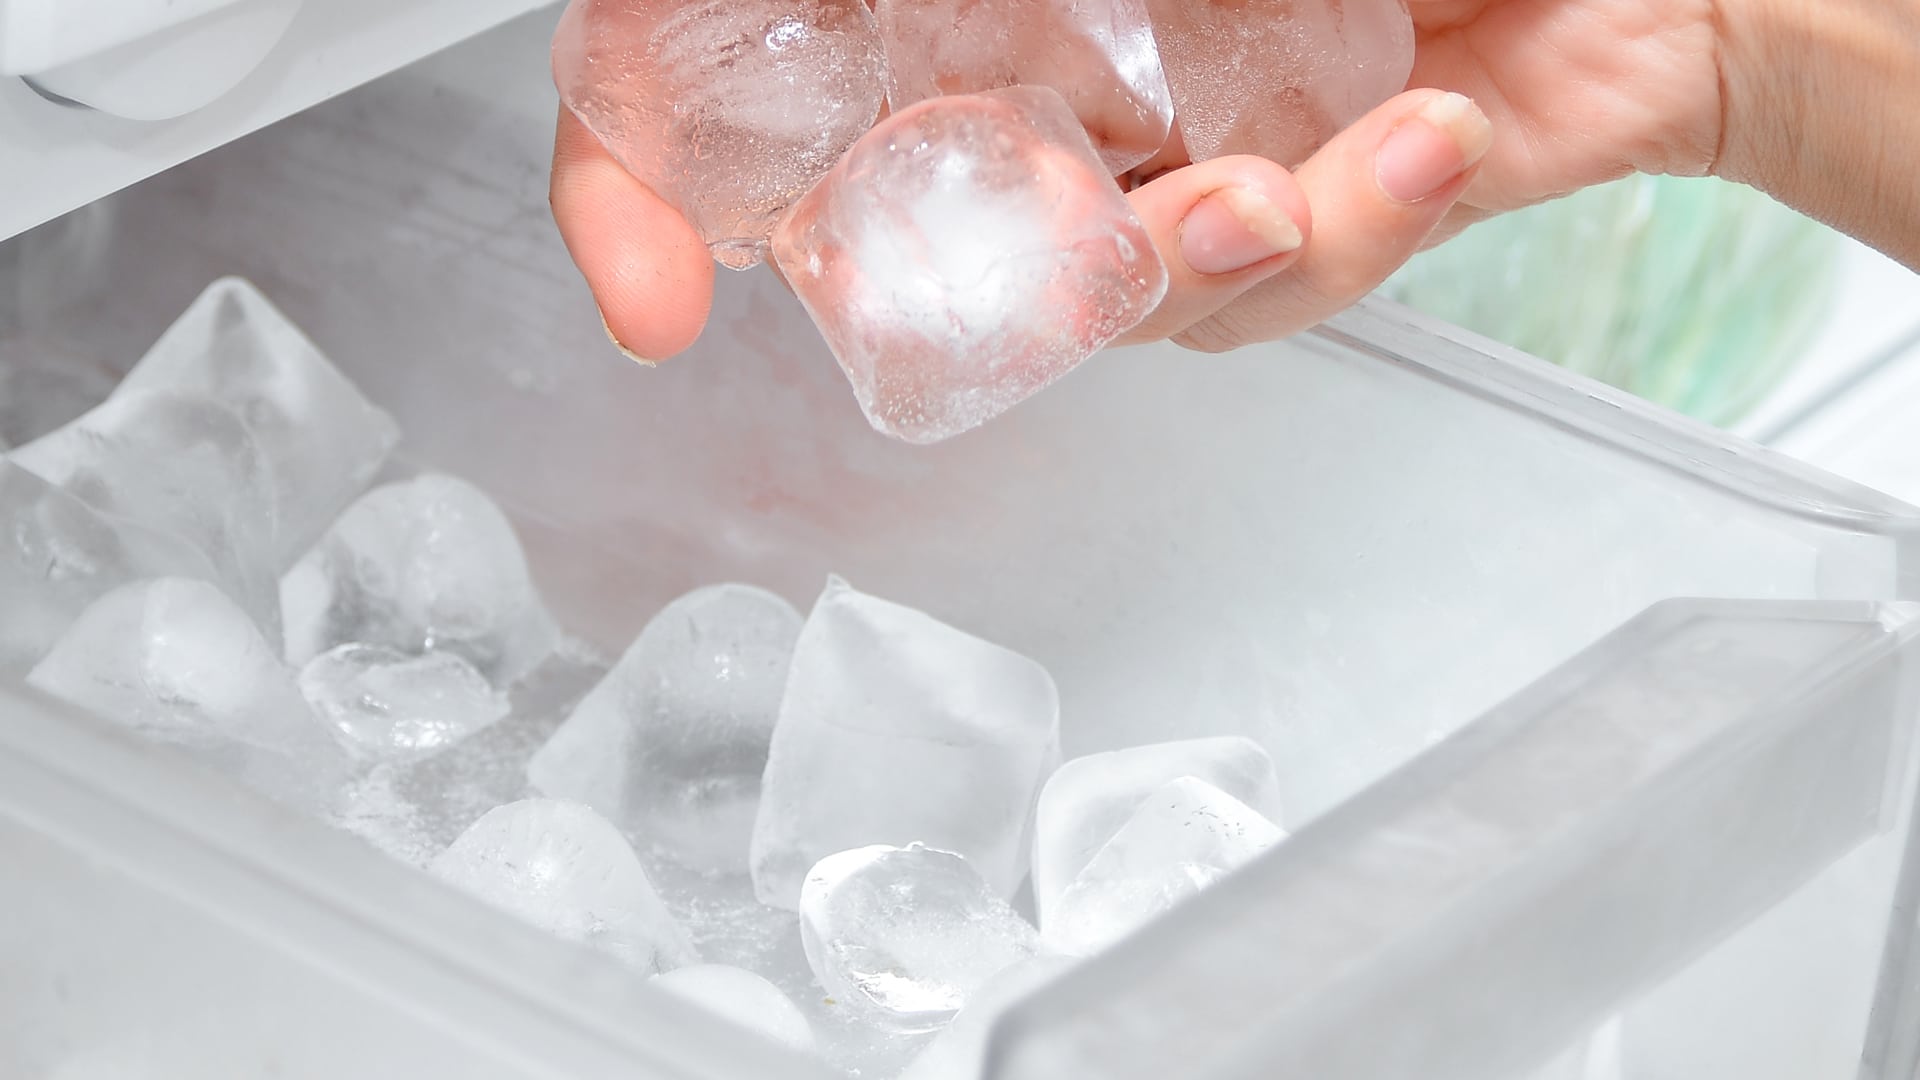
How to Fix an Ice Maker That Isn’t Working
Mar. 14, 2023
Broken Refrigerator Door Seal? How To Fix It
Feb. 01, 2023
Samsung Dishwasher Not Draining? Here’s What to Do
719 - 574 - 3344Give us a call!