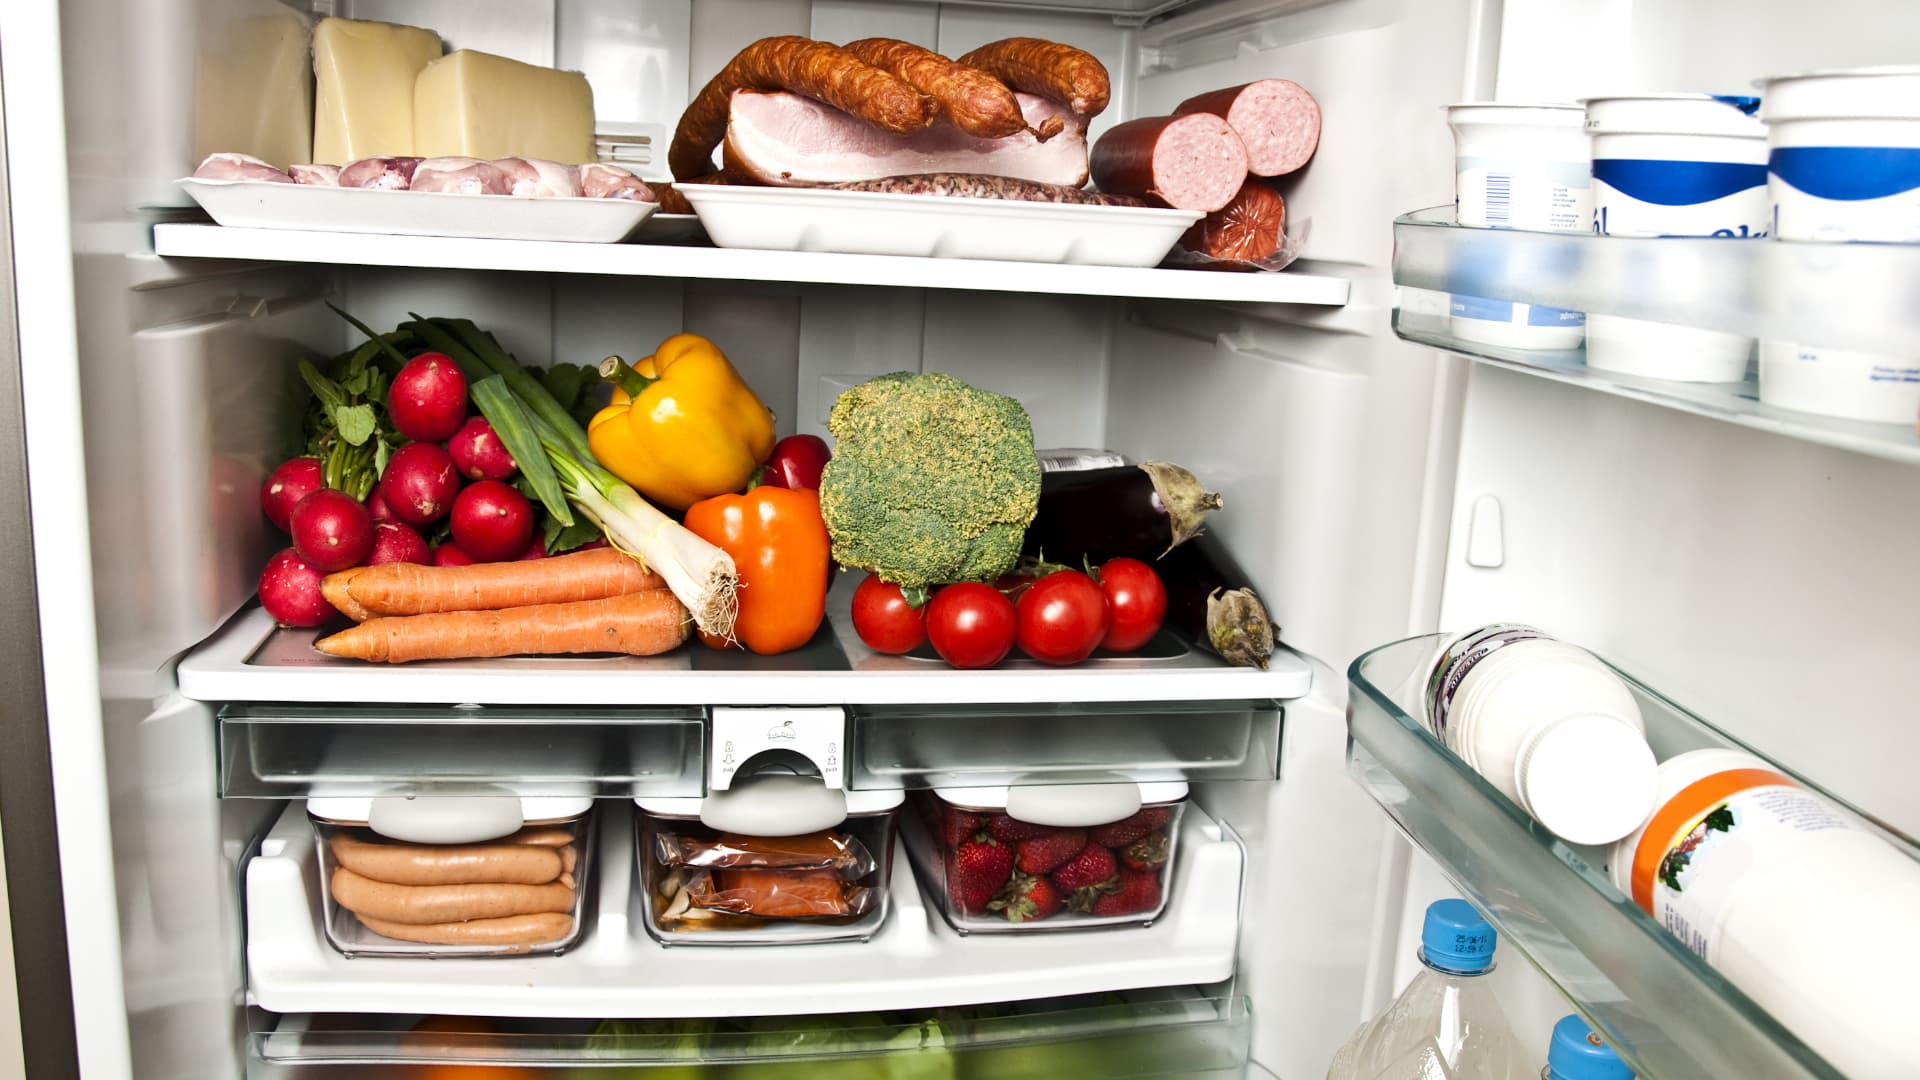
A refrigerator that is overchilling or freezing your food and beverages can cause a big disruption to your household. Fortunately, this guide is here to help diagnose and fix the issue. In some cases, unblocking the vents and adjusting the temperature or damper will solve the issue. However, testing and replacing other components, such as a thermistor or thermostat, may require more expertise.
How Refrigerator Cooling Works
The refrigerator’s cold air originates in the freezer compartment. The cold air is then circulated between the fresh food compartment and the freezer in a continuous cycle. Typically, about 80% of the air stays inside the freezer, while about 20% goes into the fresh food compartment. If any of the refrigerator vents are blocked, this could be causing the overcooling issue. The amount of cold air that comes into the refrigerator is usually controlled by a damper, which, depending on your model, can either be manually adjusted or is automatically controlled by the temperature control thermostat.
Is the Temperature Set Correctly?
Before checking the damper and thermostat, make sure that the refrigerator temperature is set between 36 and 38 degrees Fahrenheit. If you have a numbered dial to set the temperature, setting it to the middle should provide the correct temperature on most refrigerators. Generally, the higher you turn the dial, the colder it will become. If you do adjust the temperature, it can take 24 hours for the temperature to stabilize. Checking that the freezer temperature is set correctly may also solve the overcooling issue. Freezers should be set to between 0 and 5 degrees Fahrenheit.
Check the Damper
The location of the damper will depend on your refrigerator model. If you put your hand up to the damper, you should be able to feel the cold air coming through from the freezer. Mechanical dampers usually have a slide gate, which will open or close the damper. Automatic dampers are usually powered by an electric motor and will open and close depending on the temperature readings from the thermistor sent to the temperature control thermostat.
- Check that the damper assembly is working correctly. If the damper door is stuck in the open position, it will need to be fixed or replaced.
- If you have a manually controlled damper, check that it is slightly closed and not allowing too much cold air to enter the refrigerator.
- An automatic damper can be removed from the refrigerator and the motor tested with a multimeter.
- The thermistor can also be removed and tested with a multimeter.
Make sure to disconnect the power to the refrigerator before removing either the damper or thermistor.
Defective Thermistor or Temperature Sensor
A thermistor is a temperature sensor that is usually located close to the airflow. Depending on the refrigerator model, there may be up to four different thermistors. On some models, they may also be referred to as temperature sensors. The thermistor sends readings to the temperature control board, which directs voltage to the relevant cooling system components as needed. A malfunctioning thermistor may result in the compressor and fan motors running continuously, which results in overcooling.
If a thermistor is defective, it will either need to be removed and tested with a multimeter or its terminal in the refrigerator’s main control board accessed and tested. Thermistors can be tested for continuity and also for resistance at varying temperatures. The correct resistance for the thermistor will depend on the refrigerator model. You will need to read the refrigerator’s tech sheet to identify the correct resistance to test for.
Temperature Control Thermostat
In most refrigerator models, the temperature is monitored by a temperature control thermostat. Depending on the model, the thermostat may be labeled as the refrigerator control or the freezer control, and some refrigerators may have a thermostat for both the refrigerator and freezer. A malfunctioning thermostat could result in the compressor running too often, which could cause items to freeze in the refrigerator compartment.
To check a dial-controlled thermostat:
- When the compressor is running, turn the dial to the lowest setting.
- If you hear a click, it indicates that the cooling system is shutting off, which means the thermostat is working and is not defective.
To check the thermostat with a multimeter:
- Turn off the power supply to the refrigerator.
- Remove the thermostat from the refrigerator.
- Place the thermostat sensor in a glass of ice water.
- Attach the multimeter probes to the terminals.
- Rotate the thermostat dial and monitor the continuity reading. As the dial reaches the lowest setting, continuity should be interrupted. If the thermostat shows continuity at all dial settings, the thermostat has likely shorted and will need to be replaced.
Defective Control Board
Newer refrigerators typically feature a control board that regulates the power supply to the various refrigerator components. Depending on the refrigerator model, the control board may be located either on the rear of the refrigerator or in the control housing at the front.
If the control board is defective, the compressor and fan motors could be producing and circulating too much cold air. However, it is rare for a refrigerator control board to malfunction. Make sure to verify that the damper, thermistor, and thermostat are not responsible before replacing the control board.
The control board can be inspected for signs of damage, such as burning, corrosion, or loose connections. The individual connectors for the thermistors can also be removed from the board and tested for resistance with a multimeter. However, you will likely need a map of the control board specific to your refrigerator model. You will also need the specific resistance measurements relative to the refrigerator model. If you are unfamiliar with control boards, it is best to enlist the services of a professional.
To check the control board:
- Turn off the power supply to the refrigerator.
- Remove the control board access panel.
- Inspect the control board for signs of damage.
- Locate the individual connectors for the thermistors and unplug them.
- Attach the multimeter probes to the connectors and test for resistance.
- If the thermistors have the correct resistance, it is more likely that the control board is defective and should be replaced.
Why Is My Microwave Sparking?
Understanding Frigidaire Dishwasher Error Codes

How to Dry Shoes in Dryer Without Damaging Them
Why Is My Dishwasher Leaking?

How to Solve Electrolux Dryer Error Code E64
Microwave Light Won’t Turn Off? Here’s Why
GE Oven F9 Error Code: How to Fix It
How to Use a Self-Cleaning Oven (In 4 Steps)
How To Use a Maytag Top-Load Washing Machine
What to Do If Your Samsung Ice Maker Is Not Making Ice
How to Fix a Microwave Turntable That’s Not Turning

How to Wash Pillows in a Washing Machine
How to Fix an Ice Maker That Isn’t Working
Broken Refrigerator Door Seal? How To Fix It
