

December 11, 2023
Dryer Repair
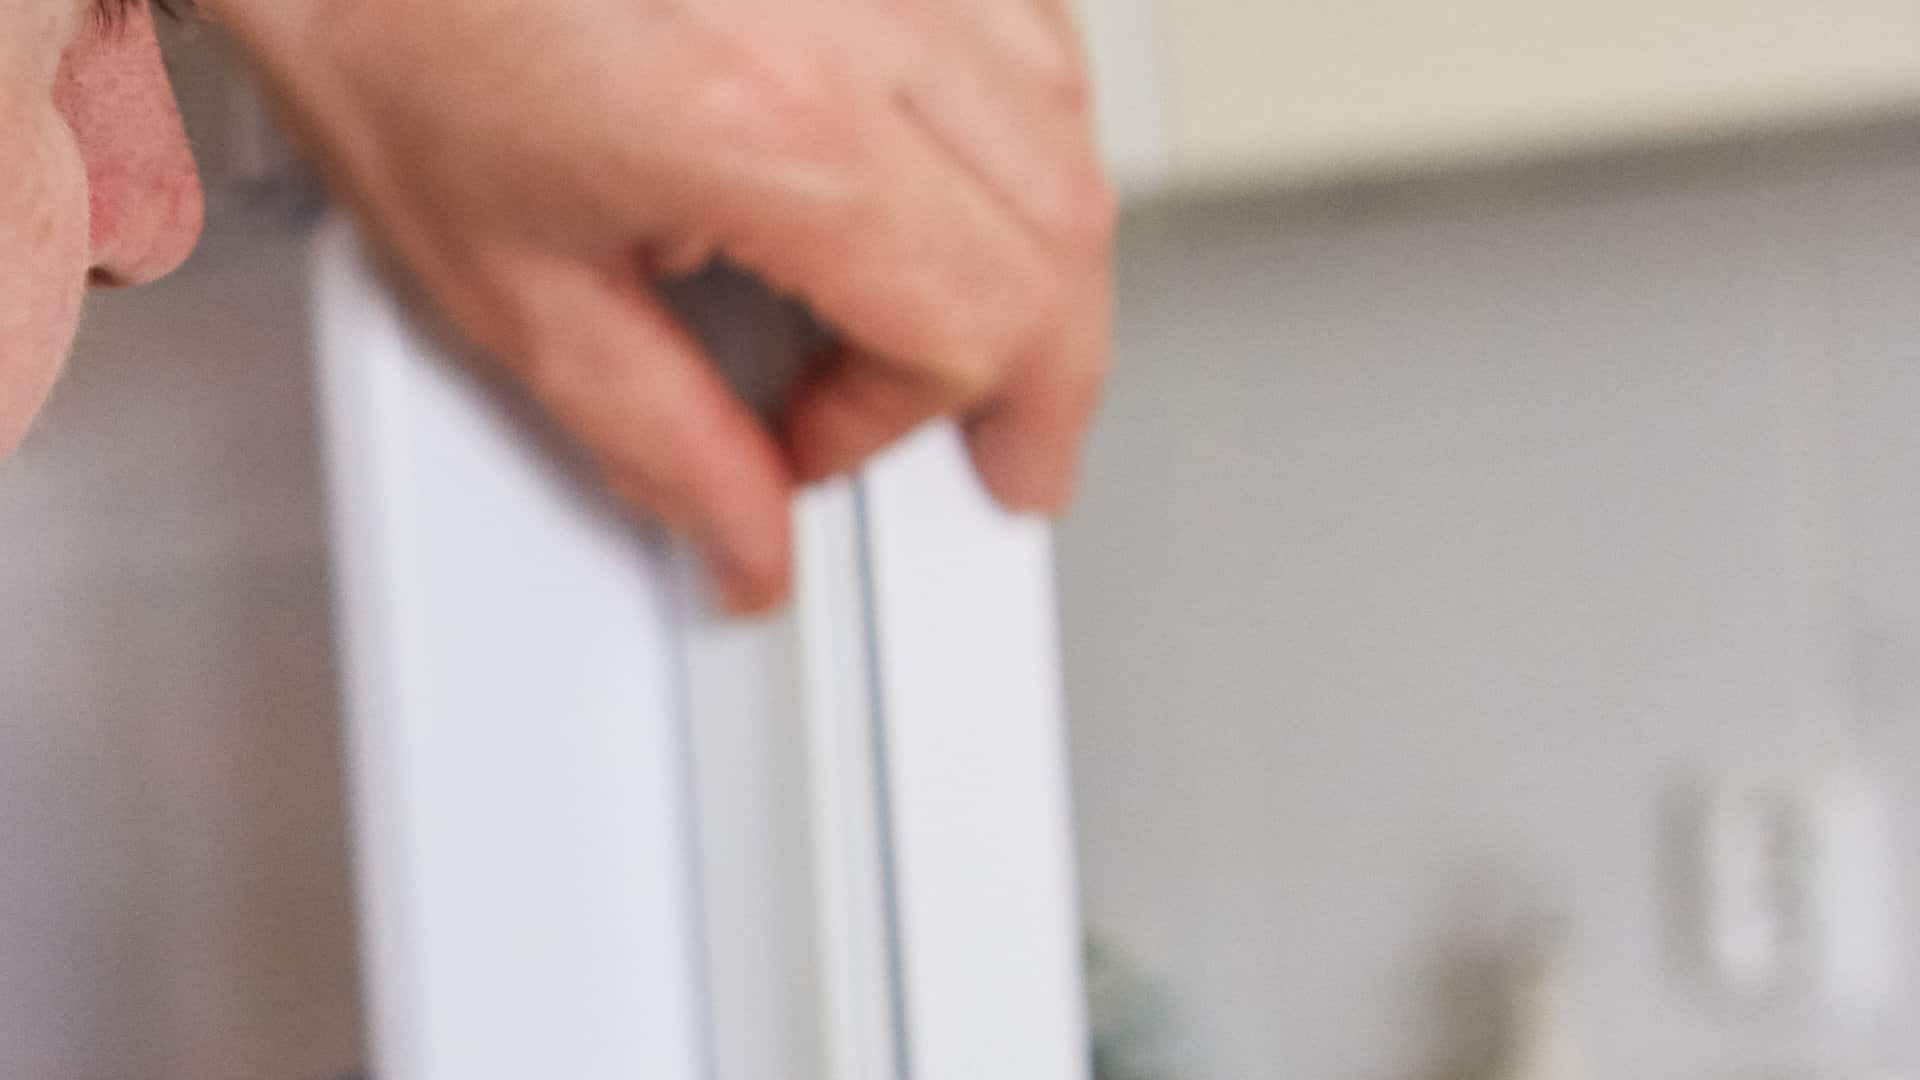
Having a dryer in your home is a great convenience that makes doing laundry easy and fast. However, when your Electrolux dryer displays an error code like E64, it means something is wrong with the machine.
An error code E64 on your Electrolux dryer points to a heater circuit issue, which means your dryer is not heating up properly.
Below, we’ll discuss how to resolve the Electrolux dryer error code E64 by following some troubleshooting steps.
Inspect the Heating Element
The first thing you should do when you see the E64 error code on your Electrolux dryer is to check if the heating element is defective.
To do this, first, unplug the dryer and, if you have a gas dryer, turn off the gas and disconnect the gas hose.
Now, pull the dryer away from the wall.
Using a nut driver or screwdriver, remove the screws holding the top panel of the dryer in place. Remove the top panel.
Undo the screws at the front of the dryer holding the dryer console in place. Gently pull the console out.
Take a picture of the wires connected to the console. Using the tab connectors, disconnect the wires connected to the console. Lift the console out and gently set it aside.
Open the dryer door.
Remove all of the screws holding the front panel in place. Start with the two screws at the top. Then undo the screws along the inside of the door frame. Gently pull the front panel out. You can use the door frame as leverage but do not put any pressure on the door hinge.
Disconnect any wires connected to the front panel. Again, you may want to take a reference picture to help with reassembly.
Now, undo any screws holding the front plate in place. Lift the plate up and out and set it aside.
You now have access to the inner body of the dryer. Reach back and unhook the belt from the tensor pulley.
Carefully lift the drum up and out. You can use the belt to do this.
You will see a large metal tube on the left side of the dryer body. This tube is the heating element and houses the thermostat, thermal fuse, and thermistor. Remove the screws securing the heating element to the base of the dryer. Undo any wires connected to the heating element, taking another picture for reference.
Once the top panel is removed, locate the heating element at the back of the dryer.
Check if any coils on the heating element are broken or damaged. If so, you will need to replace the entire heating element.
Next, use a multimeter to test if there is continuity in the heating element. If there isn’t any continuity, then it is defective and needs to be replaced.
Once the heating element is installed and connected and has been secured, reverse all of the above steps to reassemble your dryer.
Inspect the Thermal Fuse, Thermostat, and Thermistor
The second step is to check the thermal fuse on your dryer. The dryer’s thermal fuse is a safety feature that stops the dryer’s heating element from running when the dryer gets too hot.
If the thermal fuse is faulty, your dryer will display the E64 error code. To check the thermal fuse, follow the same steps you used to check the heating element. If the thermal fuse shows no continuity, you should replace it.
You will also want to check the continuity on the thermostat and thermistor of the dryer as well.
Check the Wiring
If the heating element, thermostat, thermistor, and thermal fuse are all in good condition, we suggest checking the wiring in your Electrolux dryer. When the wiring inside your dryer is corroded or melted, it can cause an E64 error. Since the electrical system in your dryer is complex, you should get a licensed electrician to check the wiring to avoid any possible electric shock.
Check the Control Board
Another possible cause of the E64 error code is the control board. If the control board is defective, it can cause several malfunctions in your dryer, including the E64 error code. To fix the control board, you may need to replace it. However, before you do so, we advise that you first confirm it is indeed the root of the problem by testing the other elements first.
Start by testing other components in your dryer that could potentially be causing the E64 error. This could include parts like the heating element, thermal fuse, or wiring. You can do this using a multimeter to check for continuity.
Follow the steps above to check these elements.
If these parts test okay, then it’s likely the control board that’s at fault.
Once you’ve confirmed the control board is the root of the problem, it’s time to replace it. Remember to disconnect your dryer from its power source before starting any repair work. Depending on your confidence level and skills, you may want to hire a professional to handle the replacement, or you could attempt to do it yourself if you’re handy and have the right tools.
The control board sits in the center of the console. Follow the first few steps above to access the control board. Take a picture of the connections going to and from the control board for reference.
Undo all of the connections on the control board. Undo the screws holding the control board in place. Gently pull to take out the control board.
Slot the replacement control board into place, and secure it with the screws. Redo the connections to the control board. Reverse the disassembly steps above to get your dryer back together and in place.
Plug the dryer in and run a test cycle. The console should light up and no longer display the E64 error code.
Call a Professional
If none of the above troubleshooting steps work, then your last option is to call a professional technician. A professional dryer repair technician can diagnose and fix the problem with your Electrolux dryer. They have the skills and expertise to fix the E64 error code, saving you expenses and the frustration of DIY repairs.
Experiencing the E64 error code on your Electrolux dryer can be frustrating; however, following the troubleshooting steps in this blog post can help you fix the problem. Checking the heating element, thermal fuse, wiring, and control board are all important steps that you can take before calling a technician.
Remember, always take caution when attempting DIY repairs and ensure you are avoiding any potential risks. If you feel uncomfortable with any stage of the process, do not hesitate to contact a professional repair technician.
Apr. 09, 2024
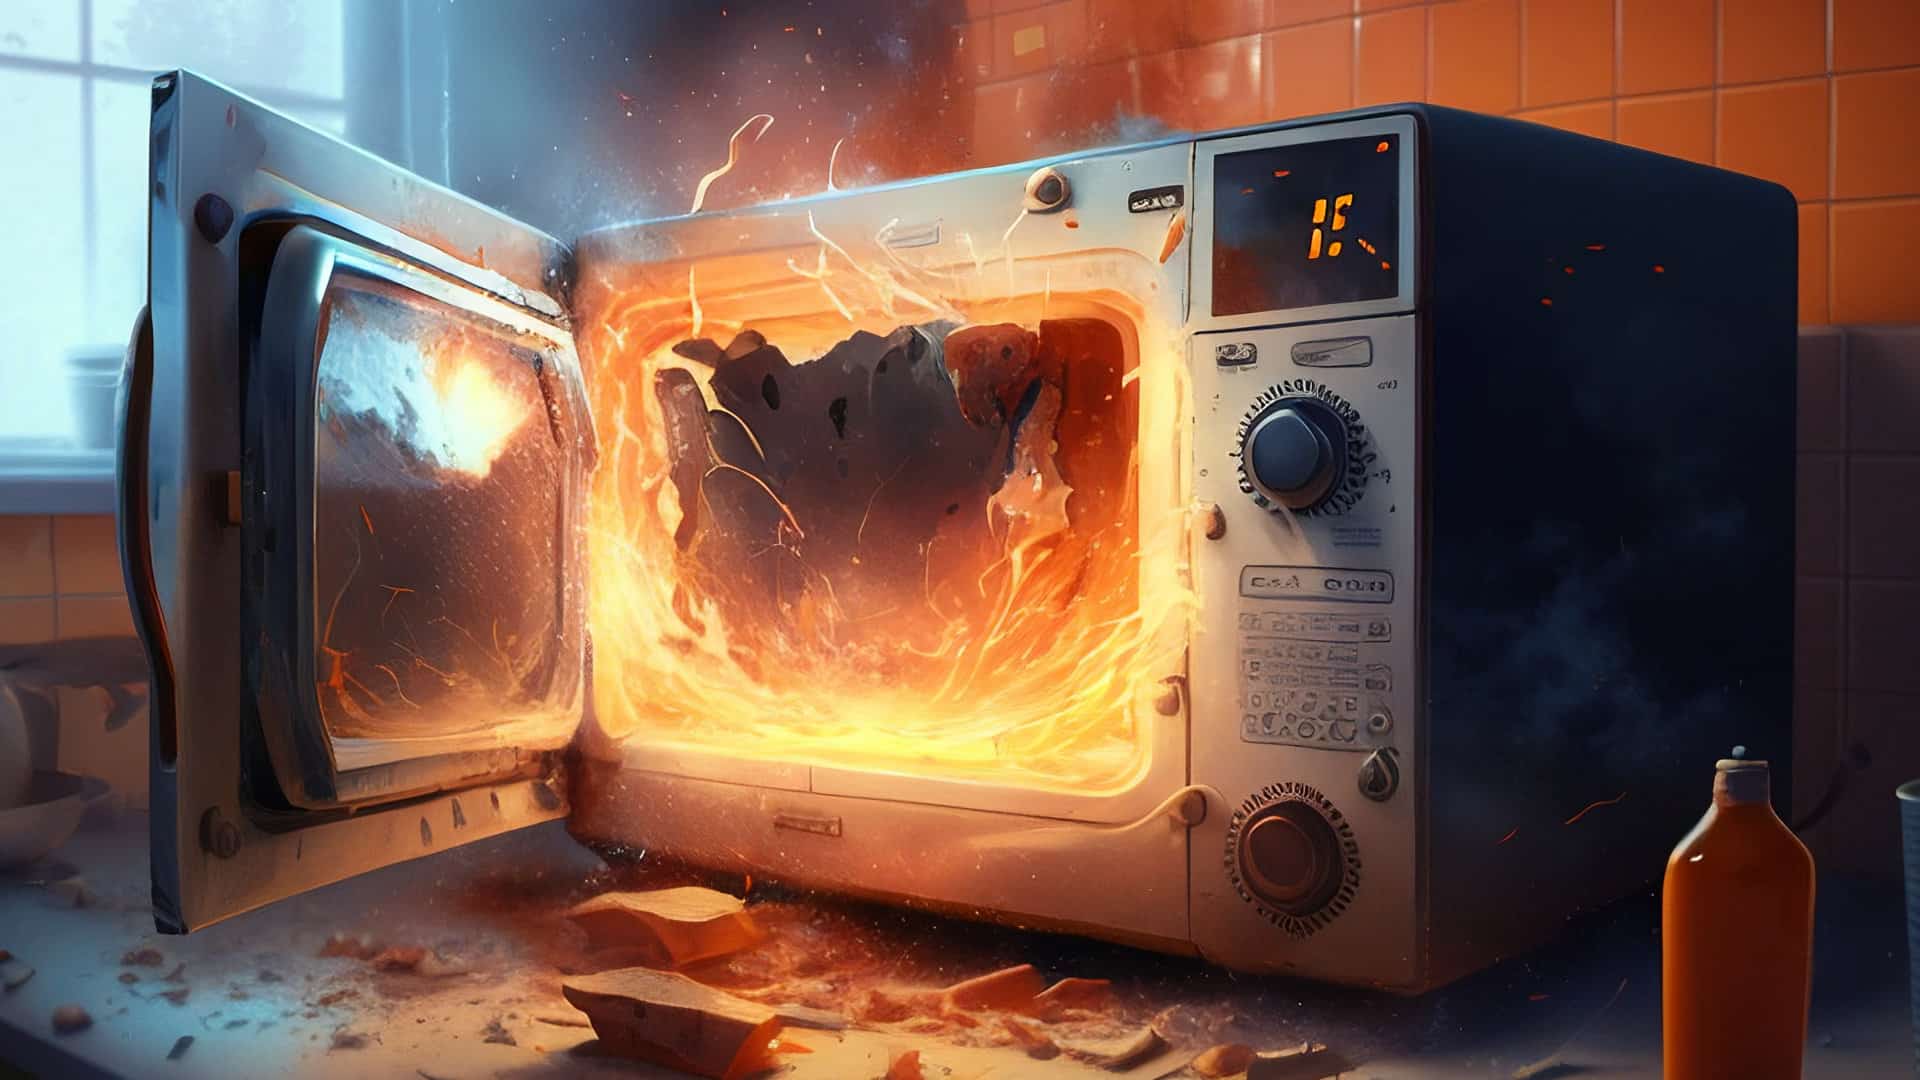
Why Is My Microwave Sparking?
Mar. 06, 2024
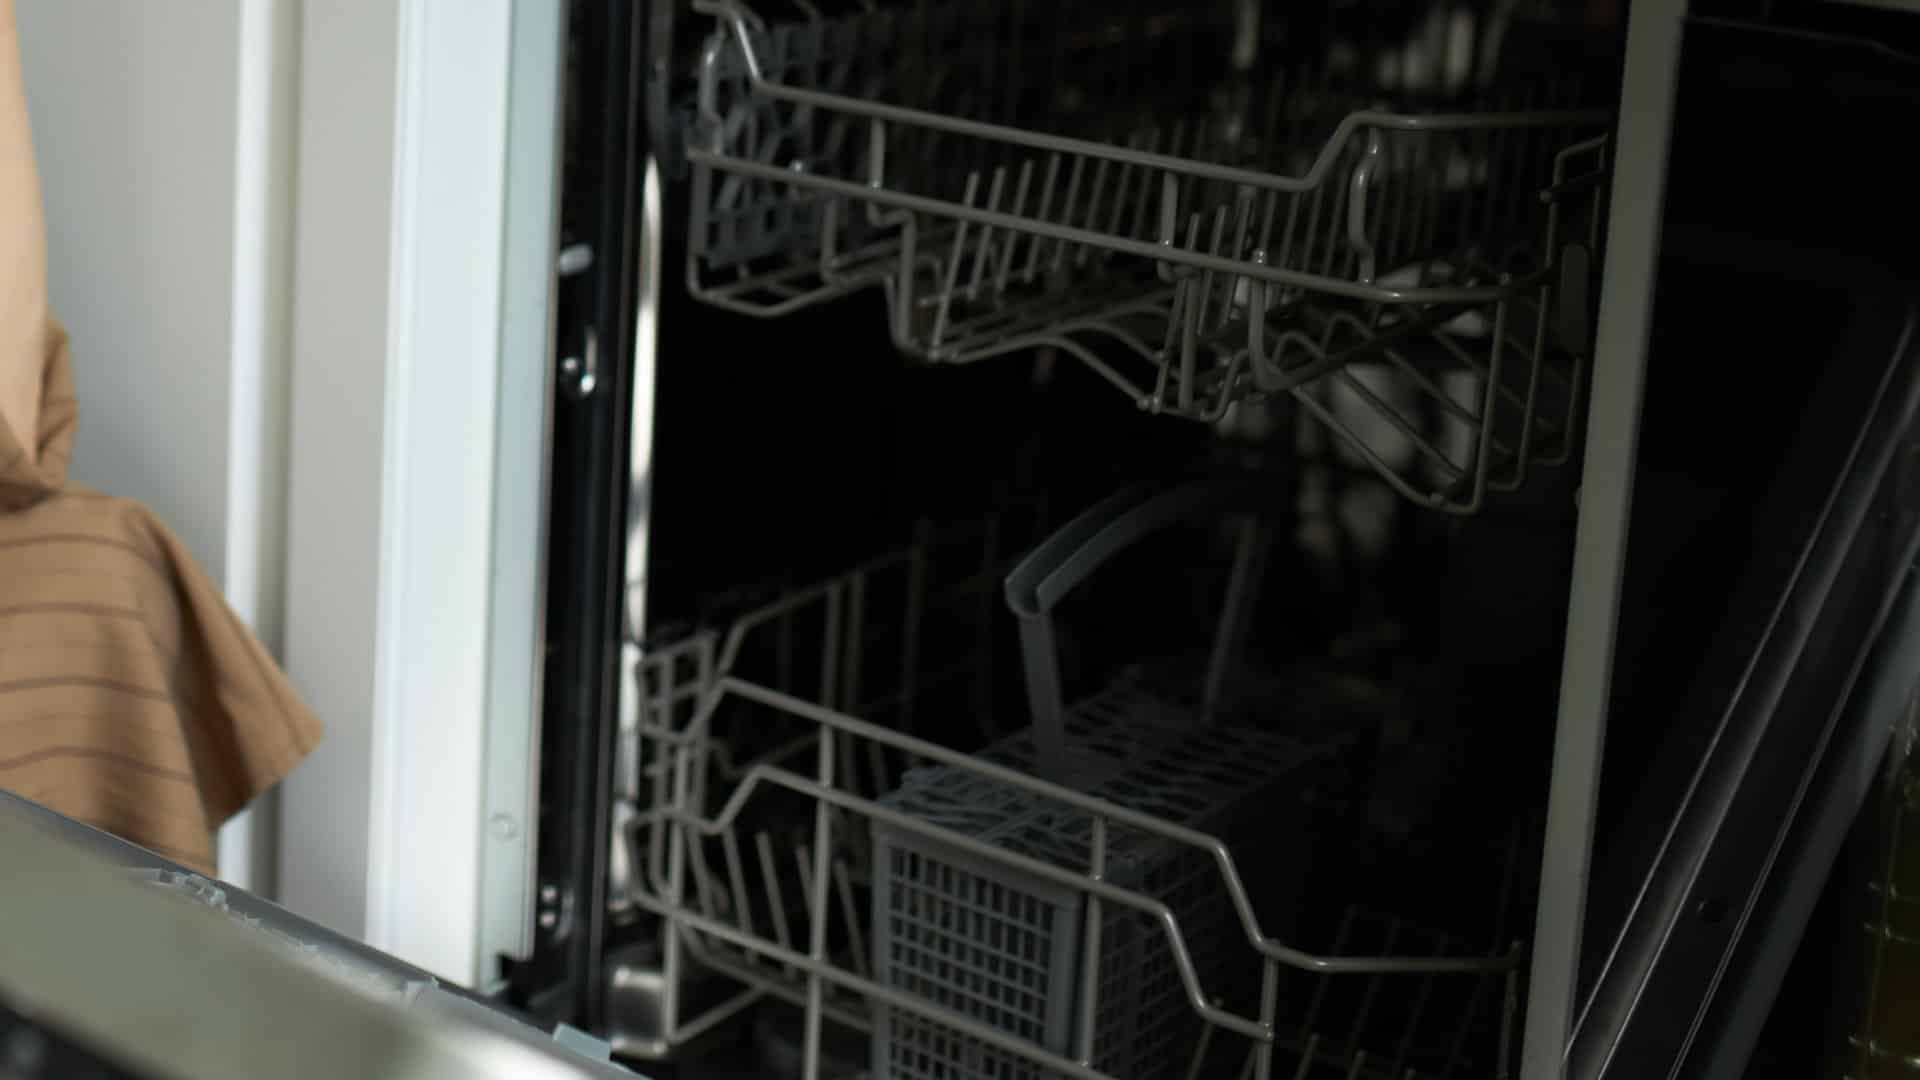
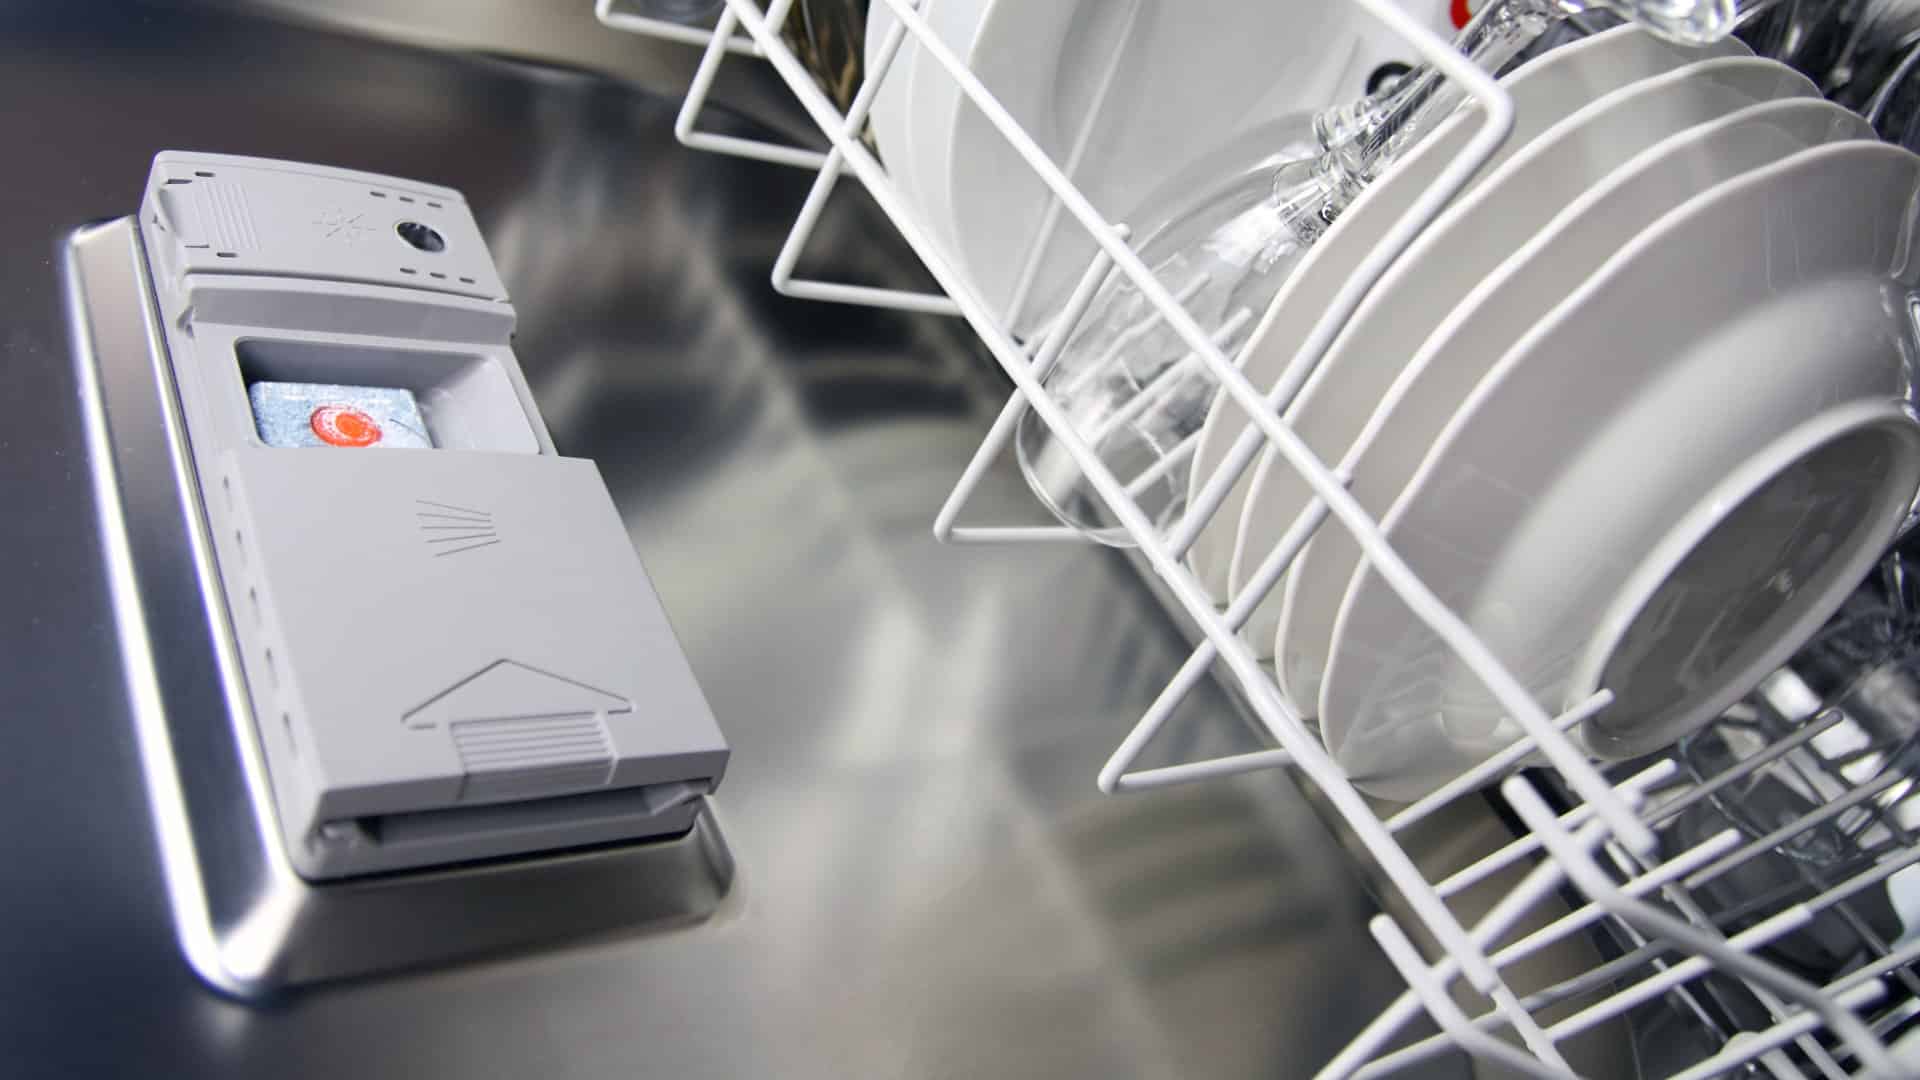
Understanding Frigidaire Dishwasher Error Codes
Feb. 05, 2024
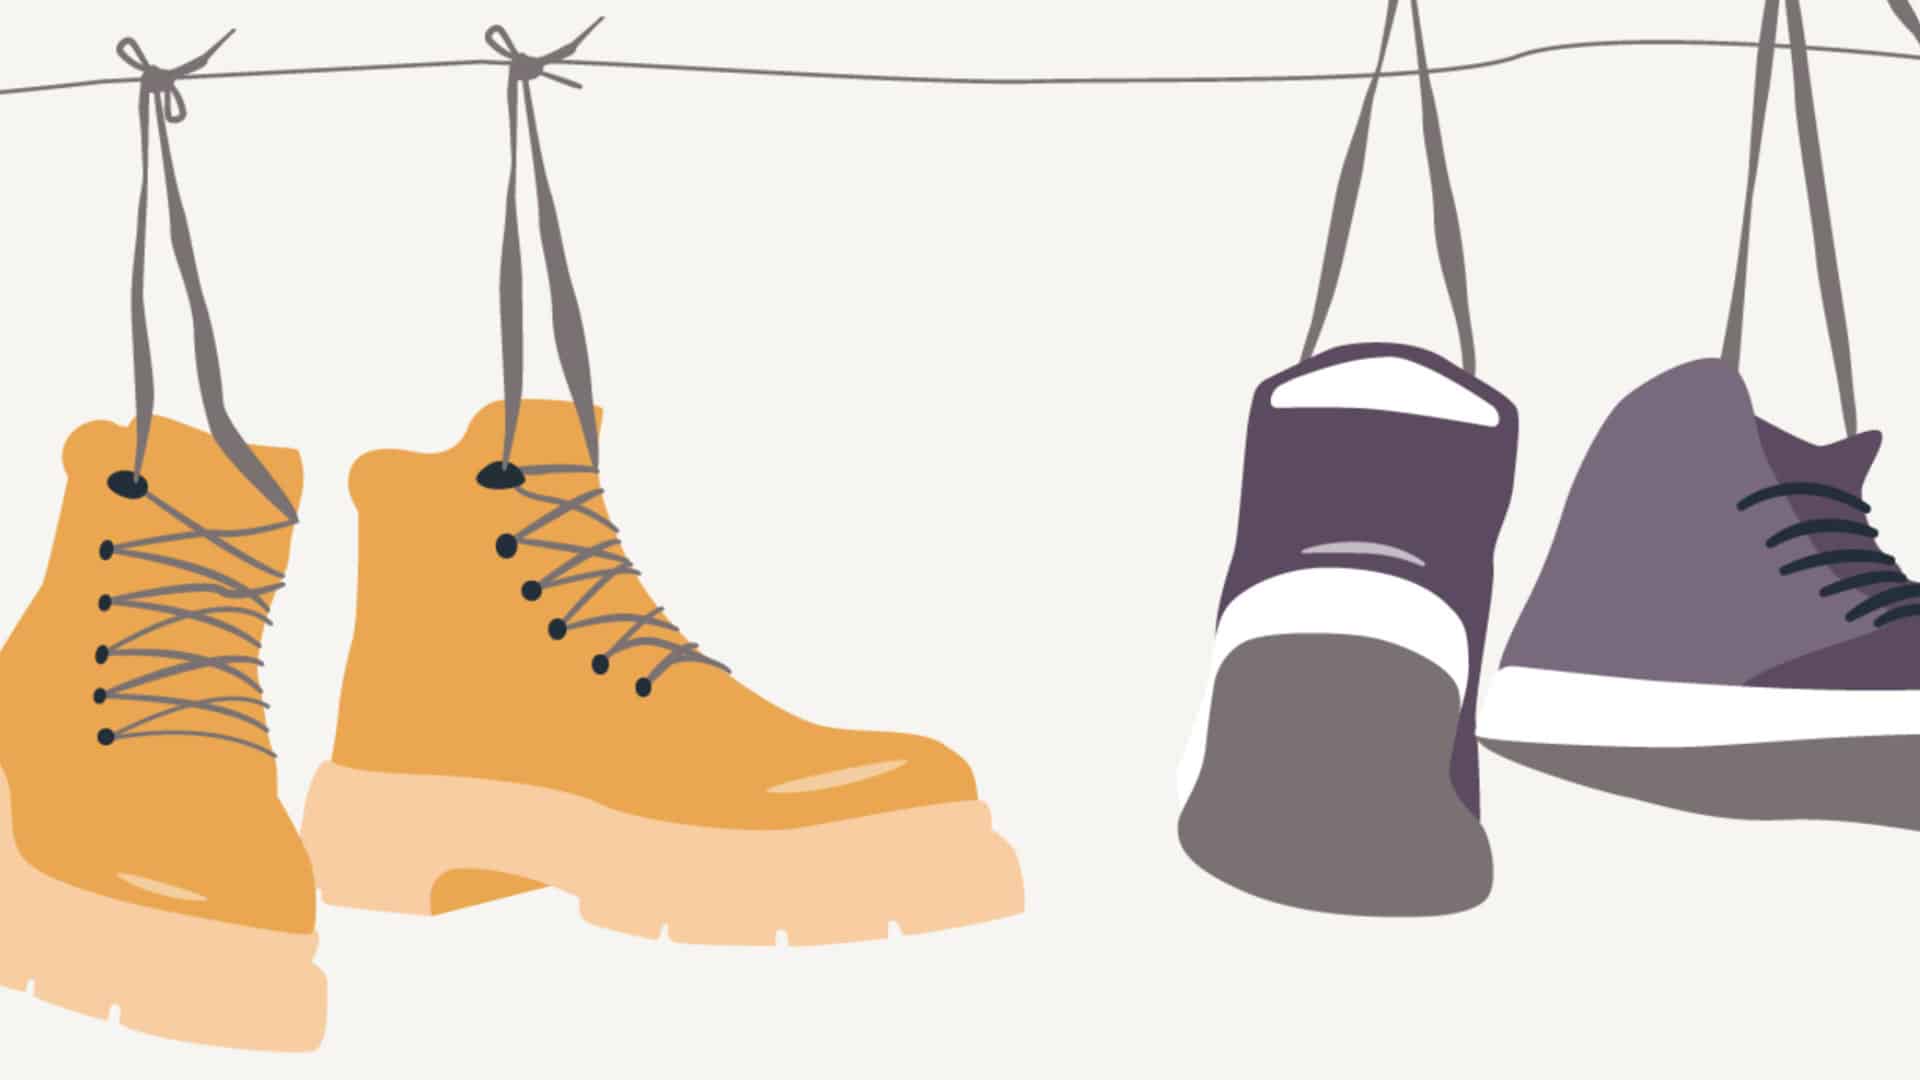
How to Dry Shoes in Dryer Without Damaging Them
Jan. 03, 2024
Why Is My Dishwasher Leaking?
Dec. 11, 2023
How to Solve Electrolux Dryer Error Code E64

Nov. 06, 2023
Microwave Light Won’t Turn Off? Here’s Why
Oct. 02, 2023
GE Oven F9 Error Code: How to Fix It
Sep. 08, 2023
How to Use a Self-Cleaning Oven (In 4 Steps)
Jul. 31, 2023
How To Use a Maytag Top-Load Washing Machine
Jul. 19, 2023
What to Do If Your Samsung Ice Maker Is Not Making Ice
Jun. 13, 2023
How to Fix a Microwave Turntable That’s Not Turning
May. 08, 2023
How to Wash Pillows in a Washing Machine
Apr. 10, 2023
How to Fix an Ice Maker That Isn’t Working
Mar. 14, 2023
Broken Refrigerator Door Seal? How To Fix It
Feb. 01, 2023
Samsung Dishwasher Not Draining? Here’s What to Do
719 - 574 - 3344Give us a call!