


September 8, 2023
Oven Repair
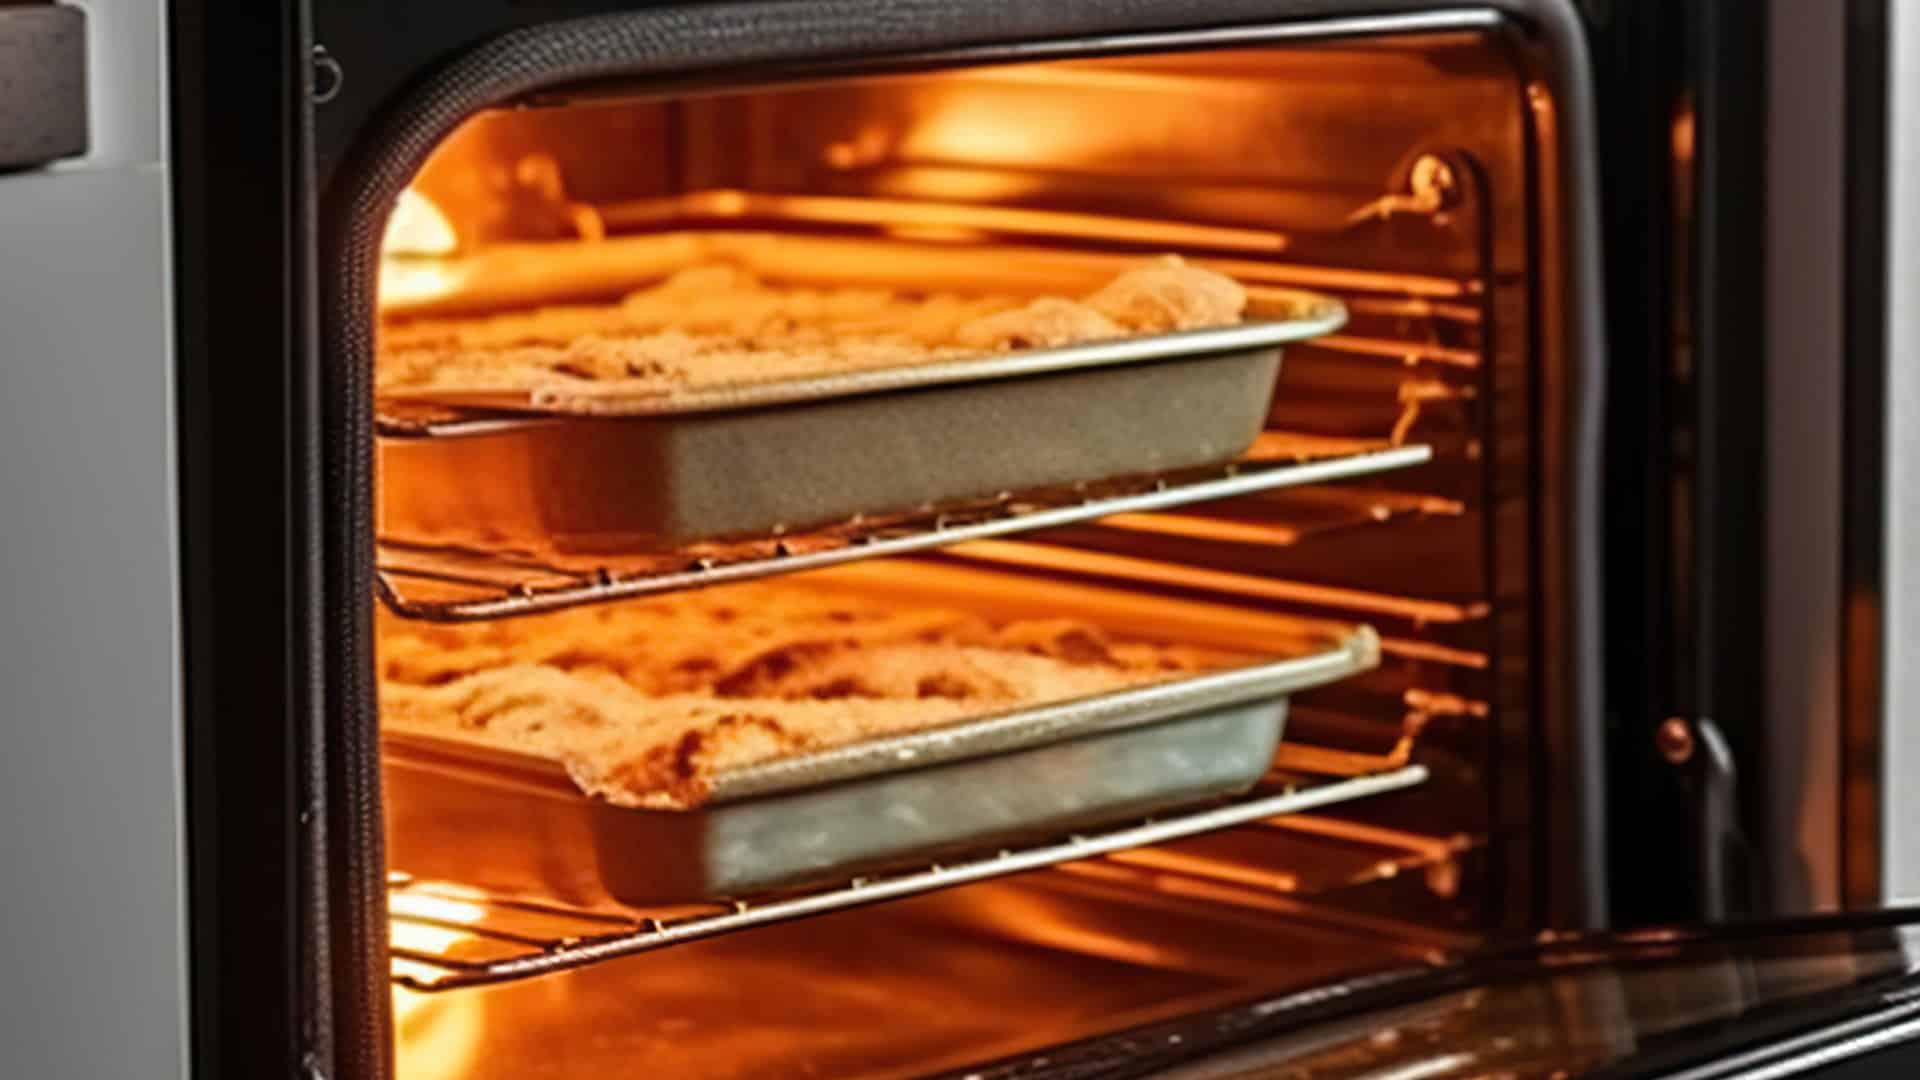
The self-cleaning function on your oven may sound like a dream come true – after all, who wants to spend hours cleaning an oven by hand? If you’ve never used the self-clean function before, you might wonder how it works and if it’s an effective way to clean your oven. Our guide walks you through all the steps you need to take – read on to find out what to do!
How Does the Self-Clean Function Work?
If you’re imagining some kind of robotic arm coming out and cleaning your oven, you may be disappointed! Self-cleaning ovens work by using extremely high temperatures to break down any grime inside of your oven. Through a process known as ‘pyrolytic cleaning,’ your oven will get extremely hot – usually to around 880 degrees Fahrenheit.
This is hot enough to turn any residue in your oven into a fine ash, which you can easily clean up without scrubbing.
Step 1 – Prepare the Area
Before you turn your oven’s self-cleaning function on, you need to remove everything inside your oven, including all trays and racks. Sometimes oven racks may be self-cleaning safe – if you can confirm this, leaving them in is fine. Otherwise, remove them – it’s better to be safe than end up with warped racks!
When you remove them, place them to soak in a mild detergent – this way, they will be clean and sparkly when you put them back in the oven!
If there are any large pieces of food or other debris inside your oven cavity, remove that as well.
There are some safety considerations to be aware of when using the self-cleaning function – because the oven gets so hot, the outside can be hot enough to cause burns. This means you must shut off the kitchen area to any pets or children you may have. Also, ensure nothing is on the oven or hanging on the oven door, including towels, pots, and pans.
The high heat of the self-cleaning cycle can produce some unpleasant fumes, so make sure the kitchen is well-ventilated by opening a window or turning on an extractor fan. If possible, it’s also a good idea to shut the kitchen off from the rest of the house.
Step 2 – Turn on the Self-Cleaning Cycle
Consult your oven manual for instructions on how to begin the self-cleaning cycle for your particular oven. On most ovens, you’ll need to choose the cleaning cycle duration based on how dirty your oven is. A heavily soiled oven needs a longer self-cleaning cycle than a mildly dirty one. The time frame can range from 2 to 5 hours, depending on the make and model of your oven.
DO NOT use any cleaning products before turning on the self-cleaning cycle – this can lead to dangerous fumes filling your kitchen.
Once the oven has sufficiently heated up, the door will automatically lock for your safety. This is because the air inside the oven gets so hot during self-cleaning that it could burn you if you open it.
Step 3 – Clean out the Ashy Residue
The oven door will automatically unlock once the self-cleaning function is done and the interior has cooled down. You can now open your oven and clean away the residue.
The grime and oil on the inside of your oven will be reduced to a fine, ashy powder. Use a dustpan and brush to sweep away the majority of the ash and a damp cloth to wipe away the residue.
Step 4 – Clean the Other Components
The self-cleaning function is ideal for cleaning the oven’s cavity, but it can’t clean the stove top, the door glass, or the trays and racks. Follow these steps to get every part of your oven looking as clean as the interior.
Clean the Door and Sides:
Use a soft microfiber cloth and mild detergent to clean the door and sides of your oven. To get the glass door sparkling, use a glass cleaner and a dry cloth to polish the glass to a streak-free shine.
Clean the Trays and Racks:
Ideally, you will have been soaking the trays and racks the entire time your oven’s self-cleaning function has been running. If not, soak them for at least an hour in a mixture of warm water and mild detergent. This will loosen any baked-on grease and grime.
Once they’ve soaked for a while, use a cloth to clean away any remaining dirt. If there are stubborn spots that won’t come off, try making a paste of baking soda and water and let it sit. The grime should easily wipe away after sitting for a couple of hours.
Clean the Stovetop:
Ensure the stovetop is cool, then clean it with a soft cloth and a mixture of mild detergent and water. For any baked-on patches of grime, try the same paste made of baking soda and water and let it sit for a couple of hours. Then, wipe it away with a soft cloth.
To get the top of the oven completely streak-free, polish the whole top with a soft, clean cloth.
Important Note
While the self-clean function is very convenient, it’s important not to overuse it. Due to the high temperatures, overuse of the self-clean function can shorten the life span of your oven and damage the components. Ensure you only use it when necessary, about once every six months at maximum.
Using a Steam Clean Function
Some ovens also have a steam cleaning function. This uses lower temperatures and requires you to place water in the oven. It uses steam to soften any grime in your oven so you can then wipe it away. If your oven has this function, it’s a good choice if you are worried about damaging it at super high temperatures – the steam clean cycle is far less damaging to your oven.
Apr. 09, 2024
Why Is My Microwave Sparking?
Mar. 06, 2024
Understanding Frigidaire Dishwasher Error Codes

Feb. 05, 2024
How to Dry Shoes in Dryer Without Damaging Them
Jan. 03, 2024
Why Is My Dishwasher Leaking?

Dec. 11, 2023
How to Solve Electrolux Dryer Error Code E64

Nov. 06, 2023
Microwave Light Won’t Turn Off? Here’s Why
Oct. 02, 2023
GE Oven F9 Error Code: How to Fix It
Sep. 08, 2023
How to Use a Self-Cleaning Oven (In 4 Steps)
Jul. 31, 2023
How To Use a Maytag Top-Load Washing Machine
Jul. 19, 2023
What to Do If Your Samsung Ice Maker Is Not Making Ice
Jun. 13, 2023
How to Fix a Microwave Turntable That’s Not Turning

May. 08, 2023
How to Wash Pillows in a Washing Machine
Apr. 10, 2023
How to Fix an Ice Maker That Isn’t Working
Mar. 14, 2023
Broken Refrigerator Door Seal? How To Fix It
Feb. 01, 2023
Samsung Dishwasher Not Draining? Here’s What to Do
719 - 574 - 3344Give us a call!