
October 2, 2023
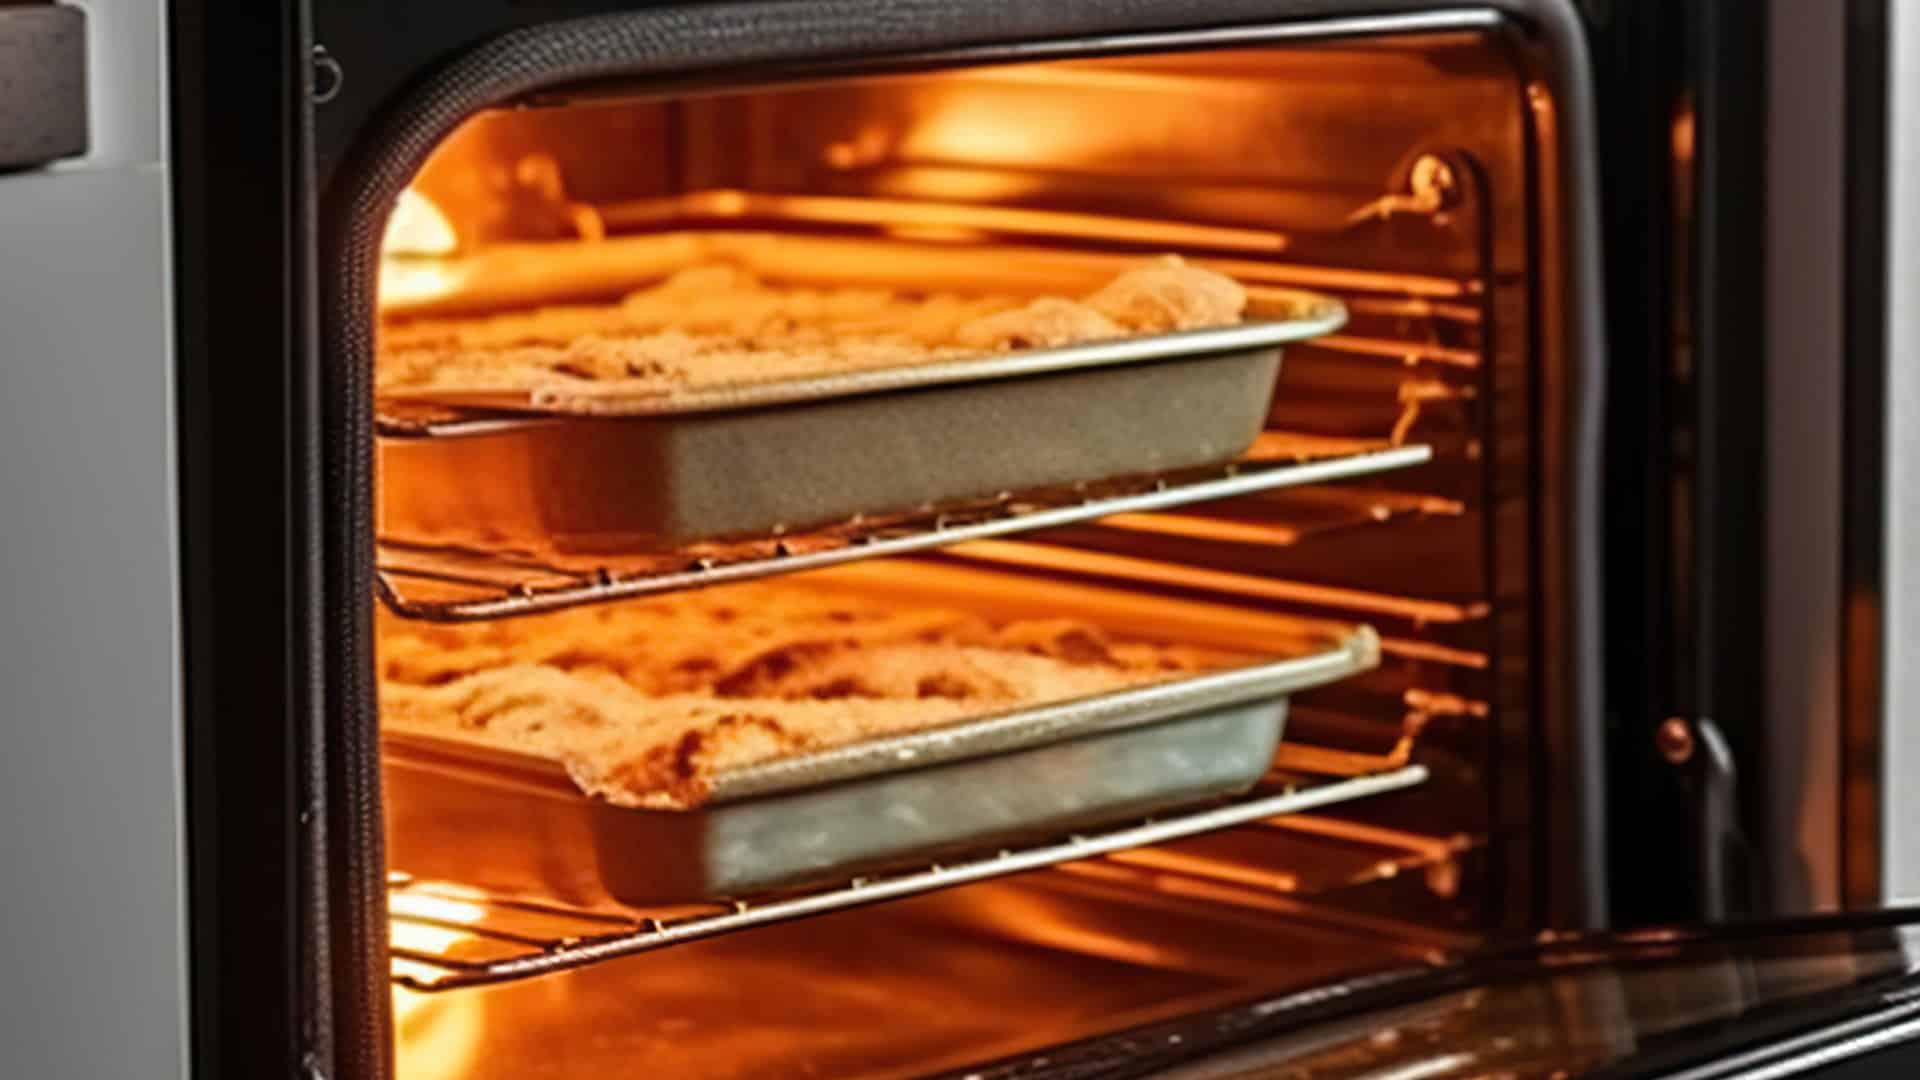
Oven Repair
It’s frustrating when your GE oven displays an error code, and even more frustrating when you don’t know what it means. The F9 error code on a GE oven means that there is an error with the door latch. The good news is that this is a relatively common issue and can be resolved in a few simple steps. In this blog post, we’ll take you through the process of checking and fixing your door latch so you can get your oven back up and running in no time.
Clean the latch
The first step is to ensure that the door latch is clear of debris. If there is any dirt or debris present, it can prevent the latch from closing securely. Dirt, grit, and grime can build up on the latch over time with regular use. This can be simple dirt or baked-on grease from the oven. To clean the latch, use a damp cloth or a small soft-bristled brush to remove any visible dirt or debris from the area. If the latch is especially greasy or dirty, use some water and a dollop of a gentle soap designed to cut through grease.
Look for jams
Next, inspect the door latch to see that it is not jammed or broken. The door latch is responsible for sending a signal to the control board indicating whether the door is open or closed. If the door latch is jammed, the oven will not start as a safety measure.
If the latch is jammed, it can prevent the door from closing properly. Gently test the mechanism of the latch and see if it retracts and springs back. Check that there is no grease and grime blocking the movement of the mechanism.
If the oven door latch is broken, it will need to be replaced.
Do a quick reset
If you have checked that the door latch is clear of any debris and not visibly jammed or broken, but the F9 error is still displaying, perform a reset on the oven. Sometimes, the control board can get confused about the signals it is receiving and needs a reset.
To do this, disconnect the oven from power for 30 seconds, either by unplugging it or by turning off the breaker associated with the oven, and then plug it back in or turn it back on. This should reset the control board and may resolve the issue.
If the F9 error code is still not resolved, you can attempt the following repairs. If you are not comfortable with disassembling the oven or DIY projects, then it is best to have a repair professional conduct the repairs for you.
Check the locking mechanism
Before you start anything, make sure the oven is turned off and disconnected from power. Safety should always come first.
Now that we have that out of the way, let’s get started!
If the door latch is still jammed, it will need to be taken apart to inspect for damage or a jam in the system. This can be done by following the following instructions.
Gently open your oven’s door. You will find three screws located under the control panel, which need to be removed. Once you’ve removed the screws, you can release the mounting pins on the upper corners of the control panel. Do this by raising each pin straight up and then tilting it towards you. They should move easily.
Now, examine the door lock system. You will find the mechanism positioned behind the control panel on the bottom left side. Try rotating the cam to see if the door lock mechanism moves smoothly without any sticking.
Lastly, carefully check all parts of the mechanism. Look out for any broken pieces or for anything that seems faulty.
Test the connections
Alright, now move on to the next steps! You’ll find a six-pin connector on the right side of your door lock mechanism. Try adjusting the cam (the main shaft of the lock) on your oven door lock mechanism to the unlocked position. Using a multimeter, measure the resistance between Pin 3 and Pin 1 on the door lock connector. Ideally, the resistance should be zero. If it’s not zero, then Lock Switch 2 on your door lock mechanism might need to be replaced.
Position the cam on your oven door lock mechanism to the locked position by rotating it in the opposite direction. Again, use your ohmmeter to measure the resistance, but this time between Pin 3 and Pin 2 of the door lock connector. Once again, the resistance should ideally be zero. If the resistance reading isn’t zero, then you will need to replace Switch 1 on your door lock mechanism.
Inspect the wiring
It is also possible that there is an issue with the wiring.
Start by visually inspecting the wires. Look for any noticeable signs of damage, such as fraying, cuts, or burns. Also, check if any wires are pinched or bent at an extreme angle. These issues can disrupt the flow of electricity, causing the mechanism to malfunction.
Another common issue is loose connections. Ensure each wire is securely connected to its respective terminal on the door latch and control board. A loose connection can result in intermittent failures, which can be tricky to diagnose.
Any damaged parts or wires will need to be replaced. You can do this yourself, but we recommend using a qualified repair professional to ensure the job is done correctly and safely.
Replace the control board
Lastly, if you have replaced the latch and the error still displays, you may need to have a repair professional replace the control board itself. The control board is responsible for controlling all oven functions, so if it is malfunctioning, it can result in several error codes, including the F9 error code.
In summary, the F9 error code on a GE oven can be frustrating, but with a little bit of time, effort, and some patience, you can fix it. Remember to always put safety first and consult with a professional if you are unsure about any steps. By following the steps outlined in this blog post, you should be well on your way to resolving the F9 error code and getting your oven back in perfect working condition.
Apr. 09, 2024
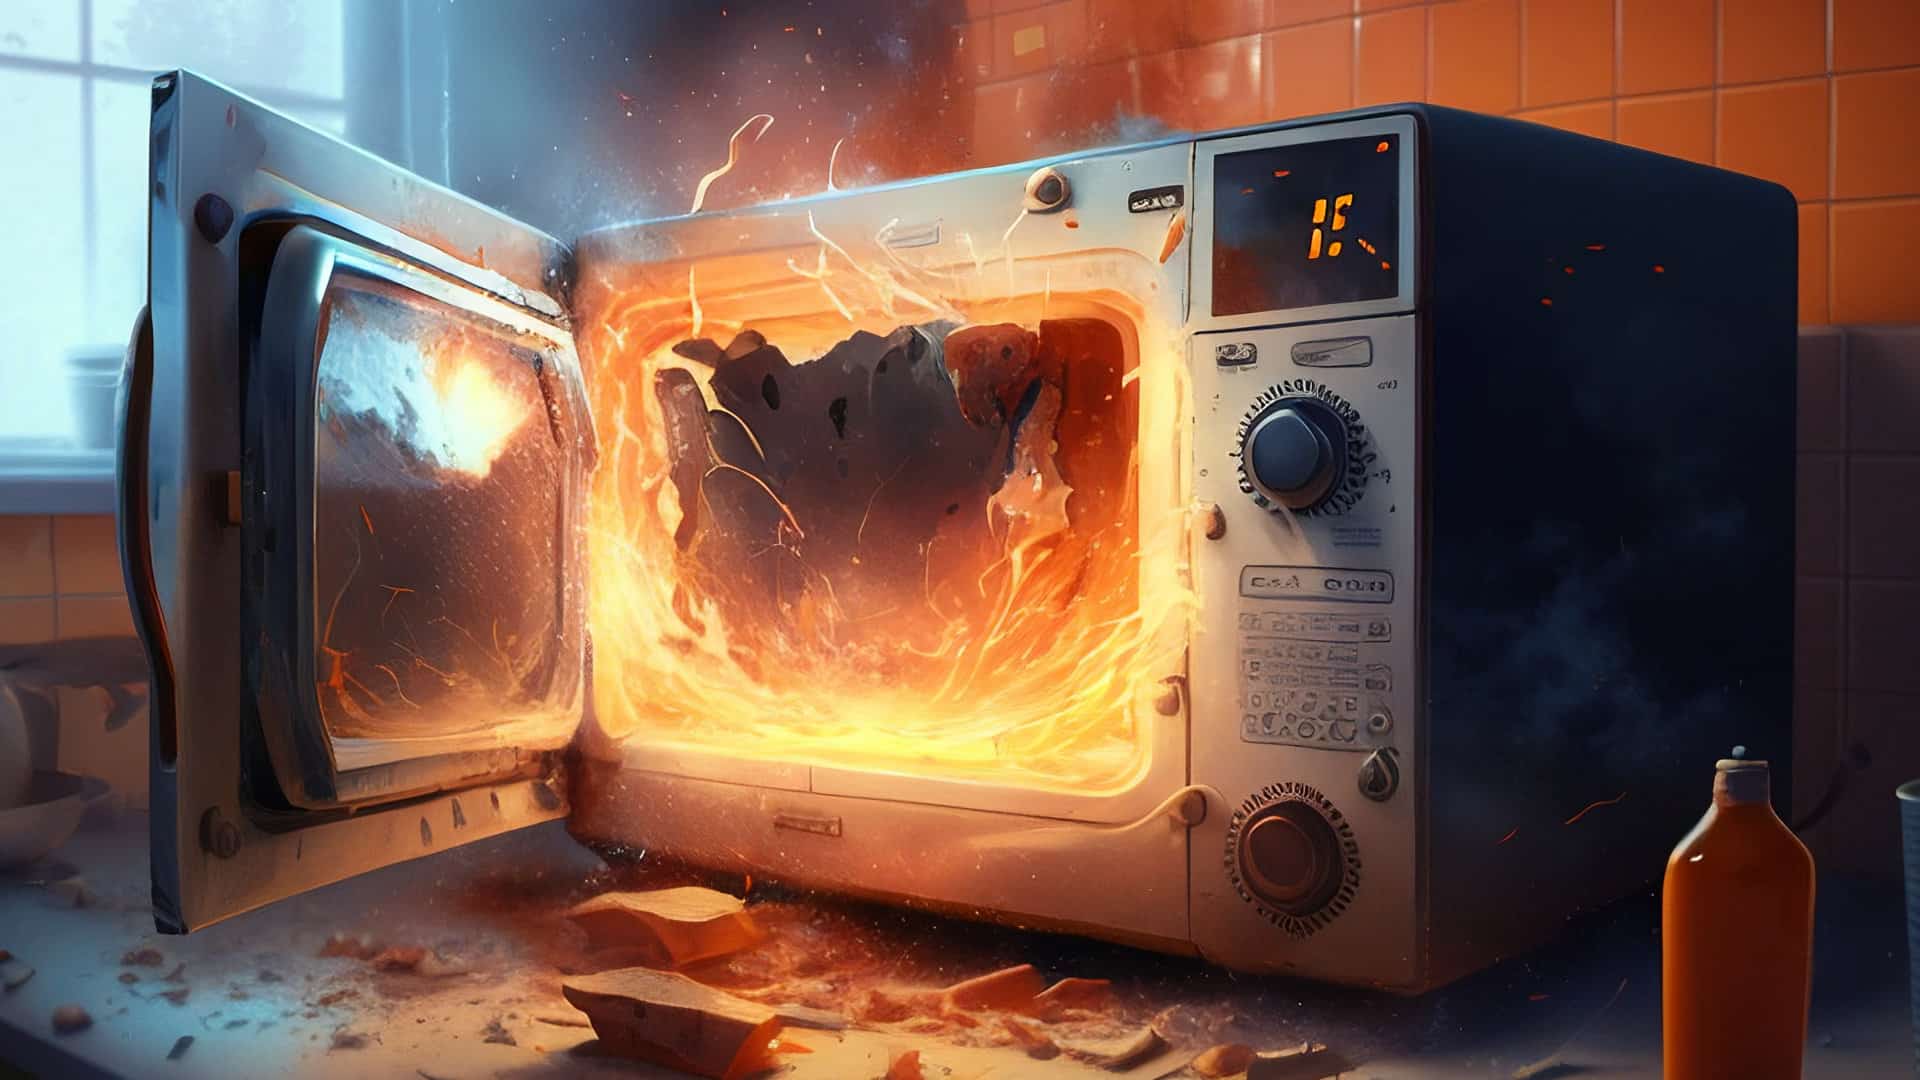
Why Is My Microwave Sparking?
Mar. 06, 2024
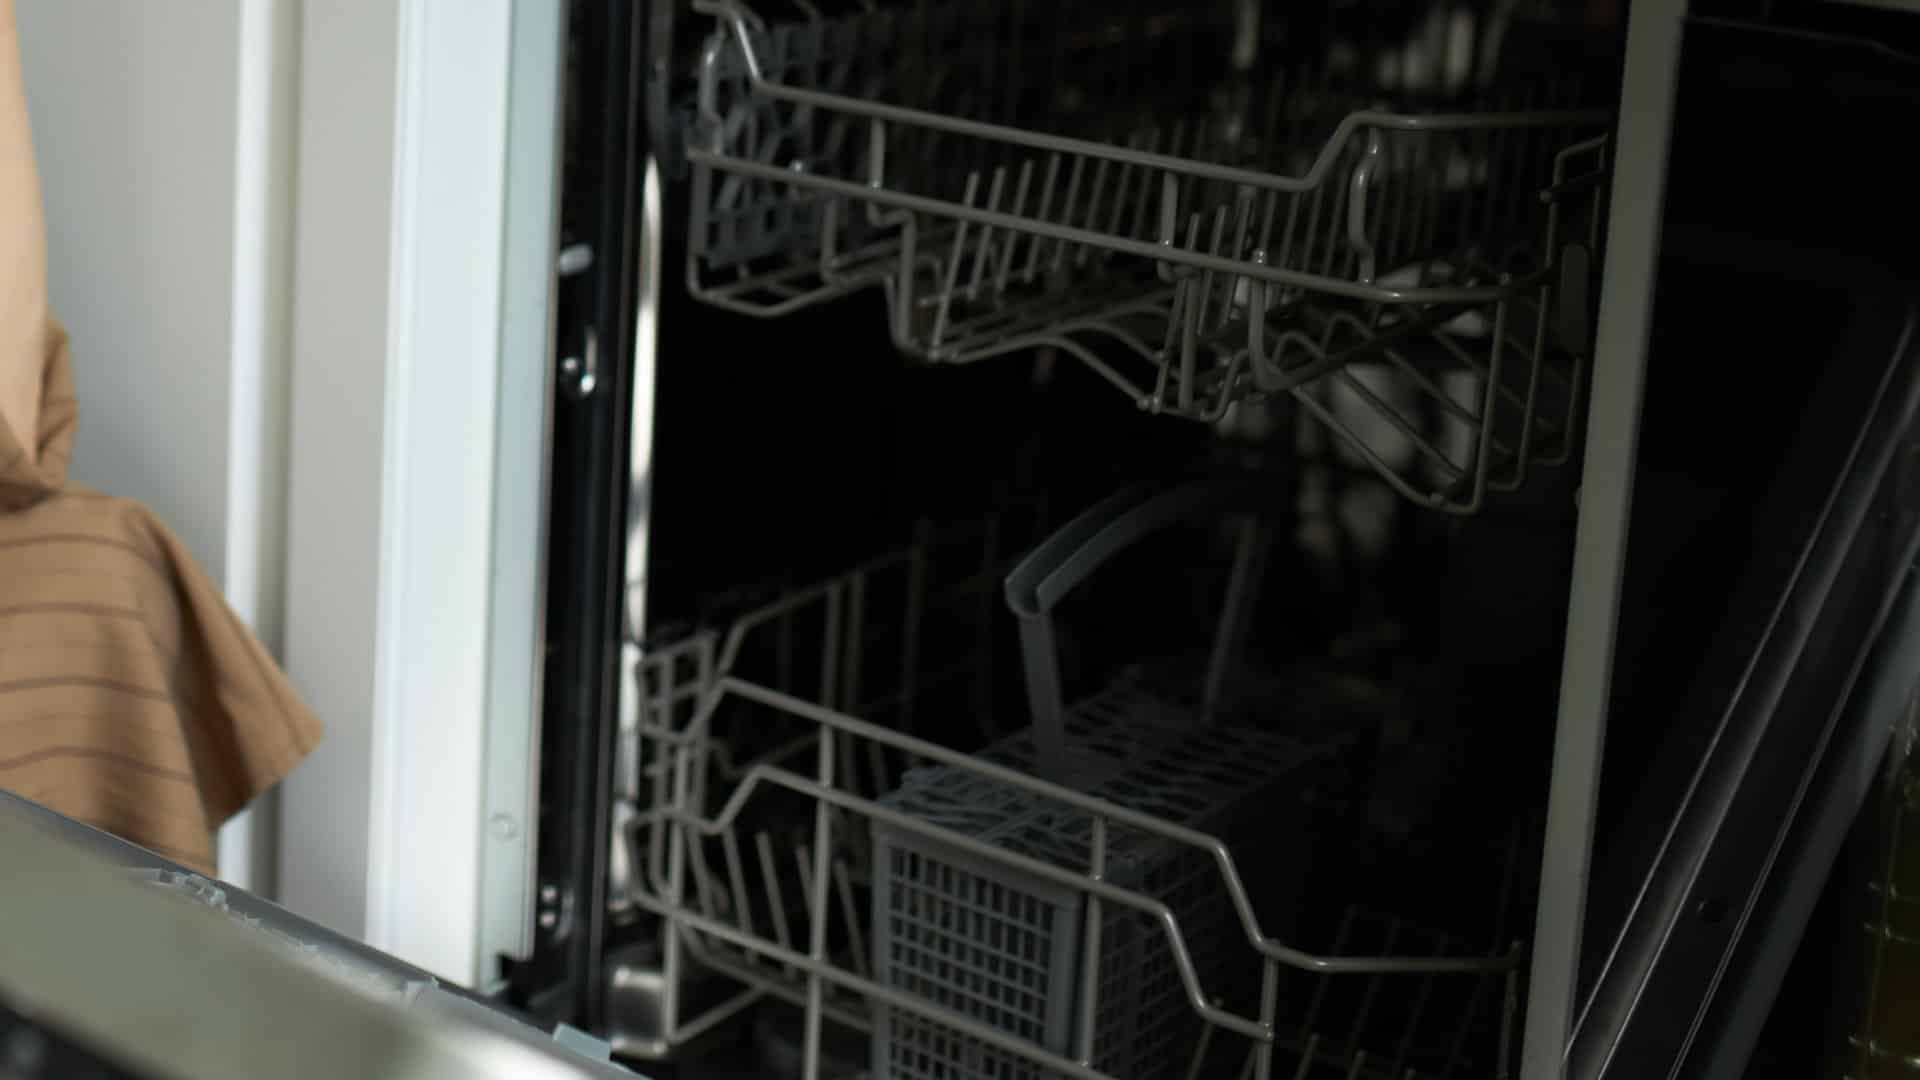
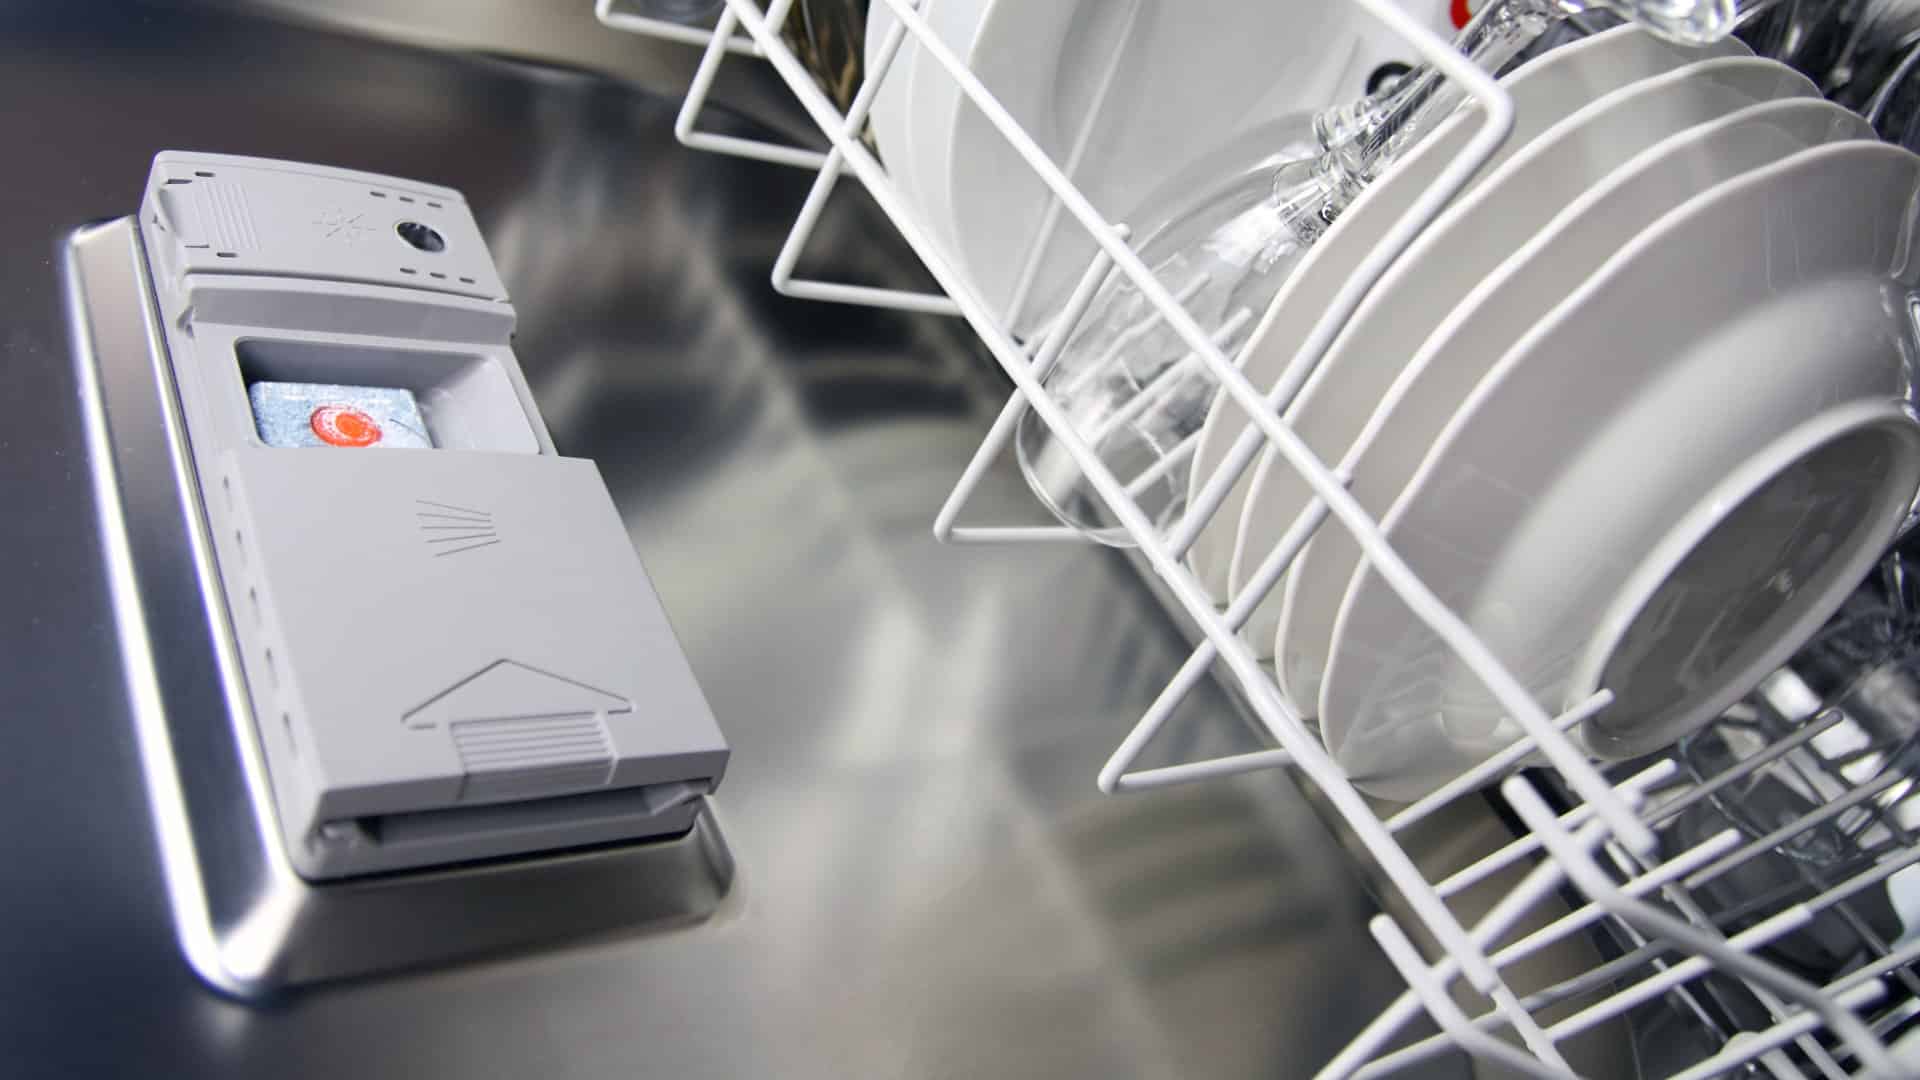
Understanding Frigidaire Dishwasher Error Codes

Feb. 05, 2024
How to Dry Shoes in Dryer Without Damaging Them
Jan. 03, 2024
Why Is My Dishwasher Leaking?

Dec. 11, 2023
How to Solve Electrolux Dryer Error Code E64

Nov. 06, 2023
Microwave Light Won’t Turn Off? Here’s Why
Oct. 02, 2023
GE Oven F9 Error Code: How to Fix It
Sep. 08, 2023
How to Use a Self-Cleaning Oven (In 4 Steps)
Jul. 31, 2023
How To Use a Maytag Top-Load Washing Machine
Jul. 19, 2023
What to Do If Your Samsung Ice Maker Is Not Making Ice
Jun. 13, 2023
How to Fix a Microwave Turntable That’s Not Turning

May. 08, 2023
How to Wash Pillows in a Washing Machine

Apr. 10, 2023
How to Fix an Ice Maker That Isn’t Working
Mar. 14, 2023
Broken Refrigerator Door Seal? How To Fix It
Feb. 01, 2023
Samsung Dishwasher Not Draining? Here’s What to Do
719 - 574 - 3344Give us a call!