

April 10, 2023
Refrigerator Repair
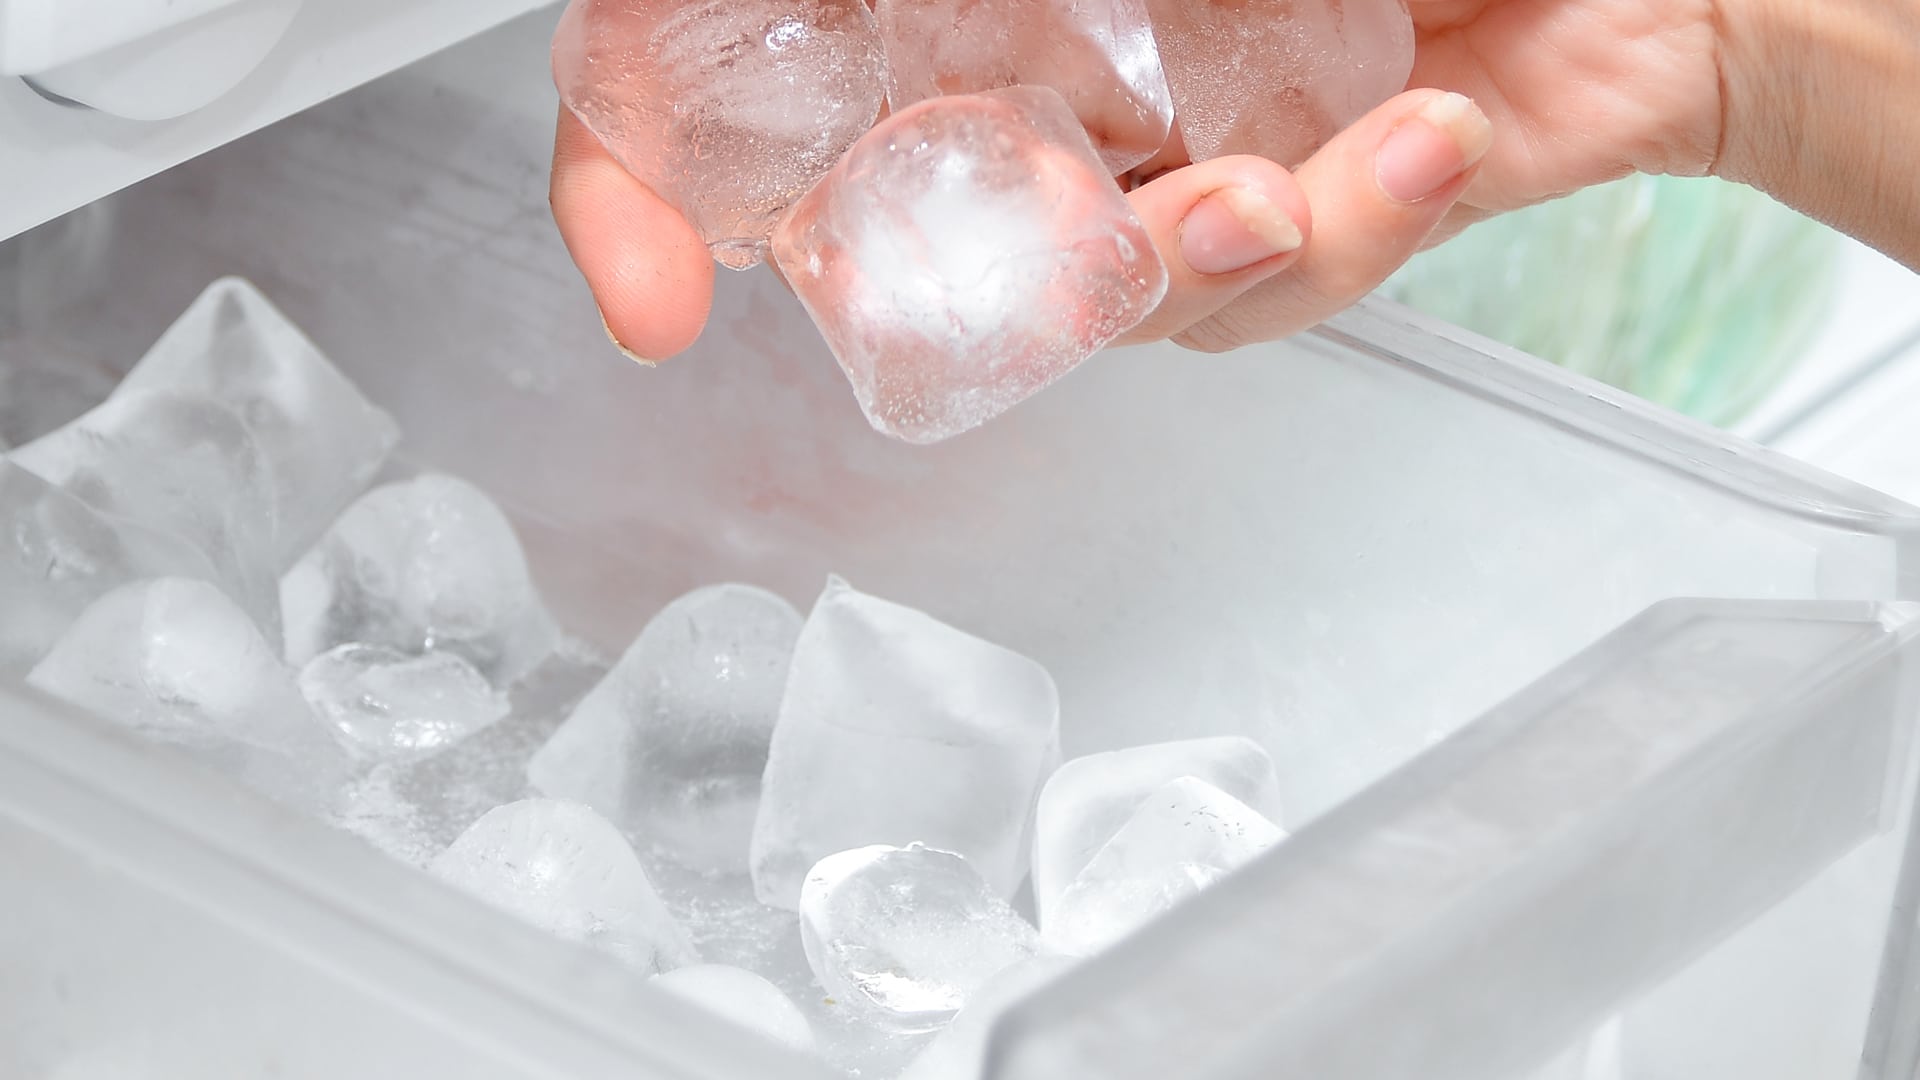
There’s nothing more frustrating than going to get ice for your drink and finding an empty tray. If your ice maker has stopped working, you may be wondering what’s causing the problem and how to fix it. The good news is that many issues with ice makers are easy to troubleshoot and fix yourself.
In this article, we’ll walk you through common problems and solutions for fixing your ice maker, so you can get back to enjoying your chilled beverages.
Clogged water filter
If the water filter in your refrigerator is clogged, it can restrict water flow to the ice maker and prevent it from producing ice. To fix this issue:
- Locate the water filter in your refrigerator. It’s usually located in the grille at the bottom of the fridge, or inside the fridge compartment itself.
- Turn off the refrigerator’s water supply.
- Remove the old water filter by turning it counterclockwise and pulling it out.
- Replace the old water filter with a new one. Be sure to align the arrows on the filter and the filter housing.
- Turn on the water supply to the refrigerator.
- Flush the water system to remove any air or debris. Run water through the dispenser for several minutes until the water runs clear.
- Reset the icemaker. Refer to your refrigerator’s manual for instructions on resetting the icemaker.
- Wait for a few hours to see if the ice maker starts producing ice.
Frozen water line
A frozen water line can prevent water from reaching the ice maker. This can happen if the freezer temperature is set too low or if the water inlet valve is faulty. Luckily, this is a super easy fix!
- Turn off the water supply to the refrigerator.
- Locate the water supply line that feeds the ice maker. This is typically a copper or plastic line that runs from the water valve to the back of the freezer compartment.
- Check for any kinks or bends in the water line. Straighten any kinks or bends if necessary.
- Disconnect the water line from the back of the freezer. Use a hair dryer to warm the frozen section of the water line until the ice blockage melts.
- Reconnect the water line to the back of the freezer.
- Turn on the water supply to the refrigerator.
- Check the ice maker to see if it’s producing ice. It may take several hours for the ice maker to start working again.
Faulty water inlet valve
The water inlet valve controls the water flow to the ice maker. A faulty water inlet valve can prevent water from reaching the ice maker. To check it:
- Turn off the water supply to the refrigerator.
- Locate the water inlet valve, typically found at the back of the refrigerator, near the water supply line.
- Disconnect the water supply line from the inlet valve.
- Remove the screws or mounting bracket that holds the valve in place.
- Disconnect the wires from the valve.
- Install the new water inlet valve by reversing the steps above.
- Turn on the water supply to the refrigerator.
- Check the ice maker to see if it’s producing ice. It may take several hours for the icemaker to start working again.
Faulty ice maker module
The ice maker module controls the functions of the ice maker, including filling the tray with water and ejecting the ice when it’s ready. If it’s faulty, the ice maker won’t work properly.
- Unplug the refrigerator, and take out the ice maker from the freezer compartment.
- Locate the ice maker module (usually located on the side or bottom of the ice maker).
- Remove the module by gently prying it off the ice maker with a flathead screwdriver.
- Disconnect the wires from the module.
- Install the new ice maker module by connecting the wires and snapping it into place on the ice maker.
- Reinstall the ice maker in the freezer compartment and plug in the refrigerator.
- Wait a few hours to see if the ice maker is producing ice.
Damaged or faulty ice mold thermostat
The ice mold thermostat senses the temperature of the ice mold and turns off the water supply once the mold is filled with ice. It can prevent the ice maker from producing ice if it’s damaged or faulty.
- Unplug the refrigerator and locate the ice mold thermostat (usually behind the ice maker).
- Remove the ice maker from the freezer compartment.
- Use a multimeter to test the ice mold thermostat for continuity. If there is no continuity, the thermostat is faulty and needs to be replaced.
- If the thermostat is defective, disconnect the wires and unscrew it from the ice maker.
- Install the new thermostat by reversing the steps above.
- Reinstall the ice maker and plug in the refrigerator.
- Wait a few hours to see if the ice maker is producing ice.
Faulty motor
The motor in the ice maker module is responsible for turning the gears that rotate the ice ejector arm. If it’s faulty, the ice maker won’t be able to dispense ice.
- Unplug the refrigerator and remove the ice maker from the freezer compartment.
- Locate the ice maker module, usually located on the side or bottom of the ice maker.
- Remove the module by gently prying it off the ice maker with a flathead screwdriver.
- Disconnect the wires from the module.
- Install the new ice maker module by connecting the wires and snapping it into place on the ice maker.
- Reinstall the ice maker in the freezer compartment and plug in the refrigerator.
- Wait a few hours to see if the ice maker is producing ice.
If you have tried all of these steps and cannot diagnose the problem with your faulty ice maker, or if you have attempted to fix it but the issue persists, it may be time to call a technician. A trained technician will have the knowledge and expertise to troubleshoot the problem and recommend the best course of action.
Apr. 09, 2024
Why Is My Microwave Sparking?
Mar. 06, 2024
Understanding Frigidaire Dishwasher Error Codes

Feb. 05, 2024
How to Dry Shoes in Dryer Without Damaging Them
Jan. 03, 2024
Why Is My Dishwasher Leaking?

Dec. 11, 2023
How to Solve Electrolux Dryer Error Code E64

Nov. 06, 2023
Microwave Light Won’t Turn Off? Here’s Why
Oct. 02, 2023
GE Oven F9 Error Code: How to Fix It

Sep. 08, 2023
How to Use a Self-Cleaning Oven (In 4 Steps)
Jul. 31, 2023
How To Use a Maytag Top-Load Washing Machine
Jul. 19, 2023
What to Do If Your Samsung Ice Maker Is Not Making Ice
Jun. 13, 2023
How to Fix a Microwave Turntable That’s Not Turning

May. 08, 2023
How to Wash Pillows in a Washing Machine
Apr. 10, 2023
How to Fix an Ice Maker That Isn’t Working
Mar. 14, 2023
Broken Refrigerator Door Seal? How To Fix It
Feb. 01, 2023
Samsung Dishwasher Not Draining? Here’s What to Do
719 - 574 - 3344Give us a call!