

October 3, 2022
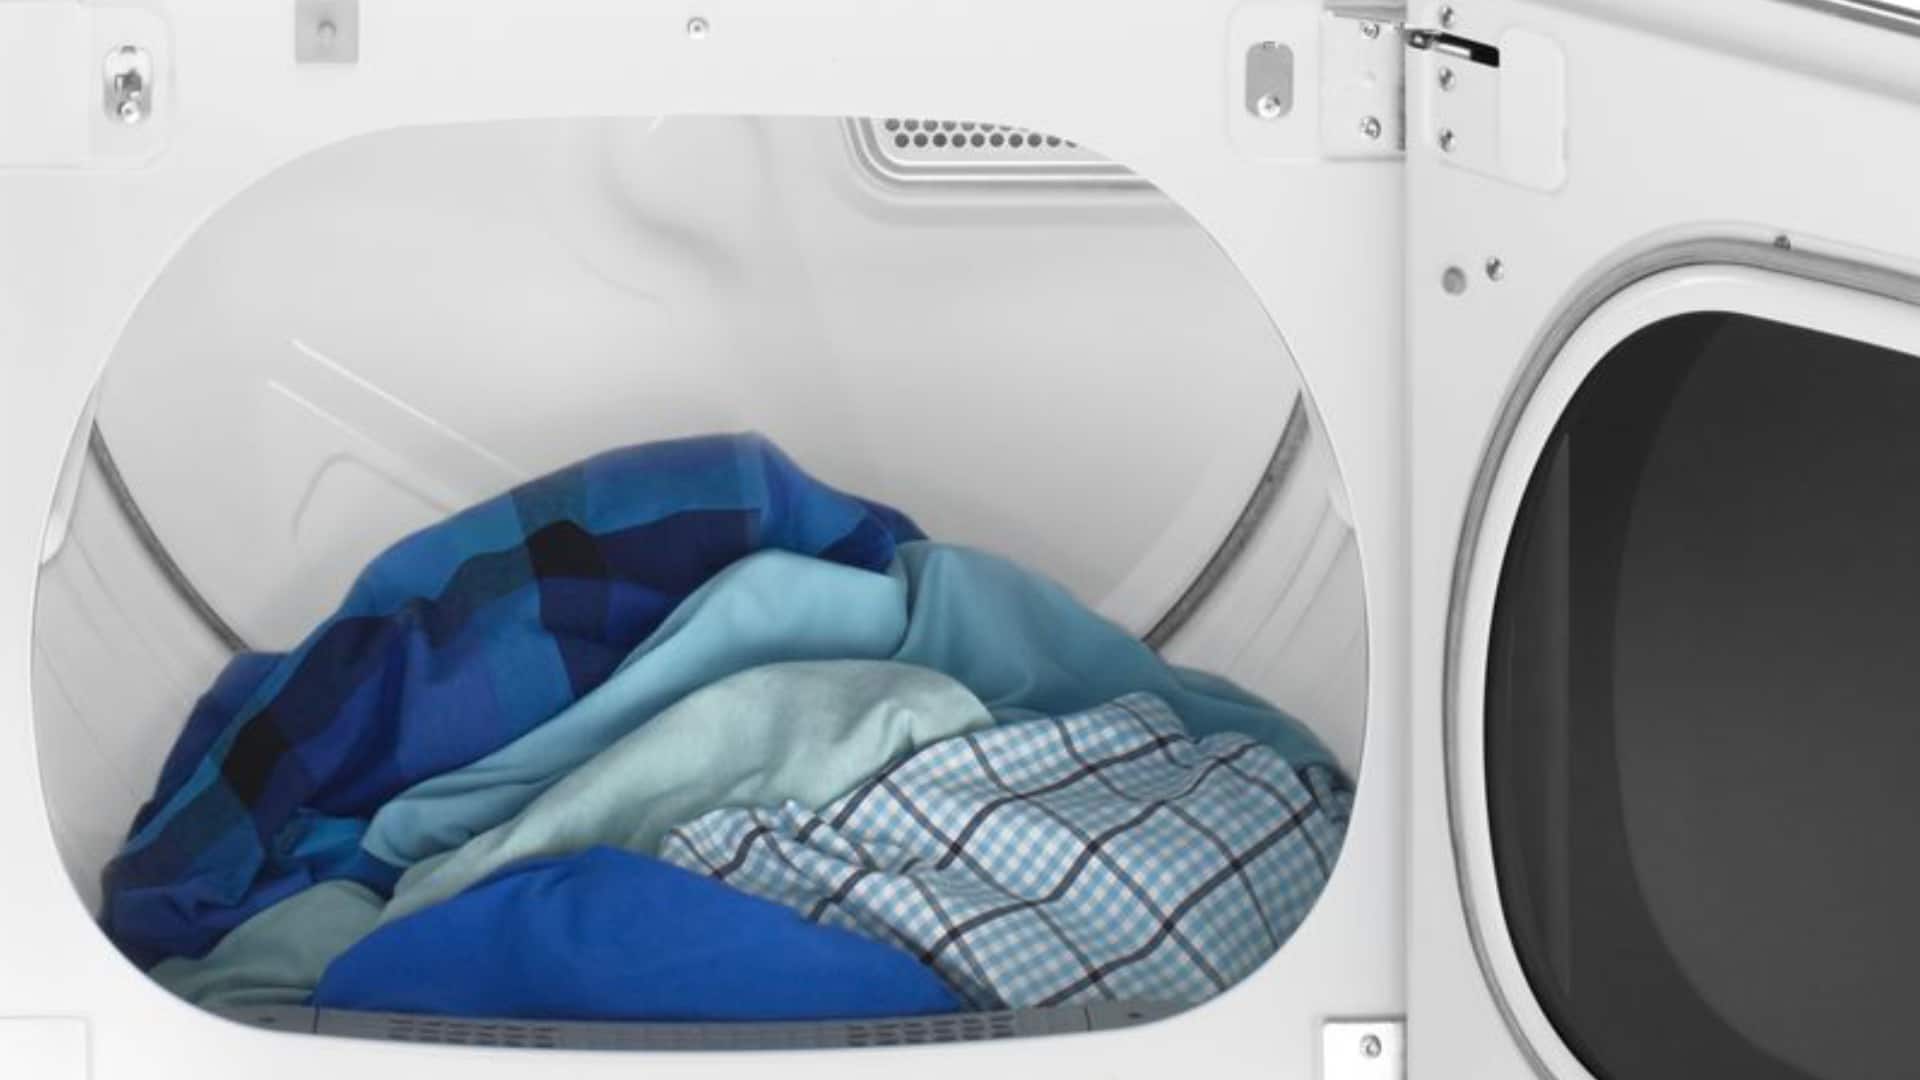
Dryer Repair
If your dryer’s element has become defective and needs to be replaced, this guide will give you simple step-by-step instructions to do it. Regardless of if you have a GE, Samsung, Bosh, Maytag, or any other major make of dryer, this guide should apply as most dryers are manufactured similarly.
Simply start with step 1 and work your way through each step and you’ll be using your dryer again in no time.
Step 1. Switch the power off
Before you do anything else, make sure the power has been switched off. You can either unplug your dryer from the wall or switch the circuit breaker off. Once the power has been switched off, disconnect the hose from the exhaust vent and pull your dryer out from the wall so you can access the back of it.
Step 2. Dismantle your dryer
Once you’ve switched the power off and pulled your dryer out from the wall, the next step is to dismantle your dryer so you can access the element. Here’s what to do:
- Remove the back panel first. This can be done by finding and then unthreading the screws that secure it into position. Once the screws are removed, you should be able to unclip the panel and take it off. Make sure you set the screws aside somewhere safe as you’ll need them to reattach the back panel later.
- The next task is to locate the housing unit that covers the heating element (check your user manual if necessary). Once located, remove the sensor that is on top of the housing unit. This can be done by disconnecting the wires and unthreading the screw that secures it in position. The sensor should then be able to be safely removed.
- Next, locate the sensor at the bottom of the housing unit and remove it by disconnecting it and unthreading the screw that holds it into position. Once removed, place it with the top sensor safely out of the way.
- Locate the heating fuse on the housing unit and remove it by disconnecting the wires and unthreading the screws that secure it into position. Once removed, place it safely out of the way.
- Next, remove all the screws that hold the housing unit in place, and you should then be able to remove the housing unit and place it safely out of the way. At this point, you should have access to the heating element.
Step 3. Test the electrical components
The next step is to test the electrical components so you can determine if the element, fuse, and sensors are defective and need to be replaced. If you don’t have a multimeter, you can skip to step 4 and replace the heating element without testing it.
Here’s how to test the electrical components:
- Start by testing the fuse. This can be done by placing the multimeter probes onto the electrical pins on the fuse and checking for continuity. If the test shows no continuity, the fuse will need to be replaced. If the test does show continuity, the fuse is working correctly, and you won’t have to replace it.
- Test both sensors for continuity with your multimeter. If one or both don’t have continuity they will need to be replaced. If they are both fine, they can be reattached once the new element is installed.
- Finally, test the heating element for continuity with your multimeter. If the heating element does have continuity, it isn’t faulty and you’ll need to further investigate the cause of your dryer not working. If the heating element doesn’t have continuity you can proceed to step 4.
Step 4. Remove the heating element
Once you’ve tested the fuse, sensors, and heating element and determined which ones are faulty, the next step is to remove the heating element from your dryer.
Here’s how to remove the heating element:
- Locate the screws that secure the heating element in place and unthread them. Please note, you may need to turn your dryer upside down so you can access the screws that are located underneath the element.
- Once the screws are removed, disconnect the heating element wires/plugs.
- You should now be able to lift the element out of the dryer.
Step 5. Install the new heating element
The final step is to install the new heating element. Before carrying out this step make sure you have the correct replacement part and new fuses or sensors if any of the existing ones are defective.
Here’s how to install the new heating element into your dryer:
- Remove the heating element from its packaging.
- Place the heating element in the same place where the old one was.
- Carefully reattach all the screws that you removed earlier to secure the new element correctly in position.
- Reattach the wires from the element into the correct plugs.
- Reattach the fuse to the new element and secure it in place with the screws you removed earlier.
- Reattach the bottom sensor into position and secure it in place with the screws you removed earlier. You can then turn your dryer the correct way up.
- Reattach the top sensor into position and secure it in place with the screws you removed earlier.
- Double-check that the fuse, sensors, and wires have been properly attached. You can then reattach the heating element housing and secure it into position with the screws you removed earlier.
- Next, reattach the back panel onto the dryer and secure it into position with the screws you removed earlier.
- Reattach the vent hose and switch the power back on to your dryer.
- Push your dryer back against the wall.
- Turn your dryer on and check if it is now working correctly. Hopefully, at this point, your dryer is working and you can start using it again!

Apr. 09, 2024
Why Is My Microwave Sparking?
Mar. 06, 2024
Understanding Frigidaire Dishwasher Error Codes

Feb. 05, 2024
How to Dry Shoes in Dryer Without Damaging Them
Jan. 03, 2024
Why Is My Dishwasher Leaking?

Dec. 11, 2023
How to Solve Electrolux Dryer Error Code E64

Nov. 06, 2023
Microwave Light Won’t Turn Off? Here’s Why

Oct. 02, 2023
GE Oven F9 Error Code: How to Fix It

Sep. 08, 2023
How to Use a Self-Cleaning Oven (In 4 Steps)
Jul. 31, 2023
How To Use a Maytag Top-Load Washing Machine
Jul. 19, 2023
What to Do If Your Samsung Ice Maker Is Not Making Ice
Jun. 13, 2023
How to Fix a Microwave Turntable That’s Not Turning

May. 08, 2023
How to Wash Pillows in a Washing Machine
Apr. 10, 2023
How to Fix an Ice Maker That Isn’t Working
Mar. 14, 2023
Broken Refrigerator Door Seal? How To Fix It
Feb. 01, 2023
Samsung Dishwasher Not Draining? Here’s What to Do
719 - 574 - 3344Give us a call!