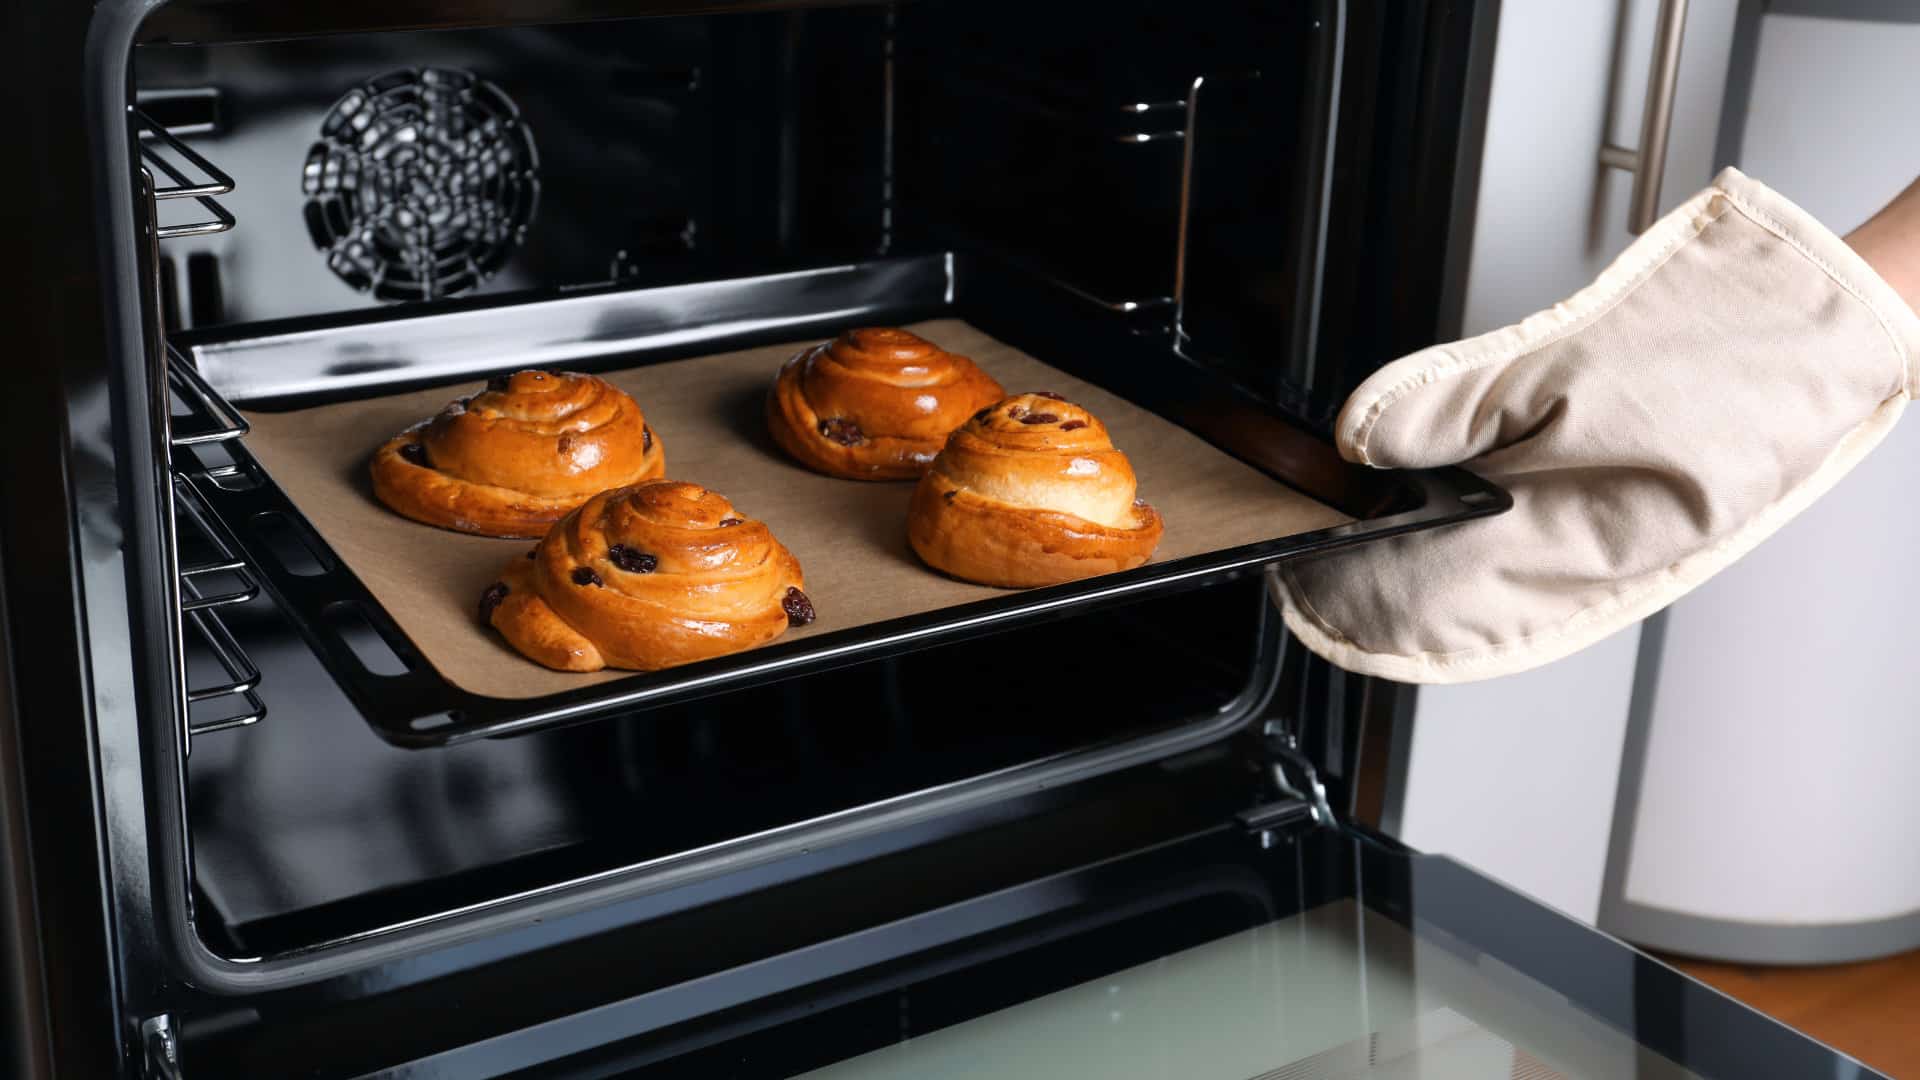
If your GE oven has an F2 (or F20) error code, the oven is detecting that the temperature inside the oven has exceeded a preset threshold. In plain English, it means the temperature has exceeded 615 degrees, or 915 degrees Fahrenheit during a self-cleaning cycle. When this happens, the oven will shut down until the issue is resolved.
If the F2 error code was triggered during the self-cleaning function, the self-cleaning cycle may have damaged the interior of the oven or a component, like the control board. If the self-cleaning function did not damage the oven, the oven’s temperature sensor or the control board may be defective. Glitches and clogged ventilation can also cause the error code.
Read on to troubleshoot and fix a GE oven error code F2.
This guide applies to most GE models, including the following:
4132990
42069
4242590
4252990
4352590
ABS300J1WW
BP76GS1
CGS980SEM1SS
JB250DF1WW
JBP23DN1WW
JBP24BB4WH
JBP24WB4WW
JBP26GV3
JBP26WB4WW
JBP64BB4WH
JBS55DM2WW
JGBS66REK1SS
JGP329SET1SS
JGP336BEV2BB
JGP336WEV4WW
JGP633SET1SS
1. Is the F2 error code caused by a glitch?
Sometimes, an error code is caused by a glitch in the main control board. If the error code comes as a surprise, perhaps you haven’t used the self-cleaning function, or if you noticed that the oven seemed unusually hot, it may simply be a glitch where resetting the oven will resolve the error code.
The oven can be reset by disconnecting the power to the oven for a few minutes. When you reconnect the power to the oven, the error code should be resolved. Clearing the error code by disconnecting the power works if it is a glitch, but if the error code returns, it means there is still a potentially dangerous problem with the oven that you should locate and fix as soon as possible.
2. Are the vents blocked?
Over time, oven vents or screens, particularly with self-cleaning ovens, can become clogged with grease. If there is a blockage, it can cause the oven to overheat and trigger the F2 error code. Oven fans can also be affected and should be checked for a blockage or a fault. Cleaning the oven with some vinegar or baking soda and checking and clearing the ventilation and fan may resolve the error code.
3. Self-cleaning oven damage
Before checking the temperature sensor, relay, or control board, inspect the oven for signs of damage caused by the heat of a self-cleaning cycle. If there is a problem with the self-cleaning function, the interior of the oven may be damaged. If you spot obvious damage to the oven’s interior, the self-cleaning oven feature is likely responsible for the F2 error code. If the components below are not responsible, a trained technician should be contacted to troubleshoot the problem.
4. Defective temperature sensor
The oven’s temperature sensor monitors the oven’s temperature and signals the control board to increase or decrease the heat accordingly. The sensor is usually a metal rod with a sensor that can be found inside the oven, usually on the back wall, near the broil element.
If the oven’s temperature rises above 615 degrees Fahrenheit, it should trigger the F2 error code as a warning that the oven’s temperature is reaching potentially dangerous and damaging levels.
The temperature sensor can be tested with a multimeter to measure its resistance. However, first you will need to remove the sensor from the oven. Most GE models will require accessing the sensor from the back and from inside the oven. Other models may allow sensor removal from inside the oven, without the need to remove a rear access panel.
Follow these steps to remove the temperature sensor:
- Disconnect the power to the oven.
- Open the oven and locate the temperature sensor, noting where it is located on the back wall of the oven.
- Remove the rear access panel to the oven to locate where the temperature sensor exits the oven. Depending on your model, you may need to unscrew another access panel that covers the temperature sensor.
- Disconnect the wiring harness that goes to the temperature sensor. A flat-head screwdriver can be used to depress the wiring harness tabs. The temperature sensor should now be disconnected from the back of the oven.
- Reach back inside the oven, and with a screwdriver, unthread the temperature sensor screws so that it is no longer attached to the oven.
- Pull the temperature sensor out of the oven cavity.
Test the oven sensor
Testing the oven sensor is a little more complicated than a normal multimeter continuity test. For an accurate test, you will need to know what your sensor’s resistance should be at room temperature. The owner’s manual, service manual, or manufacturer should be able to provide the exact resistance you need for accurate testing.
However, most GE models will have a sensor with a resistance of 1,080 to 1,090 ohms. To check the temperature sensor, connect the multimeter probes to the sensor’s receptacles and set the multimeter to the ohms setting. If the multimeter reading is between 1,080 and 1,090, the sensor is working as it should. If the reading is above 1,090 ohms, the sensor is likely defective and will need to be replaced.
You can also get an indication of the sensor’s condition by putting something hot and then cold up to the sensor when conducting the resistance test. If the resistance increases with something cold on it and then decreases with something hot, it indicates the temperature sensor is not defective.
5. Damaged control board
If the temperature sensor is working properly, the next most common cause of the F2 error code is damage to the control board. Control board damage usually occurs because the oven has reached an excessively high temperature, which has caused the soldered connections to fuse together on the control board.
The control board can be accessed by removing the control panel. Depending on the model, you may need to remove screws at the back of the oven to assist with removing the control panel screws. Once you have located the control board, examine the control board for signs of damage.
If the control board is noticeably damaged, replacing the control board should resolve the F2 error code. However, control boards can be expensive to replace, and they are difficult to test, so it may pay to have a qualified technician diagnose the issue.
Why Is My Microwave Sparking?
Understanding Frigidaire Dishwasher Error Codes

How to Dry Shoes in Dryer Without Damaging Them
Why Is My Dishwasher Leaking?

How to Solve Electrolux Dryer Error Code E64

Microwave Light Won’t Turn Off? Here’s Why
GE Oven F9 Error Code: How to Fix It
How to Use a Self-Cleaning Oven (In 4 Steps)
How To Use a Maytag Top-Load Washing Machine
What to Do If Your Samsung Ice Maker Is Not Making Ice
How to Fix a Microwave Turntable That’s Not Turning

How to Wash Pillows in a Washing Machine

How to Fix an Ice Maker That Isn’t Working
Broken Refrigerator Door Seal? How To Fix It
