


September 1, 2021
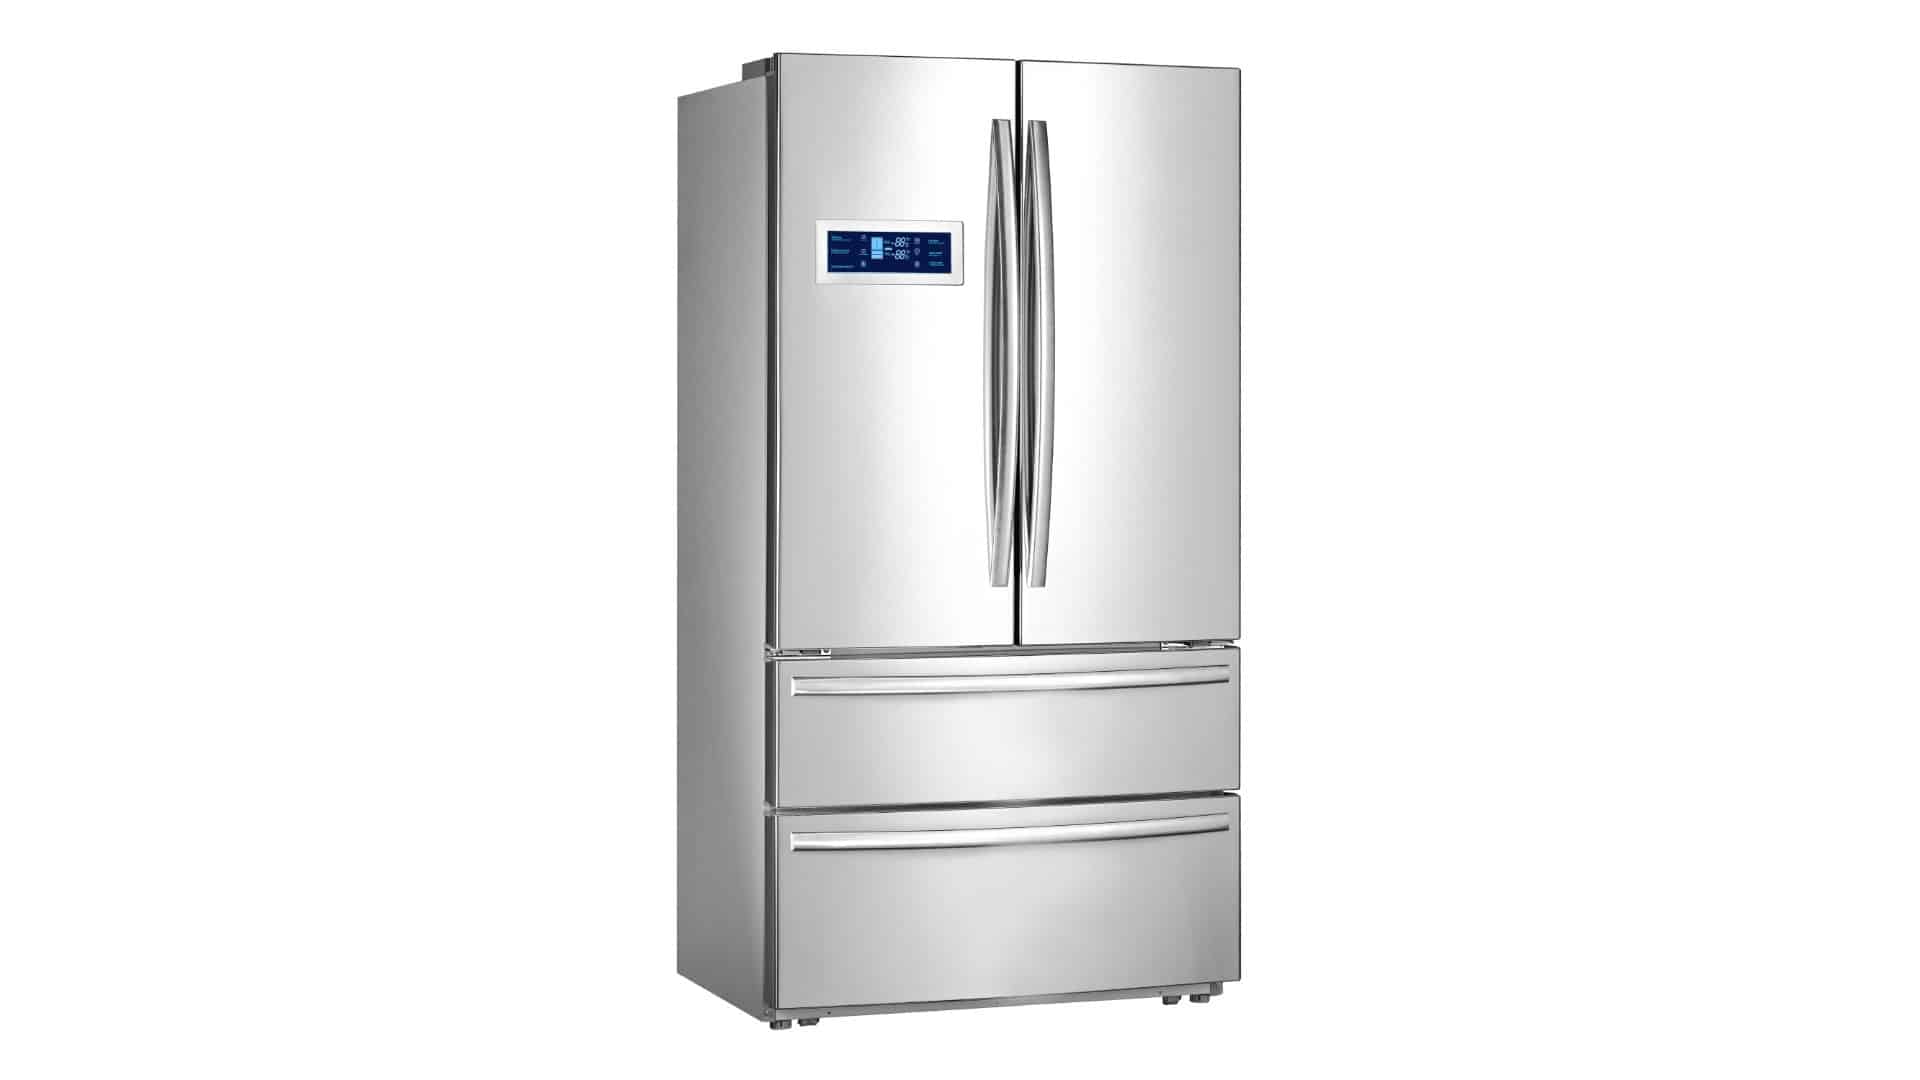
Refrigerator Repair
If your refrigerator’s gasket is damaged, it should be repaired quickly, as the damaged gasket will affect the refrigerator’s ability to maintain a consistent temperature. A damaged gasket can also cause your electricity bill to increase, as the refrigerator must work overtime to try to keep things refrigerated. It can also cause frost buildup in the freezer, which reduces airflow between the refrigerator and freezer sections.
In most cases, a damaged gasket should be replaced with a new one. However, if there is minor damage, you should be able to repair it. Keep reading to repair or replace the refrigerator gasket.
Testing the Door Gasket
A simple test can help determine how damaged the door gasket is.
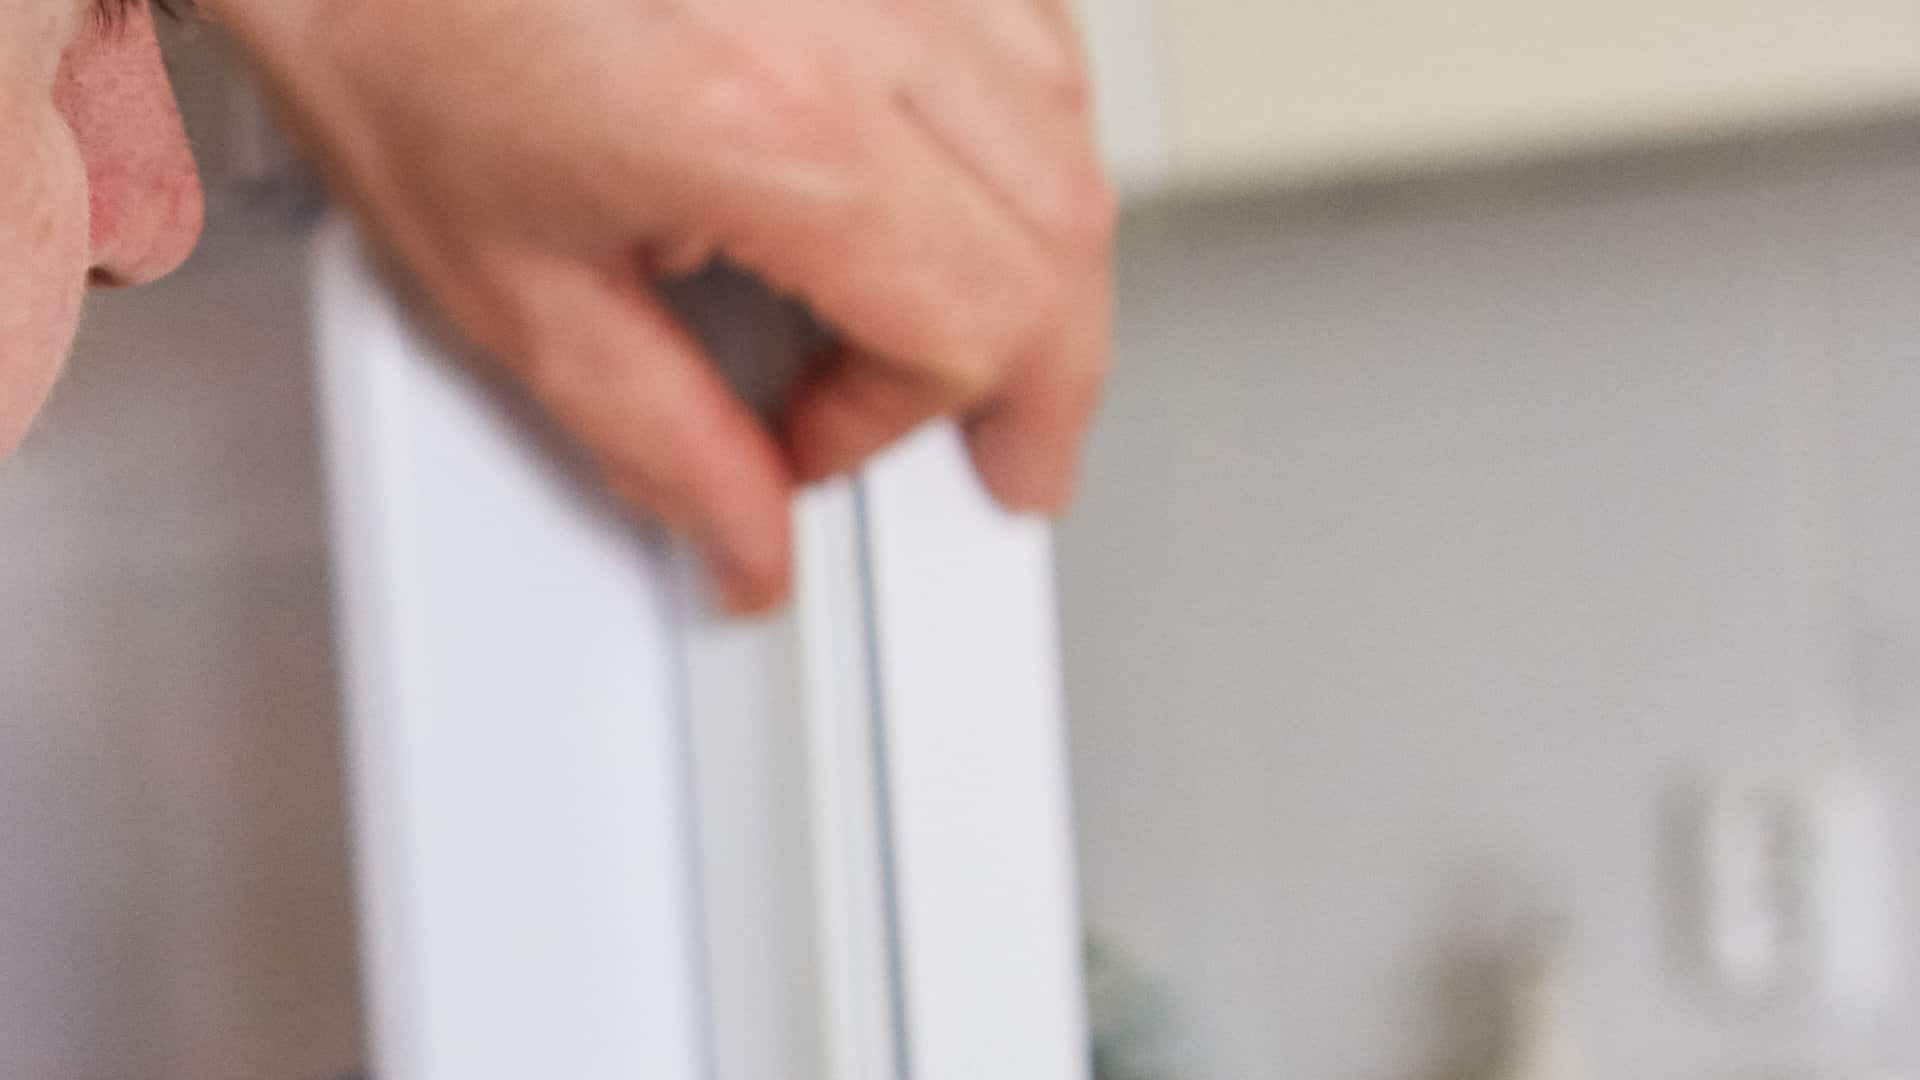
- Close the refrigerator door on a piece of paper.
- If you pull on the paper while the door is closed, you should feel resistance when you try to pull the paper out. Putting some pressure on the door while pulling the paper out will give the best indication.
- Repeat the test around the refrigerator door to test the entire seal.
- If it is easy to remove the paper, the door gasket most likely needs to be replaced.
Apply a Lubricant
Silicone grease or petroleum jelly can be used to adjust the door gasket if it is out of place. Put some silicone grease or petroleum jelly onto a cotton swab and push it into the groove underneath the loose rubber. This should make it easier to push the rubber back into place and seal any leaks.
Clean the Door Gasket
A door gasket that is not working correctly can often be fixed by giving it a good clean. Grime, grease, or mold on the door gasket can cause the seal not to stick and allow air to get through. Warm water and detergent can be used to clean the door gasket. For a more thorough clean, remove the gasket from the refrigerator door, and then wash it in a bucket of soapy water (see removal instructions below).
After the gasket has been washed, thoroughly dry it, and then apply a thin layer of silicone grease to the side that connects to the refrigerator door. The silicone grease will improve its effectiveness and stop cracks from occurring in the future. After applying the grease, reattach the door seal to the refrigerator.
Repair with Waxed Paper
Waxed paper and silicone sealant can be used to repair a tear in the refrigerator gasket.
- Clean the door seal, removing grease, grime, and mold.
- Patch up the torn rubber by applying an even layer of silicone sealant to the damaged area.
- Carefully cover the silicone with a strip of waxed paper. Make sure it overlaps the undamaged section of seal at either end. The waxed paper should act as a barrier for the magnetic portion.
- To keep the sealant in place, add another strip of waxed paper to the other side of the seal.
- Trim the edges of the waxed paper so that it can be folded to conform to the original shape of the seal.
- When the sealant and paper are positioned correctly, carefully close the refrigerator door. This should trap the paper between the seal and the refrigerator body.
- Wait at least 8 hours for the sealant to set.
Replace the Door Gasket
Preparation
Replacing the door gasket is a relatively simple procedure. First, a new door gasket will need to be purchased. It is important to get a new gasket that will fit your refrigerator, so it is best to match the new door gasket with the old gasket, using the refrigerator’s make and model.
Once you have the new door gasket, unpack it 24 hours before installing it. The gasket will likely come folded up in some packaging, which makes it more difficult to install. Unfolding the gasket and laying it out overnight will help the door gasket return to its proper shape and form.
Equipment Required
- A replacement door seal
- Phillips-head screwdriver
- Silicone grease or petroleum jelly
- Blow dryer
Remove the Old Gasket
Removing the old door gasket will depend on the type of gasket that the refrigerator has. In most cases, you can simply pull it off. If the door seal is fitted between outer and inner panels on the door, there are screws around the door liner that will need to be loosened. Once loosened, pull the old seal off.
Install the New Gasket
There are three common styles of door gaskets, with each type requiring a slightly different installation. If the gasket can be pushed into the groove, you can use your fingers to firmly push the gasket in and secure it to the refrigerator door. If the gasket fits behind the liner on the door and is held by a retainer lip, use your fingers to push firmly and attach it to the lip.
Other gaskets may require the removal or loosening of screws. If the gasket needs to be fitted between the outer and inner door panels, loosen the screws around the door liner to help position the gasket.
To install the new gasket:
- Clean and dry the area on the refrigerator where the new gasket will go.
- Apply low heat from a blow dryer to remove kinks and folds in the gasket. The heat will also make it easier to fit the door seal on the refrigerator. Soaking the door seal in a tub or sink filled with hot water can also be used to prepare it for installation.
- Apply a thin layer of silicon grease to the side that sticks to the refrigerator.
- Install the new gasket by starting in the top left corner, working your way across to the top right corner, and ending with attaching the bottom half of the gasket. Use low heat from a blow dryer to remove kinks and help with the installation.
- Check that the gasket sits evenly around the door. Look closely at each section of the door seal, checking for places where the door seal may not have attached correctly. If you find any issues, you can use a blow dryer to apply a low heat and then smooth out the sections with your fingers.
If there are still sections of the door seal that are not fitting correctly, with time, the pull generated by the magnetic strip should help correct the issue. It may take a few days for this process to work.

Apr. 09, 2024
Why Is My Microwave Sparking?
Mar. 06, 2024
Understanding Frigidaire Dishwasher Error Codes

Feb. 05, 2024
How to Dry Shoes in Dryer Without Damaging Them
Jan. 03, 2024
Why Is My Dishwasher Leaking?

Dec. 11, 2023
How to Solve Electrolux Dryer Error Code E64

Nov. 06, 2023
Microwave Light Won’t Turn Off? Here’s Why
Oct. 02, 2023
GE Oven F9 Error Code: How to Fix It

Sep. 08, 2023
How to Use a Self-Cleaning Oven (In 4 Steps)
Jul. 31, 2023
How To Use a Maytag Top-Load Washing Machine
Jul. 19, 2023
What to Do If Your Samsung Ice Maker Is Not Making Ice
Jun. 13, 2023
How to Fix a Microwave Turntable That’s Not Turning

May. 08, 2023
How to Wash Pillows in a Washing Machine
Apr. 10, 2023
How to Fix an Ice Maker That Isn’t Working
Mar. 14, 2023
Broken Refrigerator Door Seal? How To Fix It
Feb. 01, 2023
Samsung Dishwasher Not Draining? Here’s What to Do
719 - 574 - 3344Give us a call!